Are you doing a bathroom remodel project?
Modernize can pair you with three to four pros in your area, so you can compare options and save time and money.
Bathtubs are splash-prone areas, especially for younger kids who bathe with more bath toys than what’s found in the toy department at your local Target. Is tiling your bathtub the key to increased sanity?
Although the walls surrounding bathtubs are clad with moisture-resistant drywall — gypsum with a thick, wax-covered paper coating — that doesn’t make them completely waterproof. Constant splashing can leave unsightly water streaks in the paint on walls surrounding your bathtub, as well as lead to water damage over time.
One way homeowners can ensure their bathtub walls are completely waterproof is to remove the sheetrock and install tile around the bathtub. There are many benefits of having a full-tile bathtub, and for some talented do-it-yourself homeowners, it’s a job you may be able to complete on your own. However, there also are many reasons why hiring a professional to install tile around your bathtub may be the best course of action.
Why Add Tile to a Bathtub Surround?
Increased style and functionality are the main reasons why homeowners add tile to a bathtub surround.
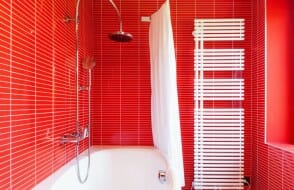
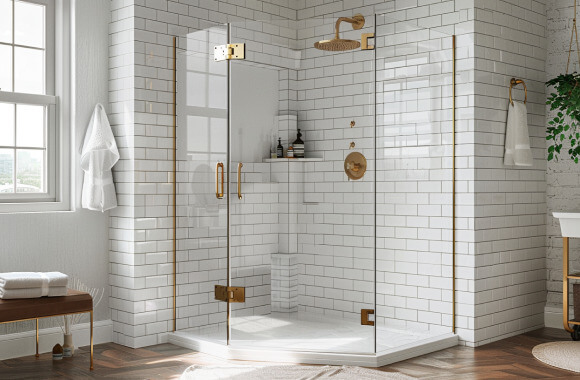
The walls enclosing your bathtub typically don’t create a very big space, so the cost of this modest bathroom remodel remains fairly affordable, even if you opt for high-end custom tilework. There are many ideas that you can tap into to transform what’s typically a dull space into an eye-popping room that exudes luxury and creative style.
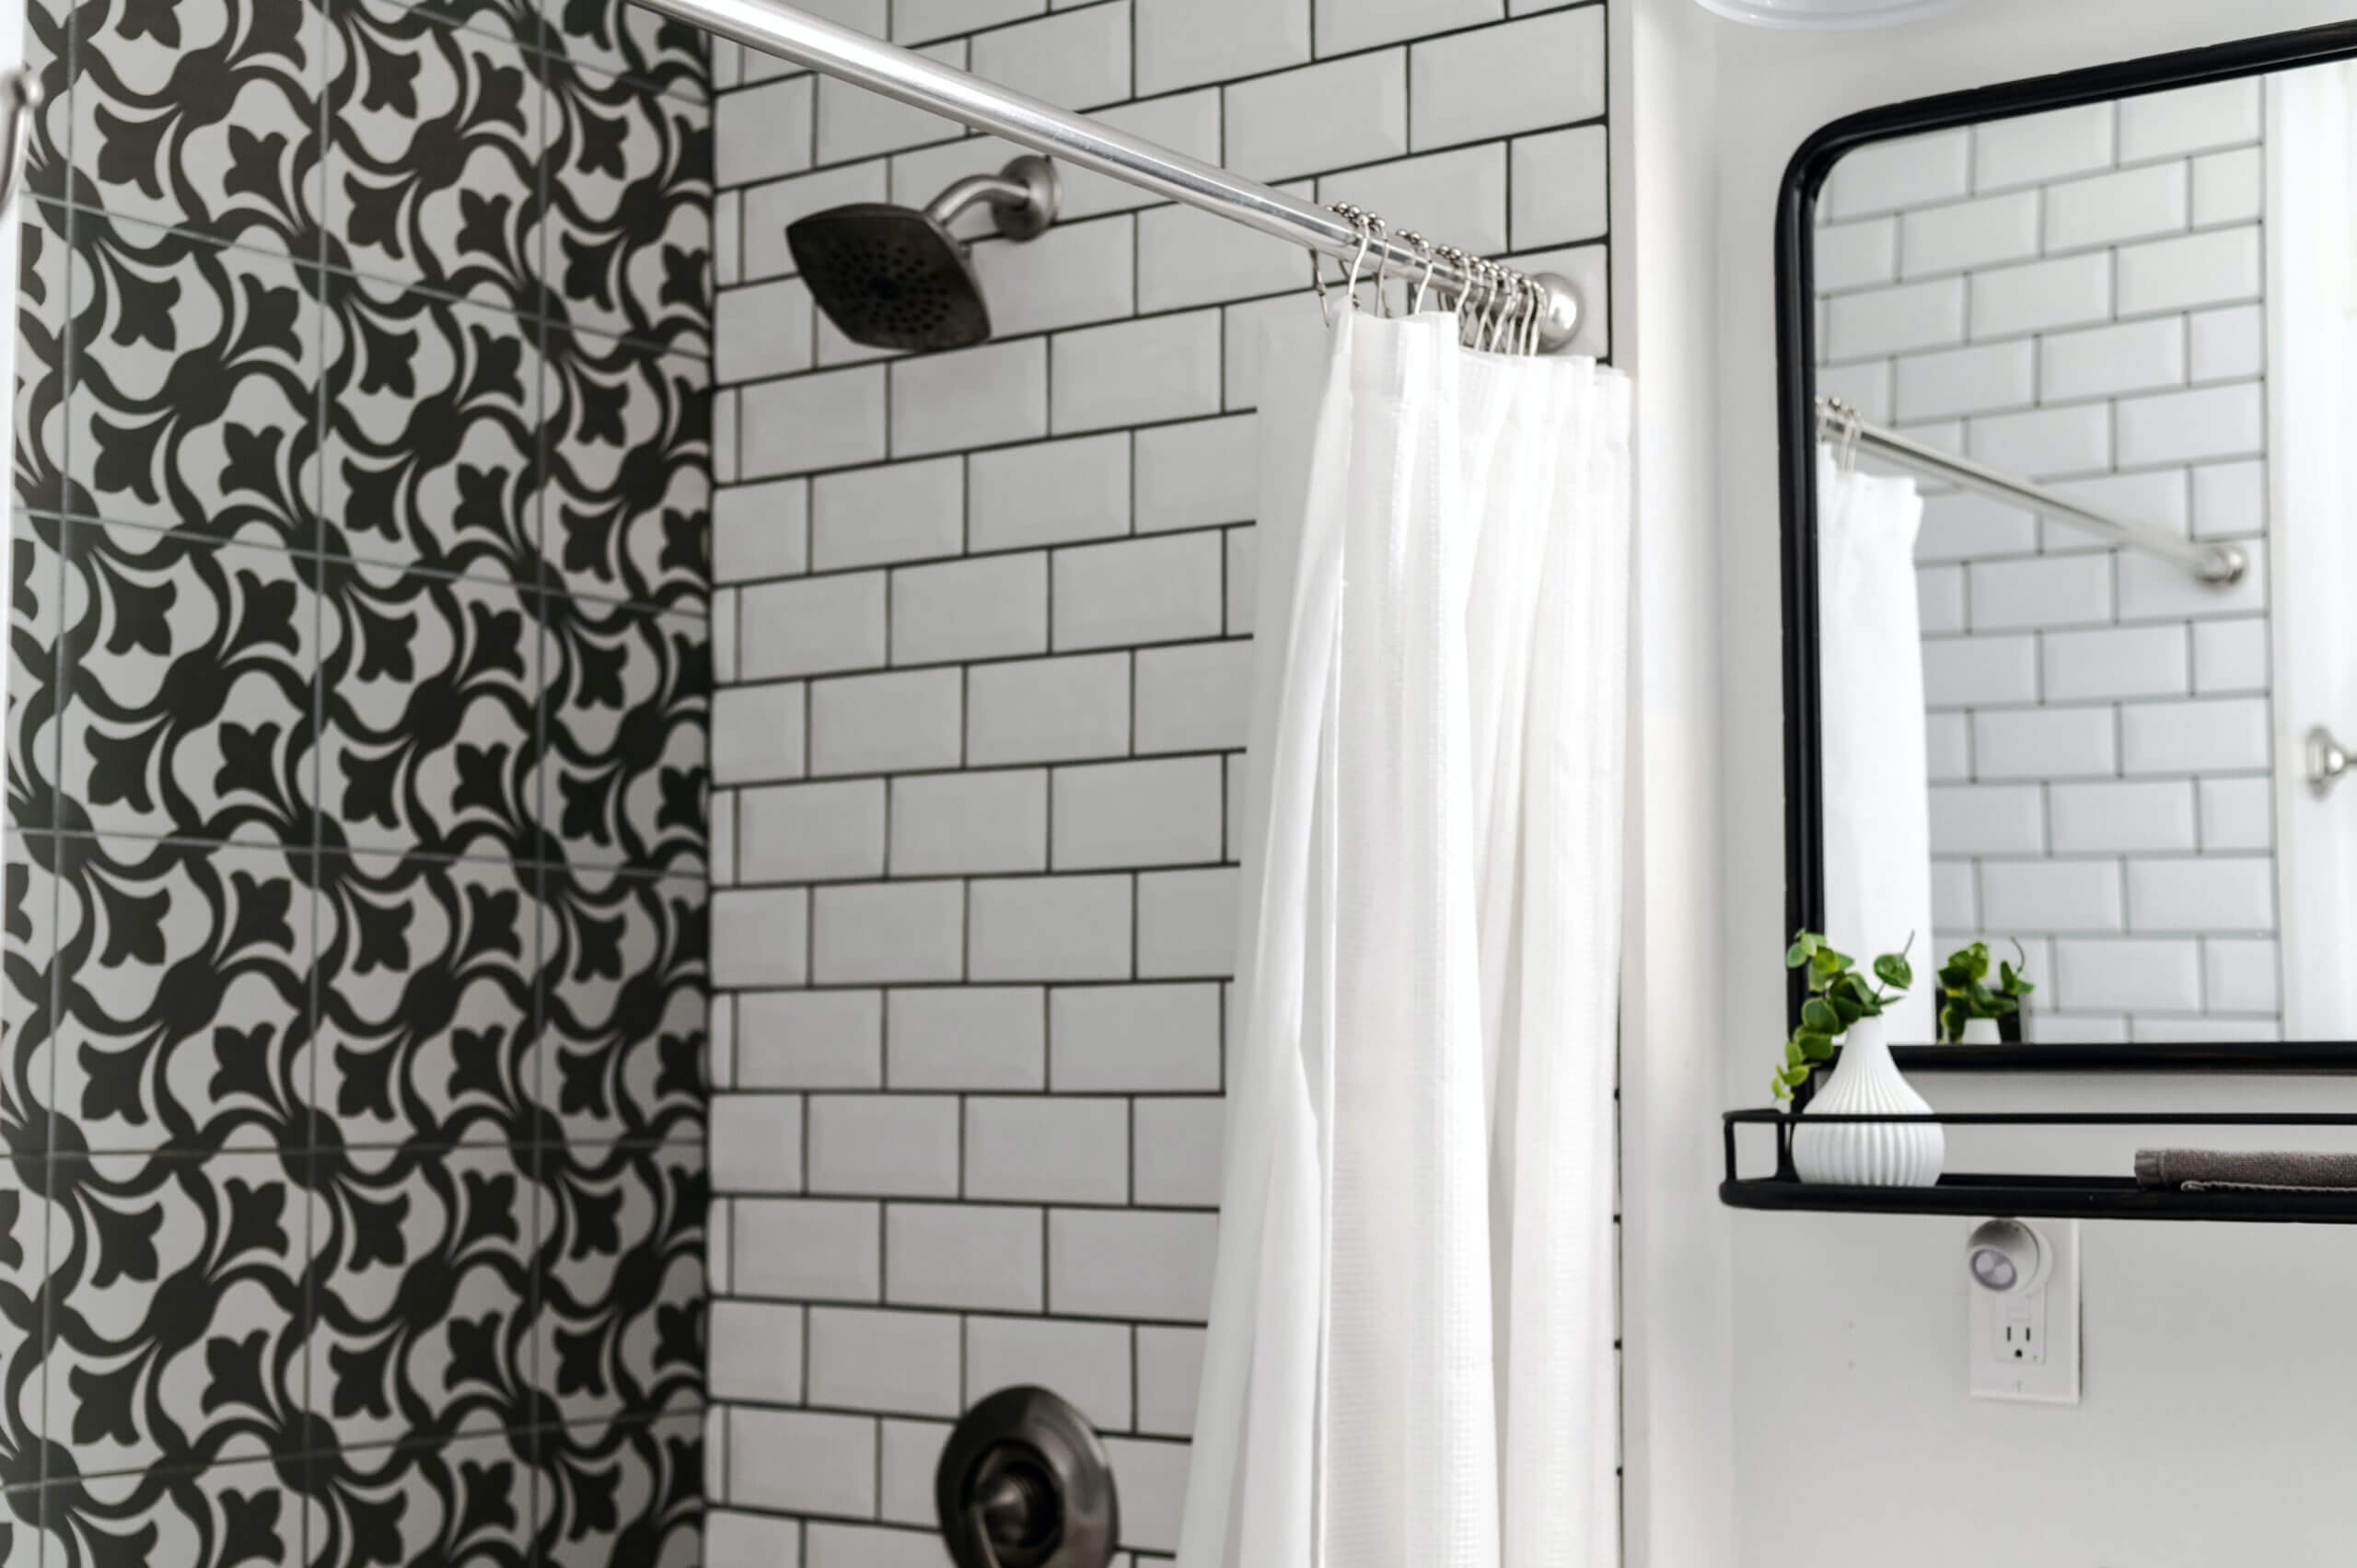
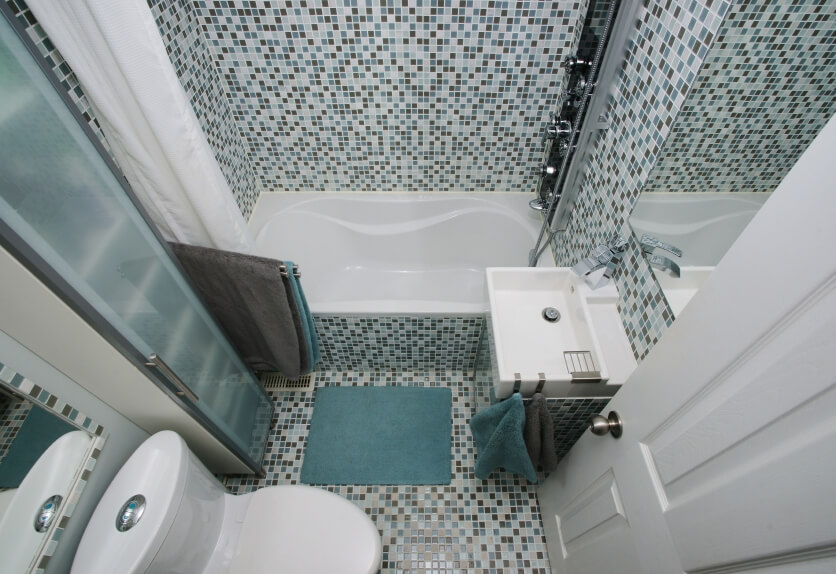
You can opt for a classic look with white subway tiles or create unique mosaic patterns. Homeowners on a shoestring budget can save money by tiling the lower half of the bathroom walls where they meet the bathtub and leave the upper half as painted sheetrock. The options are nearly endless.
Tiling a bathtub also eliminates the negative effects of excessive bathtub splashing and subsequent water damage, which can include mold and wood rot, especially if the area is constantly taking a heavy soaking.
Best Types of Bathtubs for Adding Tile
Bathtubs come in a wide range of shapes and styles. Nearly all are conducive to adding bathtub tile. Here are some common choices and why they work well with bathtub tile.
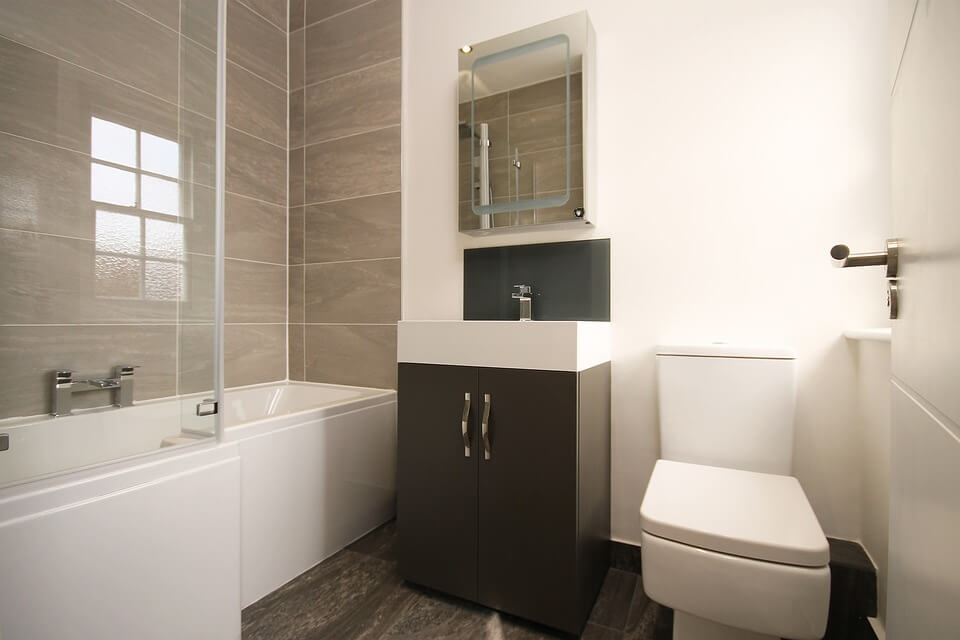
- Alcove bathtubs. These tubs are also called recessed tubs and are among the most common bathtubs installed in modern homes, especially in the master bathroom. Recessed bathtubs have three walls surrounding the tub — perfect for a custom tile installation.

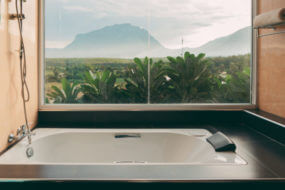
- Drop-in tub. These tubs are shells that are dropped into a framed wood platform that provides a nice deck for shampoo, conditioner, bubble bath bottles, candles, freestanding shelves, and any other important necessities.

- Freestanding tubs. It’s hard to match the simplistic beauty and elegance of a freestanding tub. These tubs are a visual centerpiece for your bathroom, and adding tile to corresponding walls enhances the sleek design and aesthetic appeal of freestanding tubs.

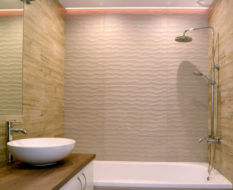
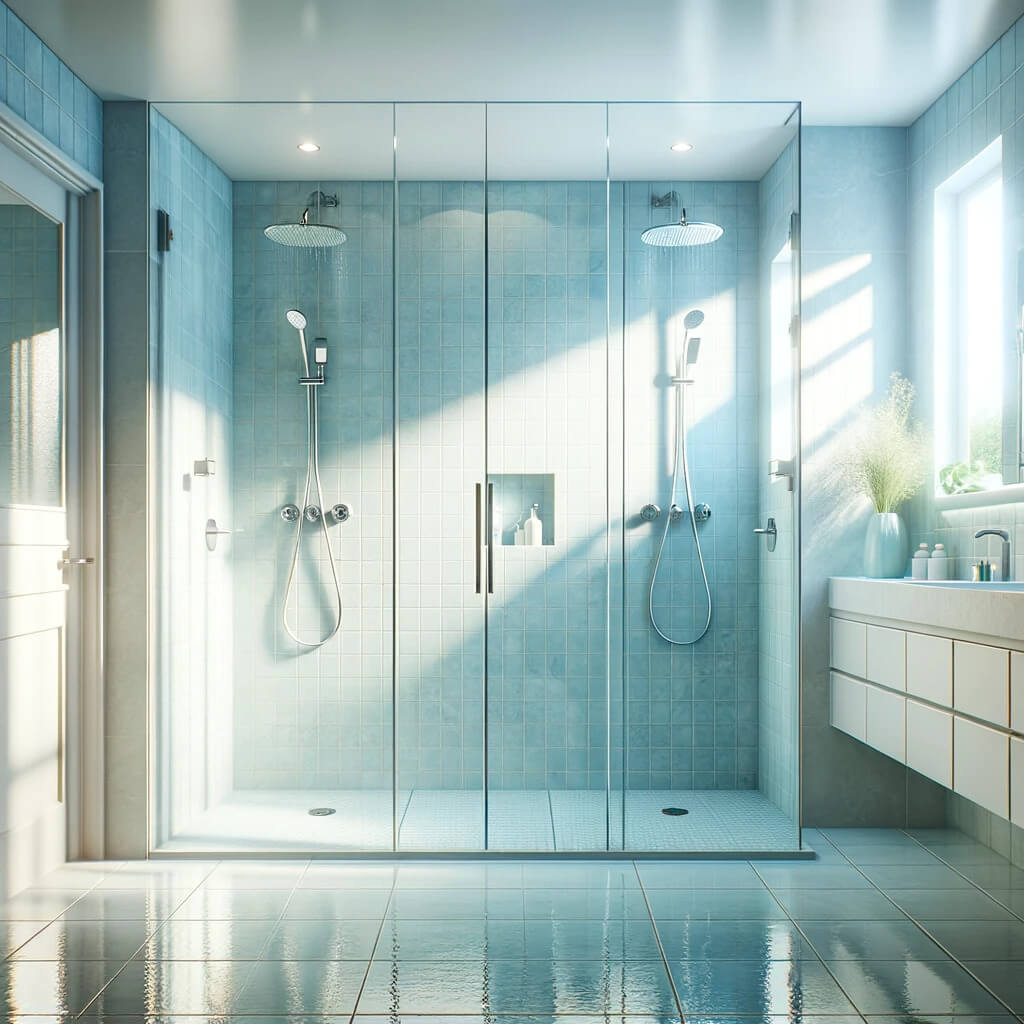
- Shower/tub surround. The space-saving design of shower-tub combos features a tub with a shower head above. They are common in guest and secondary bathrooms where space is at a premium. You can tile the walls above the shower enclosure and at minimal cost since most drop-in shower enclosures are six feet in height.

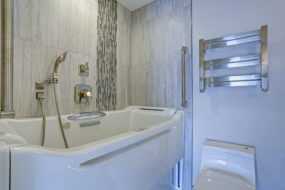
- Walk-in tub. Homeowners who require the additional mobility that comes with a threshold-less walk-in tub can seriously spruce up the space by adding custom tile around the bathtub.

These are just a few options — discussing your bathroom remodel plans with a licensed remodel contractor can help determine the best course of action.
Find the Right Contractor for Your Bathroom Remodeling Project
Whether you’re ready to begin your project now or need some expert advice, our network of contractors are here to help. With a few simple questions, we’ll find the best local professionals for you
Steps to Installing Tile Around a Bathtub
As we mentioned earlier, setting tile around a bathtub isn’t a very hard or complicated job. That said, getting everything done perfectly may be challenging for homeowners who lack professional experience in tile work, layout, and design. It also requires many specialty tools, including notched, flat, and margin trowels, tile saw, level, straight edge, and a hole saw.
Here’s a step-by-step guide to installing tile around a bathtub:
- Remove the existing sheetrock and install waterproof backerboard. You can’t tile over paper-faced sheetrock; instead, you have to replace it with cement board. The tradeoff is unmatched durability.
- Measure and mark for tile layout. It’s important to measure the height and width of the area you want to tile and match those numbers against the height and width of your tiles — you don’t want to end up with tiny slivers of tile. Make center marks along both dimensions, and see what you are left with at top, bottom and on the sides. You always want to have full tiles on the bottom and cut tiles at top.
- Apply mastic. Once your layout is established, it’s time to begin tiling. Use a trowel to spread tile mastic over small portions of the wall. Avoid laying mastic on large areas since it loses its stickiness about 15 to 20 minutes after application.
- Start laying tiles. Begin at the bottom where your width and height measurements intersect. You’ll want to make sure you can apply a bead of caulking between the first row of tile and the bathtub. Plastic spacers are crucial for keeping tiles properly aligned and set to the same depth. You’ll also have to install rounded bullnose tiles along any exposed edges.
- Custom cuts. Here’s where having some experience laying tile really comes into play. You’ll have to custom-cut any odd-sized tiles, as well as drill holes to allow tiles to fit around any extruding plumbing fixtures.
- Lay grout. Once your tiles have set overnight, you’ll want to remove the plastic spacers and work a layer of grout into the spaces between the tiles. Don’t worry about getting grout on the tiles — after the grout sets in approximately 20 minutes, you’ll wipe the newly tiled walls clean with a damp sponge.
After giving the grout a day to fully harden, the final step is to wipe off any excess grout from the tiles with a wet sponge and apply a bead of caulking between the tub and initial layer of tile.
Best Types of Tile for Installing Around a Bathtub
The best type of tile for installing around a bathtub is one that meets your design requirements and renovation budget. You can use small or large tiles, porcelain, ceramic or even natural stone — the options truly depend on your remodel budget.
Smaller tiles will have more grout lines, which can stain over time and are difficult to clean. Natural stone, meanwhile, is more porous than ceramic or porcelain tile and may absorb water — that’s why most homeowners opt for the latter when installing tile around a bathtub.
Tiling a Bathtub: DIY or Hire a Professional?
Our step-by-step guide to tiling a bathtub highlights the basics of the process. You’ll have to mix tile mastic and grout to exact ratios, layout the job to precise measurements, and have working knowledge of a wide range of tools.
It’s not a job for a novice. If you plan on tiling a bathtub and have any concerns about pulling the job off correctly then it’s best to leave the work to a licensed contractor. Modernize can put you in touch with professional tile installers in your region so you can get multiple quotes and have the assurance that the job gets done right.
Find the Right Contractor for Your Bathroom Remodeling Project
Whether you’re ready to begin your project now or need some expert advice, our network of contractors are here to help. With a few simple questions, we’ll find the best local professionals for you
Recommended Articles
Reviews from Real Homeowners
Welcome to Homeowner Resources! We are the Modernize blog. Modernize pairs more than 3 million homeowners a year with pre-vetted contractors in their area. This blog started because we believe homeowners should know everything about their homes, from how their HVAC works to which front door colors they might love. On Homeowner Resources, you can find information on every part of your home, right down to how you can negotiate with contractors to get the best price. Here's more about the blog.
Need a contractor? Learn more about how Modernize finds the right pro for you.