For most of us, jobs don’t quit at five. Meanwhile, the second shift is just beginning—making dinner for the family, helping with homework, walking the dog, and whisking everyone off to bed. So it’s no wonder we get caught in cursory cleaning routines that just barely pass muster. Just getting the dishes done regularly feels like a triumph!

But every once and awhile, kitchens need a deep cleaning to take care of caked-on grime and grit that hides under surfaces like your oven knobs, or crumbs that may be lingering under appliances undetected. If your home could use a serious grit-busting, then follow these steps for a long-lasting deep clean throughout in all parts of your kitchen.
Deep Cleaning Your Stove and Oven
To get a deep clean here, first remove cooled burner gas grates for gas stoves, or coils for electric coil cooktops. Then do the following:
For a gas stove
After you’ve removed the burner grates, set them in a dish filled with hot, soapy water. Let them soak while you clean your cooktop. Some homeowners swear by this trick: place them in a large airtight freezer bag filled with ¼ cup of ammonia. The fumes in the bag are said to be great for removing caked-on grit. Rinse the grates and then dry them thoroughly before replacing.
For an electric coil stove
After detaching the coils, wipe them gently with a soapy wet dish rag, being careful to avoid the electrical connections. For spots of baked-on grime, mix baking soda and water into a paste, and apply. Let that sit for 20 minutes, then scrub off the grit, and rinse and replace the burner.
For flat cooktops
One of the major advantages of a flat cooktop is how easy they are to clean, but that doesn’t mean they’re not susceptible to some occasional grimy buildup. For glass cooktops, use a nylon scraper to take off any initial grit, then make a mixture of baking soda paste, and spread it over the surface. Allow it to sit for 20 minutes. Then use a microfiber cloth to wash it away.
For your oven
Next, it’s time to hit the oven! Remove the oven knobs, and take out the oven racks as well. Set these aside. Mix a paste of baking soda and water—enough to cover the interior of the oven. Spread the paste on the exterior and interior of the oven in a thin coat. It’s best to do this part in the evening after dinner, or on a day when you won’t be cooking, since you’ll need to let it sit for at least 12 hours. Meanwhile, allow your oven knobs and racks to sit in a large tub (the bathtub will work!) filled with soapy water—you can leave them in overnight, as well.
The next morning, use a sponge or damp cloth to clean away any leftover grime on your racks. As to the oven, wipe away the dried baking soda with a wet dishrag, then spray the interior with vinegar and give it another wipedown. Once all the residue has been removed, replace your knobs and racks, and you’re done.
Your Dishwasher
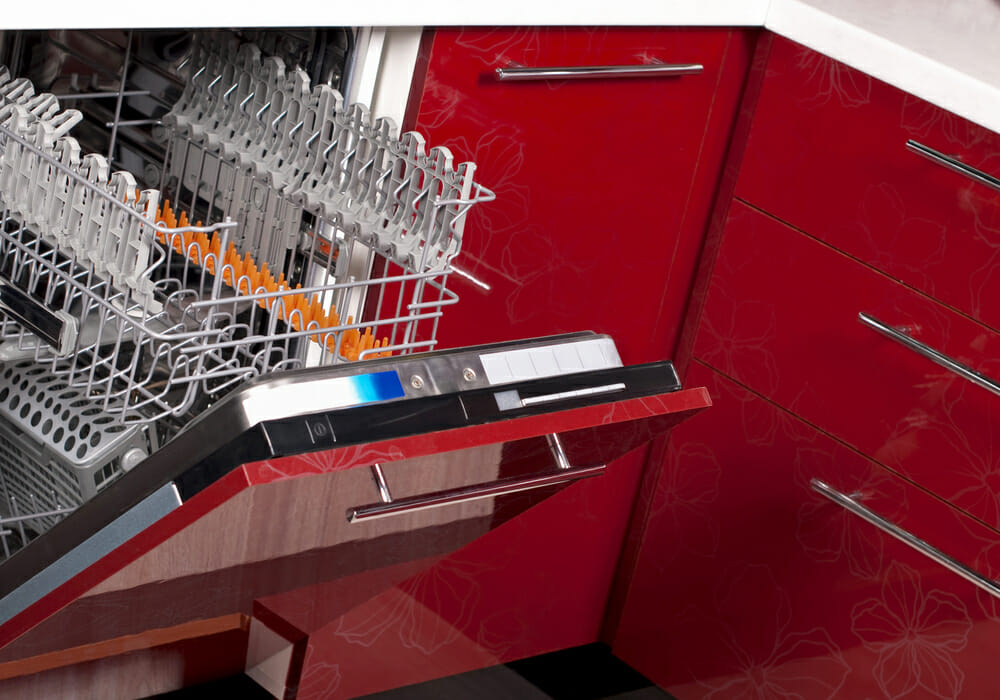
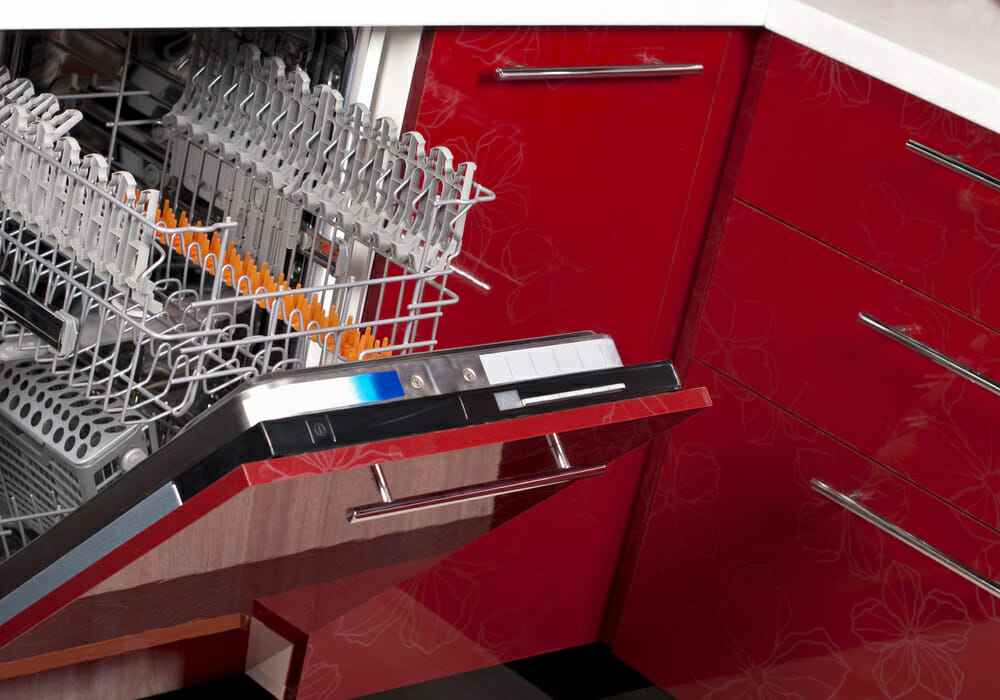
A good kitchen deep cleaning involves your dishwasher too! First, pull out the racks and trays. Using baking soda paste, scrub down the drain, then use a rag soaked with vinegar and water to wipe down the seal. Fill the dishwater with a cup or two or vinegar, and then run your dishwasher. Enjoy your new sparkling clean machine!
Your Refrigerator
Toss out anything old, moldy, or wilted, and place everything else on your countertops. Take out the racks, shelves, and drawers, and leave them to soak in a bathtub filled with soapy water. Mix a solution of vinegar and water, and spray it into the interior of the refrigerator, and wipe it out thoroughly.
Remove shelves and drawers from the water, and rinse them of any gunk. Dry them off and replace them—and then appreciate how much space you’ll have for new groceries.
Your Range Hood
Range or vent hoods are meant to diffuse cooking smoke, so it’s no wonder that they’re easily covered with greasy grime and dust. First, attack the filter, which is likely the dirtiest area on your hood. Remove the filter by popping or pulling it out of the vent. Place it in the sink, and plug the drain. Next pour in boiling water and add ¼ cup of baking soda and dish soap. Use a serving spoon or long brush to mix the soapy water around, then allow the filter to soak in the mixture for at least 10 minutes.

Now scrub the filter with a soft-bristled brush, rinse, and dry with a towel. Once the filters are squeaky clean, wipe down the hood using a soapy wet dishrag or a microfiber cloth. Dry it with a cloth, and admire the results of your elbow grease.
Your Backsplash
Just like greasy vent hoods, backsplashes have a way of collecting leftover cooking grime. To give them a deep clean, spray them with an all-purpose cleaner (or wipe with a soapy dish cloth for stainless steel backsplashes). Allow the cleaner or soap to sit for 20 to 30 minutes, then wipe with a soft cloth, and dry.
These kitchen tips should get your space in sparkling clean shape in no time—which is good, since “no time” is basically all we have these days!
Find the Right Contractor for Your Kitchen Remodel Project
Whether you’re ready to begin your project now or need some expert advice, our network of contractors are here to help. With a few simple questions, we’ll find the best local professionals for you