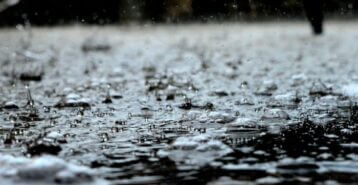
Why You Should Extend Gutter Downspouts
Downspout extensions help keep water away from your foundation. This lowers the risk of basement leaks, structural damage, and costly repairs.
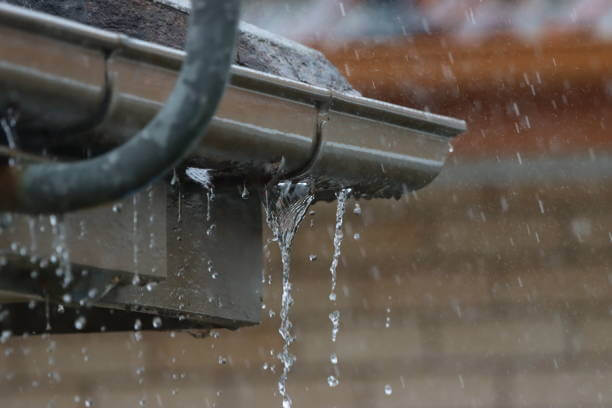
When water runs off your roof, gutters collect it and then downspouts direct it to the ground. If the water ends up too close to your house, it can cause major issues over time, such as:
- Foundation damage: Water pooling near the foundation can increase pressure on walls and lead to cracks.
- Basement leaks: Moist soil next to the foundation allows water to enter through small openings.
- Erosion: Repeated runoff washes away soil, which can cause walkways, patios, or the foundation itself to settle.
- Standing water and pests: Wet areas often attract mosquitoes and can kill your grass or plants.
Adding downspout extensions is an easy and affordable way to protect your home and avoid expensive repairs later.
How Far Should Gutter Downspouts Extend?
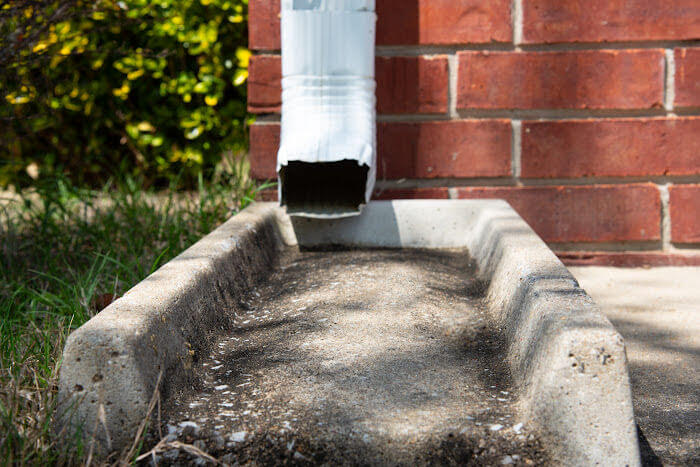
Most homes need downspouts that carry water at least 6 to 10 feet away from the foundation. The main goal is to move water far enough away so it can soak into the ground or flow downhill, which keeps it from coming back toward your house.
Minimum Recommended Distance
Downspouts should extend a minimum of 6 feet away from the foundation, with 10 feet being ideal when space allows.
- This distance helps prevent water from soaking the soil right next to your foundation.
- The extension should always discharge away from the house, not toward it.
- Even a short extension helps, but longer ones give your home more protection.
When You May Need Longer Extensions
You may need extensions longer than 10 feet if your property has drainage issues. Consider extending your downspouts further than 10 feet if you have:
- A sloped yard that drains toward the house
- Clay or poorly draining soil that holds water
- A finished or partially finished basement
- Recurring moisture, leaks, or musty smells
- Heavy rainfall in your area
In these cases, water should travel farther away or take a different path to prevent issues.
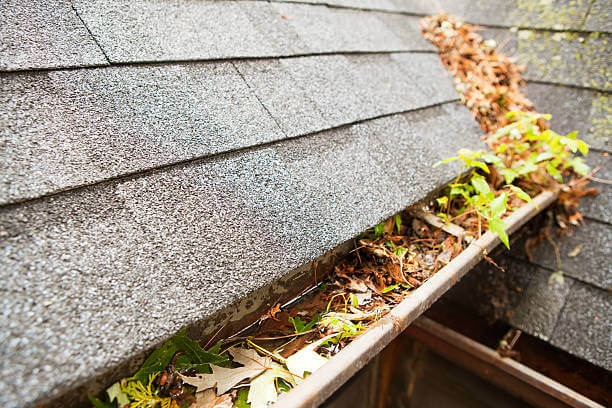
Signs Your Downspouts Aren’t Long Enough
Water pooling near your home, basement dampness, or yard damage often means that downspouts discharge too close. If you’re unsure whether your current configuration is working, look for these warning signs.
Foundation and Basement Warning Signs
These problems frequently point to poor downspout drainage near the foundation:
- Pooled water at the base of exterior walls
- Damp basement walls or floors after rain
- Musty odors or visible mold
- Dark stains or white chalky residue on foundation walls (aka efflorescence)
These signs show that water is collecting where it shouldn’t.
Yard and Landscaping Issues
Drainage problems affect not only the house but also the yard. Some signs you may have drainage issues include:
- Washed-out mulch or exposed soil near downspouts
- Muddy or constantly wet areas
- Erosion channels forming in the lawn
- Dead grass or plants near downspout discharge points
Landscaping damage likely also indicates foundation damage.
Planning Your Downspout Extension Project
Planning carefully prevents making mistakes that can send water back toward your foundation or create new problems. Before you buy materials or start digging, first, you should find out where water goes now and where it should go.
Assess Your Home’s Drainage Needs
Watch how water flows around your home during or right after a rainstorm. Walk around your house and note:
- Where downspouts currently discharge
- Where water pools or stays muddy
- Whether water flows toward or away from the foundation
- Any basement dampness after heavy rain
Watch the corners of your house and low spots in your yard closely. These areas are where drainage problems often begin.
Determine the Best Direction for Water Flow
Water should always flow away from the house and toward a lower, open area of your yard. When choosing a discharge direction:
- Follow the natural slope of your yard
- Avoid sending water toward neighboring properties (even if you don’t like your neighbors)
- Keep water away from sidewalks, driveways, and patios
- Make sure the exit point is far enough away to prevent runoff from returning
If your yard slopes toward your house, you may need a longer extension or an underground drainage system to safely move water away.
Measure and Map the Extension Path
Before buying materials, measure the full distance from the downspout to the planned discharge point.
- Measure straight runs and turns
- Plan gentle angles instead of sharp bends
- Avoid areas with tree roots, walkways, or utilities
- Keep the path simple and easy to maintain
Marking the route with spray paint or stakes lets you see the layout and helps you stay on track when installing.
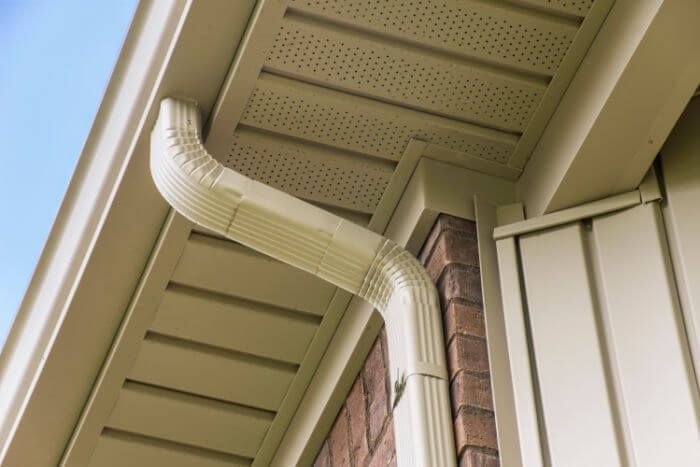
Tools and Materials for Extending a Gutter Downspout
The tools and materials you need depend on whether you’re installing an above-ground or underground extension. Above-ground extensions are simpler and require fewer materials. Underground extensions are more durable but involve more planning and effort.
Tools You May Need
Most homeowners already have many of the basic tools you’ll need.
- Tape measure
- Shovel or trenching shovel
- Level (to check slope)
- Hacksaw or PVC pipe cutter
- Work gloves
- Safety glasses
- Utility knife
- Rubber mallet (optional)
The right tools help you keep the correct slope and make sure everything connects properly.
Common Materials
Materials vary based on extension type, but most systems use standard drainage components.
- Downspout adapters or reducers
- Extension piping (vinyl, PVC, or corrugated)
- Elbow fittings and couplers
- Splash blocks (for surface discharge)
- Pop-up emitters (for underground exits)
- Pipe connectors or screws
- Landscape fabric (optional, good for underground installs)
Always choose materials designed for outdoor drainage.
Connect with the best gutter pros in your area today.
Step-by-Step: How to Extend a Gutter Downspout Underground
Underground downspout extensions move water out of sight and farther from your foundation, but they need to be installed carefully and methodically. This method takes more effort than surface extensions, but it gives you better drainage over time and a cleaner look. Take your time, and the end result will be worth it.
Step 1: Mark the Extension Path
Clearly outline the route from the downspout to the discharge point.
- Use spray paint, stakes, or string to mark the path
- Confirm the route slopes away from the house
- Plan for a gradual downhill run — no dips or uphill sections
Keeping a steady slope is very important so water doesn’t sit in the pipe, which can cause clogs or mold.
Step 2: Dig the Trench
Dig a shallow trench that allows water to flow easily away from the foundation.
- Depth: 6 to 12 inches (depending on pipe size and climate)
- Width: Wide enough to work comfortably
- Slope: About a 1-inch drop for every 8 to 10 feet of length
Check slope frequently with a level to avoid low spots.
Step 3: Dry-Fit the Pipes and Fittings
Lay all pipes and fittings in the trench without connecting them first. Dry-fitting helps you catch mistakes before you finish the job, which ultimately saves you money.
- Confirm proper length and alignment
- Adjust angles or add fittings as needed
- Ensure the discharge point is correctly positioned
Step 4: Attach the Downspout Adapter
Connect the downspout to the underground pipe using the correct adapter. A strong connection at this point is important for the system to work well.
- Secure the adapter tightly to prevent leaks
- Make sure the connection directs water smoothly into the pipe
- Avoid sharp drops that could cause clogging
Step 5: Install and Connect the Extension Pipes
Assemble the pipe sections while keeping a consistent slope.
- Connect sections firmly using couplers
- Check slope as you go
- Avoid crushing or bending flexible pipe
If pipes are loose or uneven, water can back up or collect in the line.
Step 6: Connect Additional Downspouts (If Needed)
Multiple downspouts can sometimes share a line, but not always.
- Combine lines only if the pipe is large enough
- Keep downspouts separate if water volume is high
- Avoid flooding a single discharge point
If you’re not sure, keeping lines separate helps reduce the risk of problems.
Step 7: Backfill the Trench
Refill the trench carefully to avoid shifting the pipe.
- Backfill in small layers
- Gently tamp soil as you go
- Recheck slope before final fill
Take your time with this step, since it directly affects how well your system works over time.
Step 8: Create a Proper Drainage Exit
End the system with a clear, open discharge point, using:
- Pop-up emitters
- Open pipe outlets
- Daylight discharge at a slope
Make sure the exit is far enough from your house so water won’t flow back toward the foundation.
Simpler DIY Options for Above-Ground Downspout Extensions
Above-ground downspout extensions are easier, cheaper, and faster to install than underground systems, but they may be less durable. These options work well if you need to move water a moderate distance from your home without digging.
Flexible Downspout Extensions
Flexible extensions are the easiest and most affordable option for most homeowners. They’re best for short-term fixes or in areas where people don’t walk often.
Key benefits:
- Quick installation with minimal tools
- Low cost
- Easy to adjust length and direction
Possible drawbacks:
- Less durable over time
- Can be crushed by foot traffic or lawn equipment
- May not blend in visually with landscaping
Rigid Downspout Extensions
Rigid extensions are more durable and have a cleaner appearance than flexible options.
A few advantages:
- Stronger and longer-lasting
- Better water flow control
- More polished look near the home
Things to consider:
- Require more precise measuring
- Less forgiving if the ground shifts
- Slightly higher cost than flexible extensions
Hinged or Roll-Out Extensions
Hinged or roll-out extensions extend during rain and retract when dry. They work best in areas with limited space.
Benefits:
- Fold up for mowing or foot traffic
- Convenient for walkways and driveways
- Simple installation
Limitations:
- Moving parts may wear over time
- May not handle heavy rainfall as well as fixed options
How Much Does It Cost to Extend Gutter Downspouts?
Costs depend on whether you choose a DIY solution or hire a professional, and whether the extension is above or below ground.
DIY Downspout Extension Costs
DIY options are typically affordable for most homeowners.
- Above-ground extensions: $10 to $50 per downspout
- Underground extensions: $50 to $150 per downspout
Costs vary based on the quality of the materials, the downspout length you need, and the types of fittings.
Professional Downspout Extension Costs
Professional installation costs more but can be well worth it for the added peace of mind, knowing your downspouts were installed correctly.
What affects cost:
- Number of downspouts
- Length and depth of trenches
- Soil conditions and access
- Local labor rates
Many contractors have a minimum fee, so combining several downspouts into one project can lower the cost for each extension.
When to Hire a Professional Instead of DIY
When water problems persist or when drainage issues go beyond simple extensions, it’s best to hire a pro. Some instances where a pro is worth it include the following.
Drainage and Grading Issues
If your yard slopes toward the house, extensions alone may not fix the problem. In these cases, you may need to regrade your yard or use more advanced drainage solutions.
Underground or Integrated Drainage Systems
More complex systems are best handled by professionals. Consider professional installation if you need:
- Multiple downspouts tied together
- Connection to a French drain or dry well
- Deep or long underground runs
- Compliance with local drainage regulations
Gutter professionals ensure the slope and pipe size are correct.
Connect with the best gutter pros in your area today.
Professional Downspout Extension and Drainage Solutions
Professional solutions offer higher-capacity drainage when DIY extensions aren’t enough. Contractor-installed systems are built to handle larger water volumes, challenging yard slopes, and ongoing moisture issues.
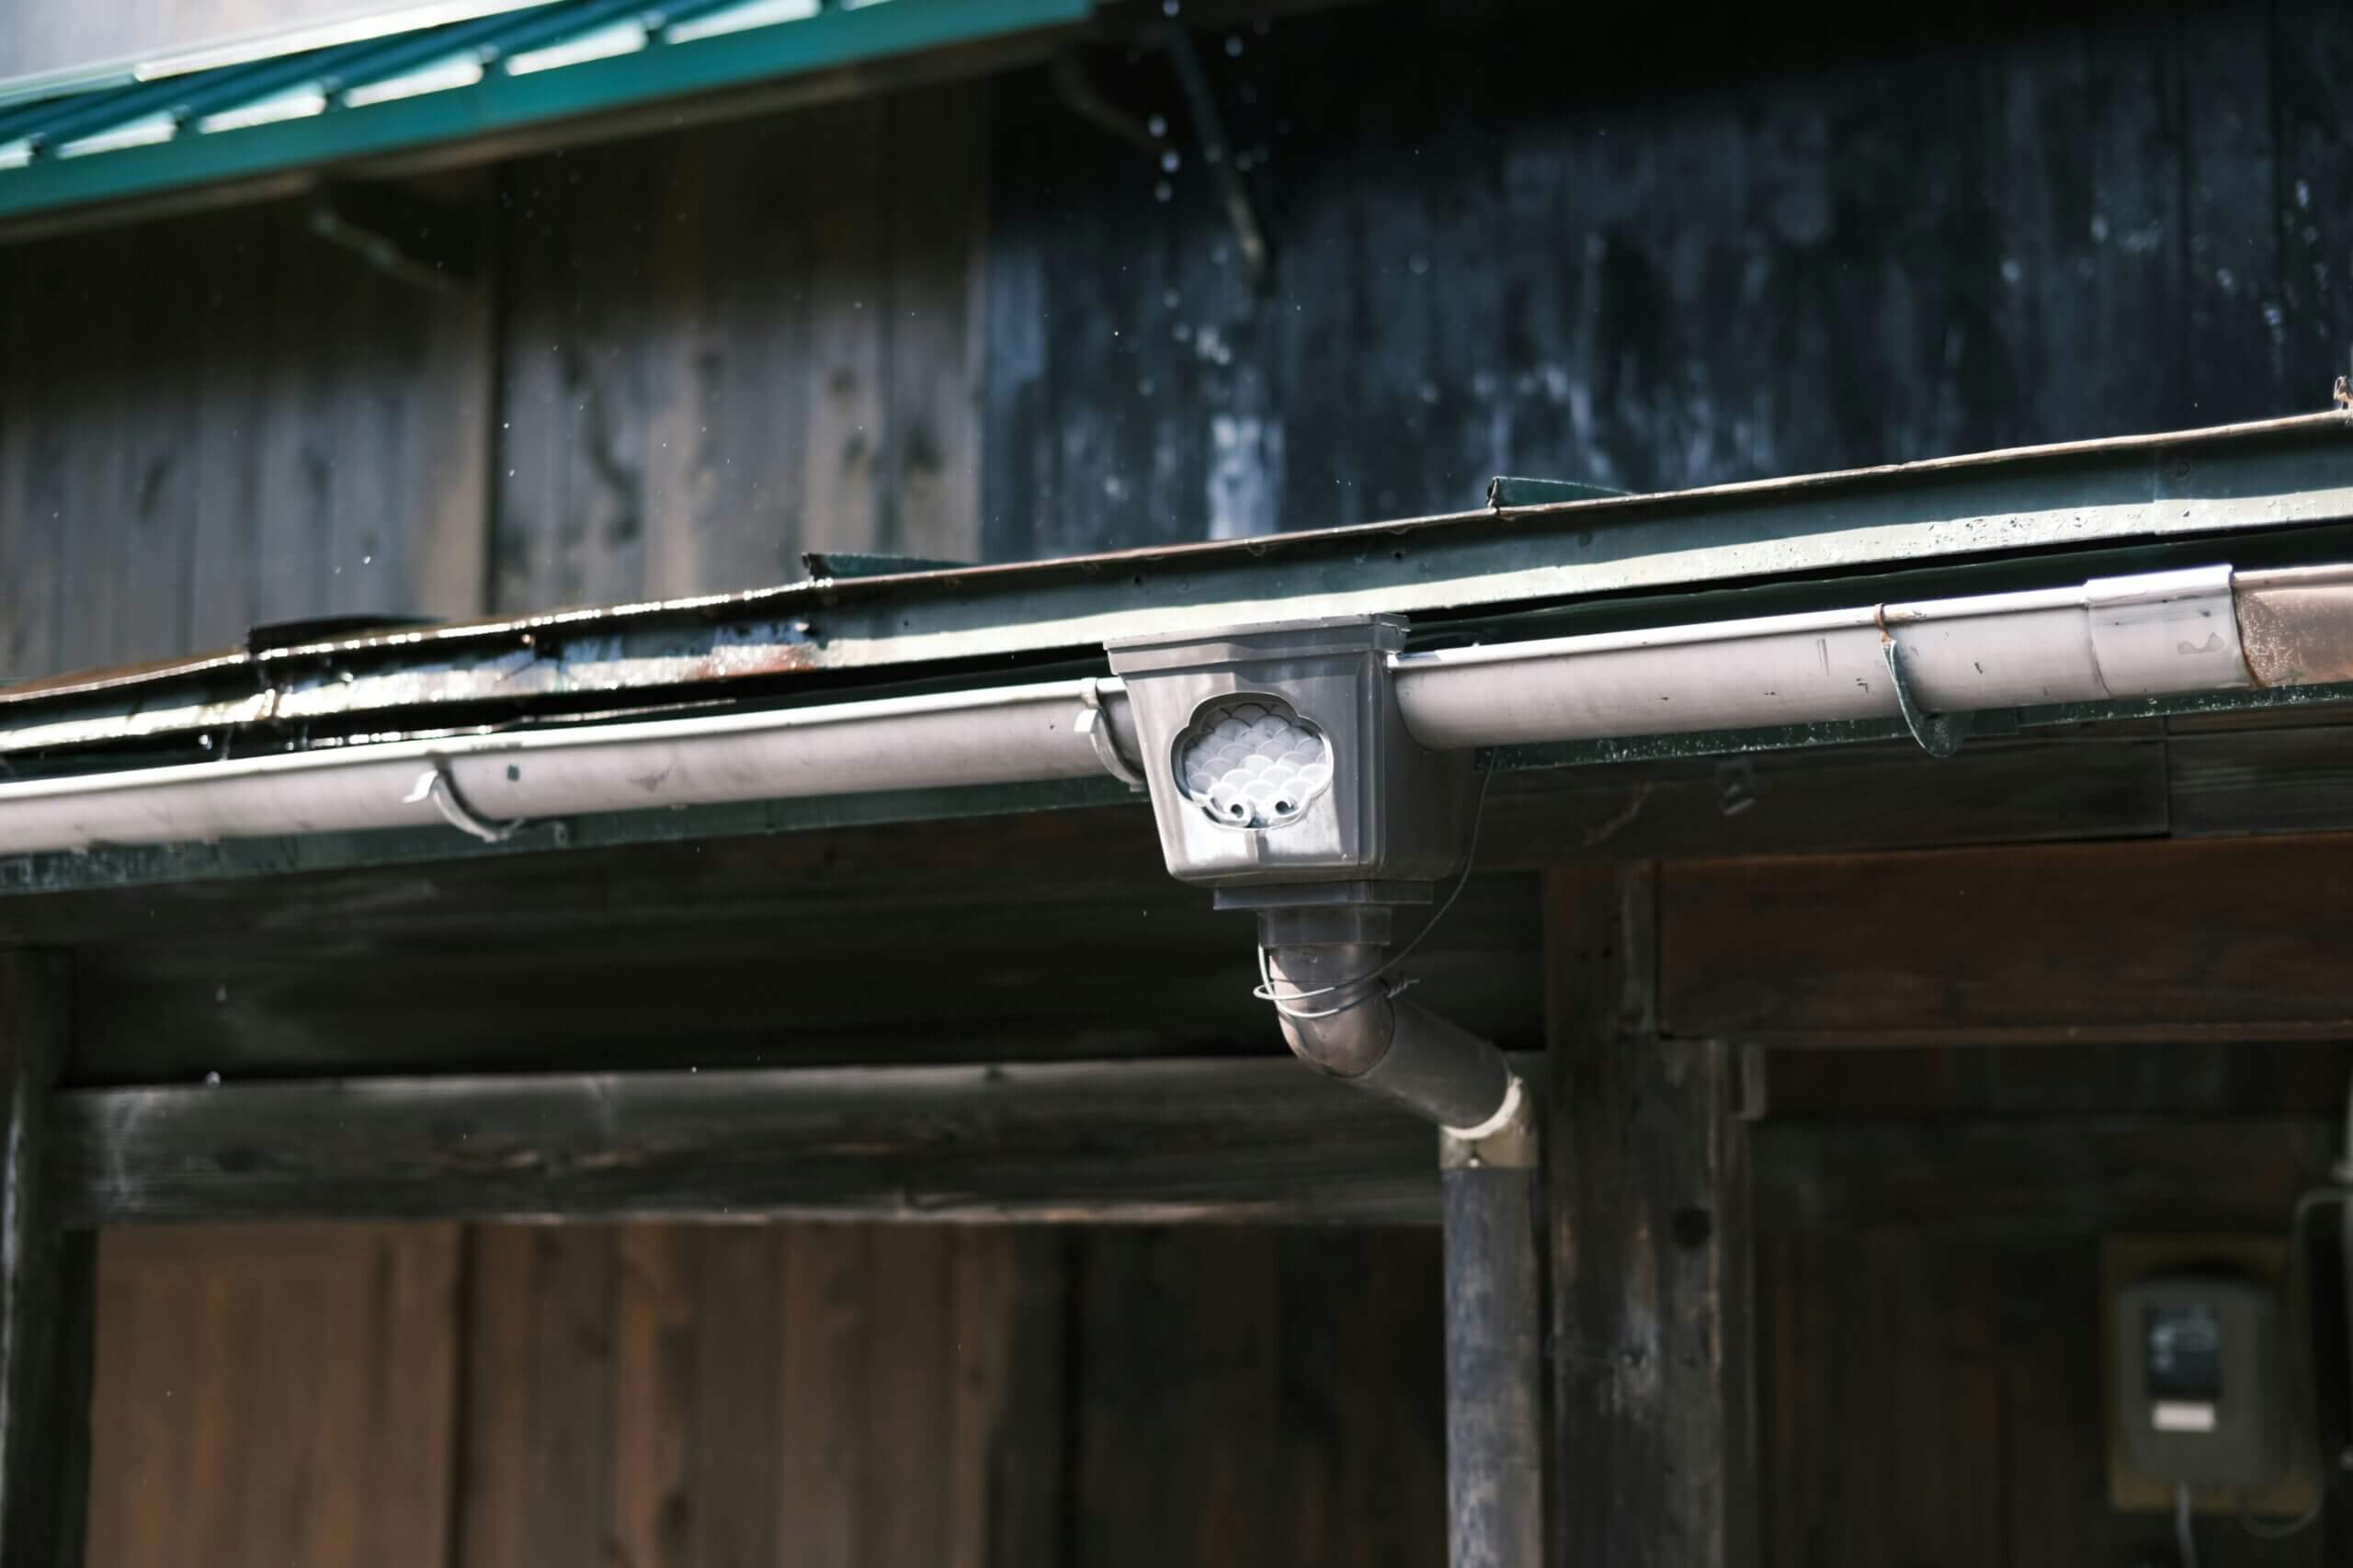
Underground Downspout Extensions
Professionally installed underground extensions are more durable and reliable than most DIY versions. They ensure:
- Proper slope and pipe sizing
- Heavy-duty materials that resist crushing
- Clean, hidden appearance
- Reduced risk of clogs or standing water
These systems are often used for homes with foundation or basement moisture problems.
Connecting Downspouts to Drainage Systems
Downspouts can sometimes be tied into larger drainage channels to move water even farther away. Common drainage system options include:
- French drains: Redirect water through gravel-filled trenches
- Dry wells: Allow water to slowly soak into the ground
- Storm drain connections: Used where permitted by local rules
A professional can check if your property and local rules allow these options.
Common Mistakes to Avoid When Extending Downspouts
Small mistakes can send water back toward your home or reduce the effectiveness of your extension. These are some common issues to watch out for.
Draining Water Toward the Foundation
Water must always flow away from the house. Common causes of this mistake include:
- Extensions that are too short
- Improper slope
- Discharge points placed in low spots
Even a well-installed extension can fail if the exit is in the wrong spot.
Improper Slope or Poor Connections
Poor slope or weak connections can cause backups and standing water. Watch out for:
- Flat or uphill pipe sections
- Pipes that separate during heavy rain
- Sagging flexible extensions
Water that can’t flow freely may freeze, clog, or overflow.
Ignoring Local Rules or Property Lines
Some areas regulate where runoff can be discharged. Before installing long or underground extensions:
- Check HOA guidelines
- Avoid draining onto neighboring properties
- Confirm local drainage or stormwater rules
If you ignore these rules, you might get complaints or have to make changes later.
-
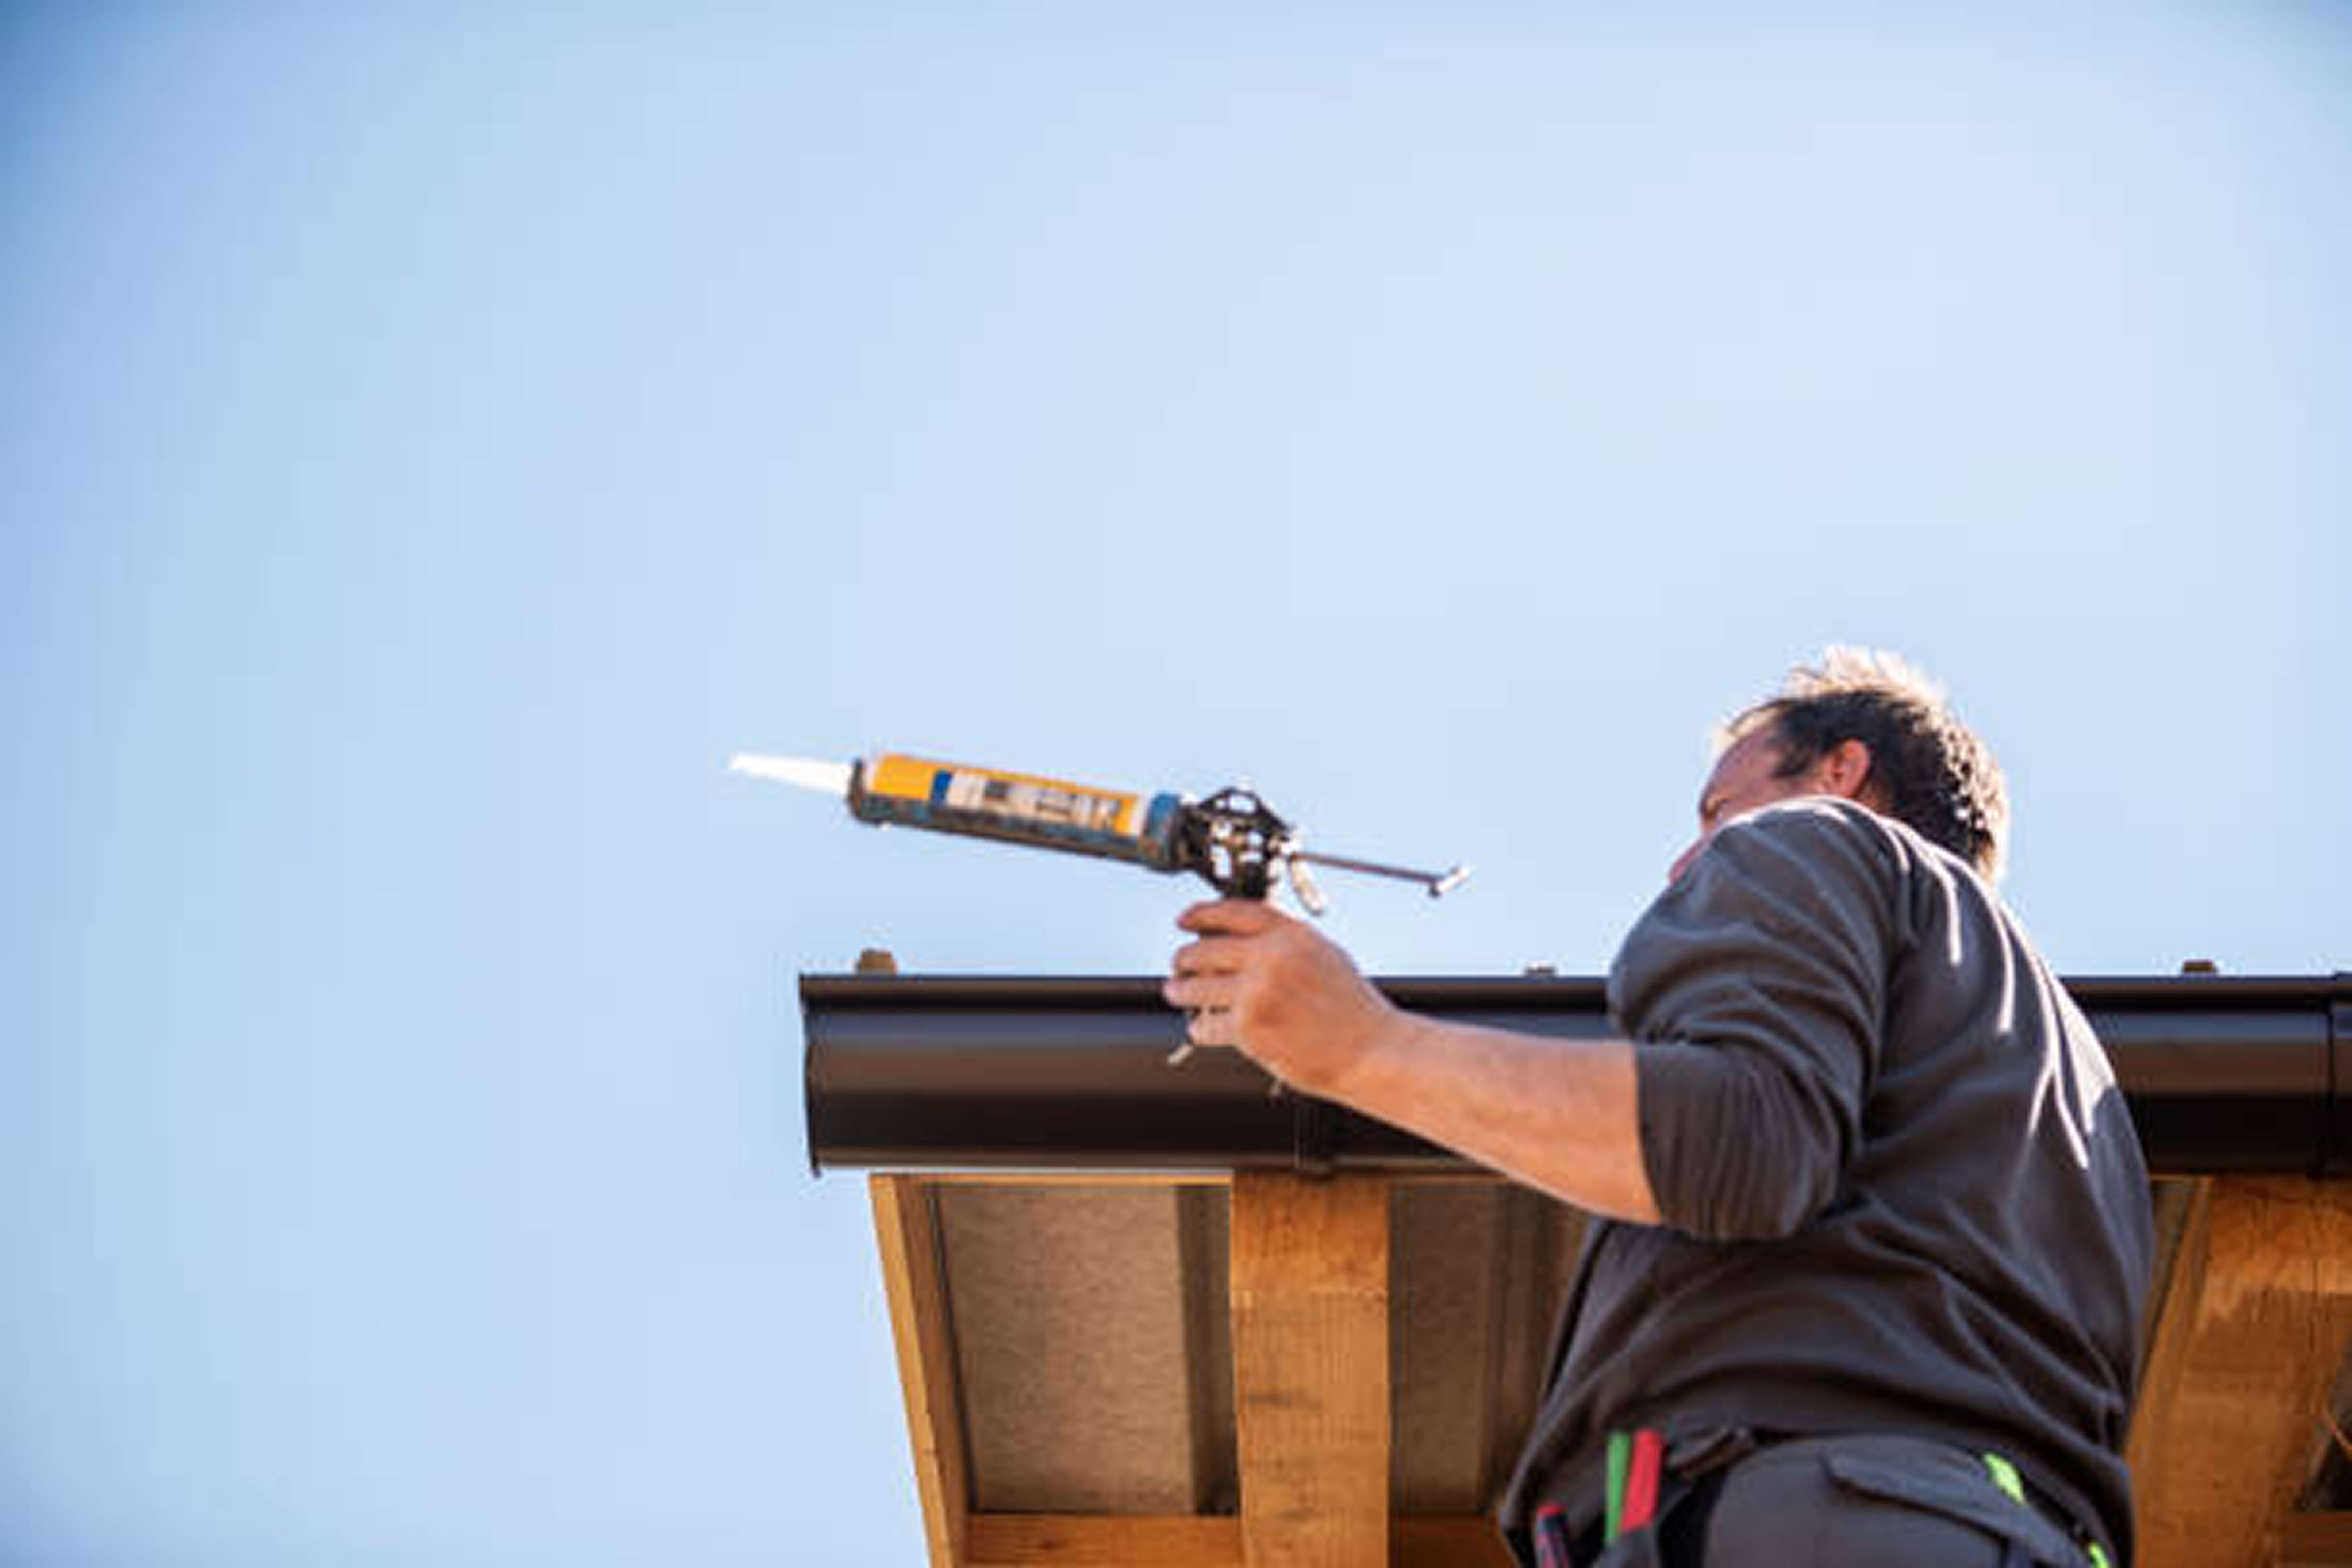
How to Seal Gutters
What Causes Gutters to Leak? Gutters usually leak when joints fail, sealant wears out, metal rusts, or clogs cause water to overflow. Over time, weather and temperature changes can weaken... -
Leafguard Cost Guide
Leafguard Cost at a Glance Typical Installed Cost: $3,000 to $9,000 total Cost Per Linear Foot: Averaging $15 to $45 per linear foot installed, up to $70 per linear foot... -
Gutter Warranties
Do Gutters Come With a Warranty? Yes, gutters do come with warranties. Whether you’re installing a new system or replacing old gutters, most manufacturers and contractors offer warranties to protect... -
Cost of Sealing Gutters
Gutter Sealing: What to Know Gutter sealing is the process of applying a waterproof barrier to your gutters to fix leaks and reinforce weak points in your gutter system. Over... -
Underground Drainage System Cost Guide
What Is an Underground Gutter Drainage System? An underground gutter drainage system uses buried pipes to move rainwater away from your home’s foundation. Rather than letting water collect at the... -
What Is a French Drain?
What Are French Drains? A French drain is a gravel-filled trench with a perforated pipe buried underground to collect and move water away from problem areas around your home. The...