Are you doing a siding project?
Modernize can pair you with three to four pros in your area, so you can compare options and save time and money.
Clapboard siding, also known as bevel, lap, or weatherboard siding, evokes the charm of historic New England homes with its overlapping wood planks that provide insulation and a waterproof seal. While its timeless appeal and practicality make it a popular choice, its wooden construction can lead to cracking or splitting over time. Fortunately, learning how to repair clapboard siding can help you restore and maintain your home’s beauty with ease.
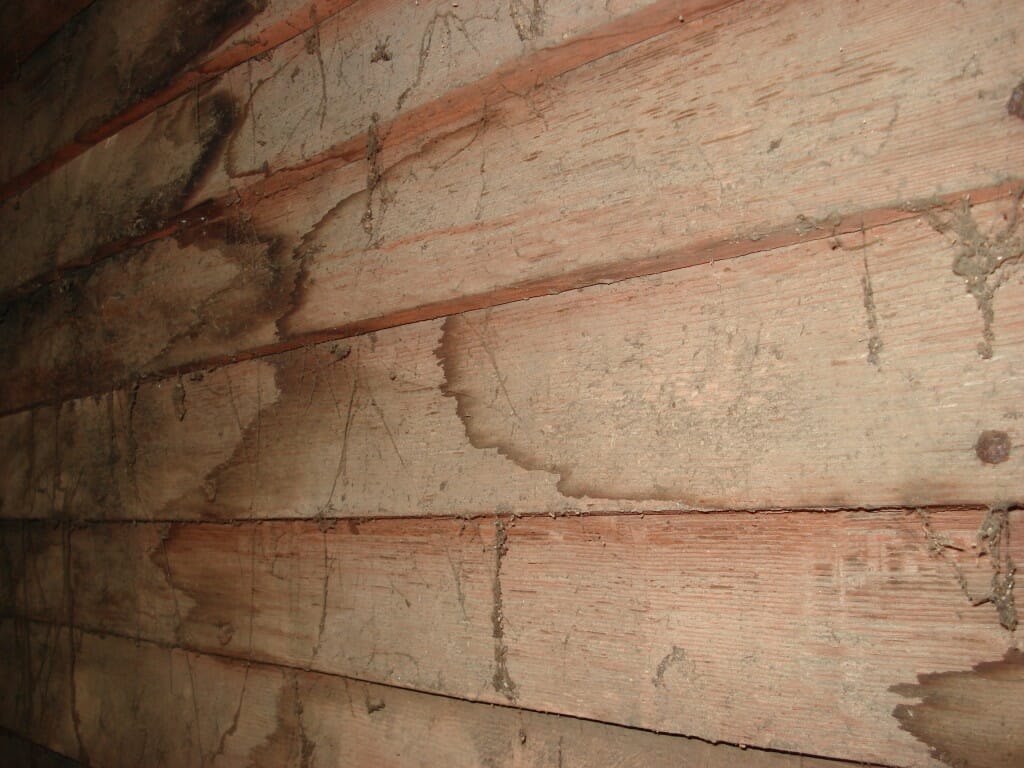
Locate and Mark Trouble Spots
The first step is to locate all the trouble spots in your home—any area that is cracking or rotting away. As long as there aren’t a huge number of spots around your house, it makes more sense to replace the individual pieces rather than re-side the entire home. Use a bright marker, some chalk, or flags to mark up each of the spots for easy visibility.
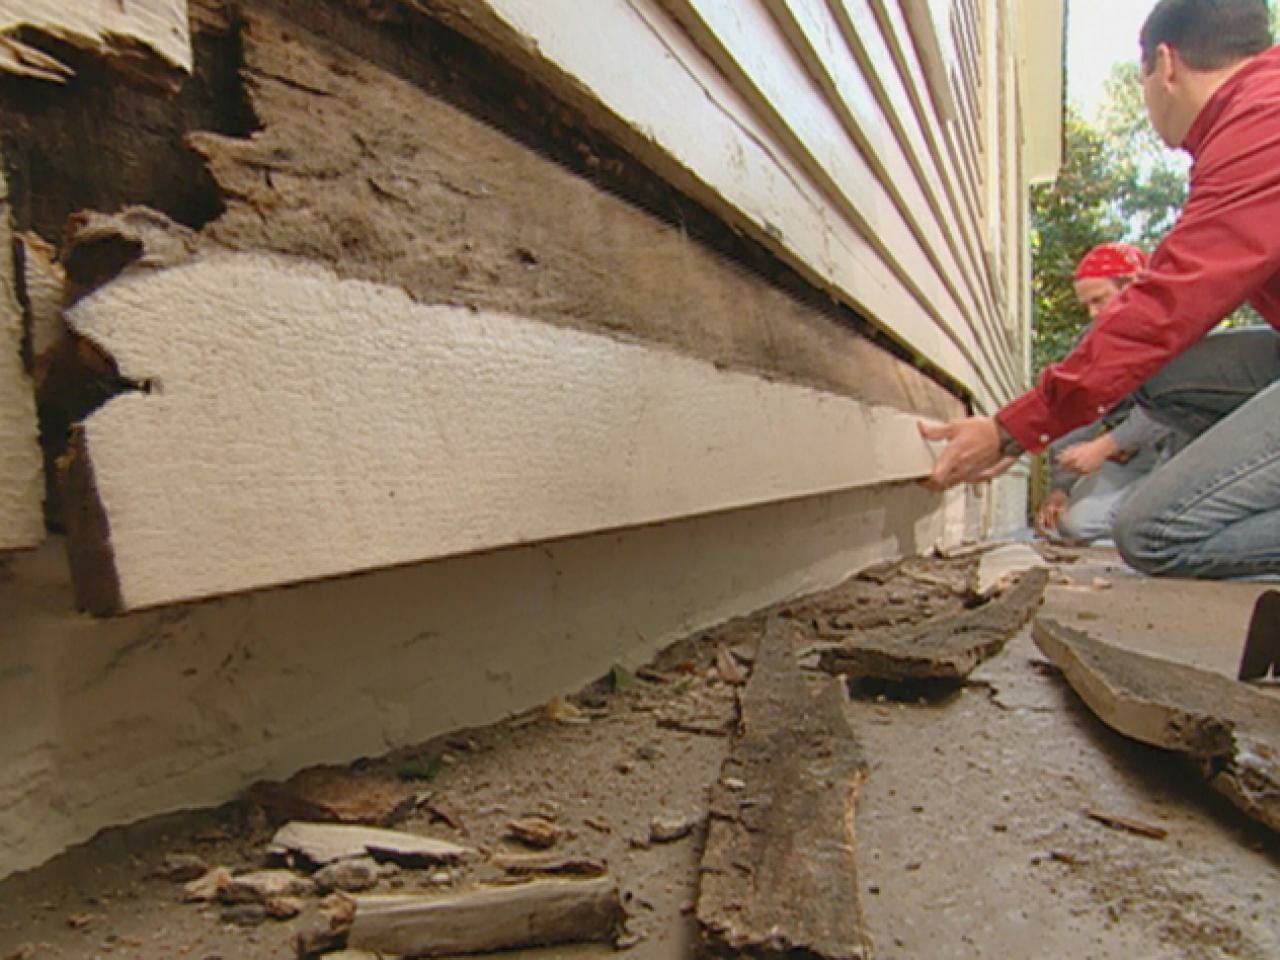
Remove the Broken Pieces
To repair clapboard siding, start by inspecting your home’s exterior and removing broken pieces. Use a hammer to loosen the nails on the damaged siding and the piece above it. Slip a flat pry bar under the top row of siding and lift it 4–6 inches. Tap the siding back down to pop out the nail heads, then pull the nails to release the broken piece. Remove the bottom nails the same way and slide the siding off. Measure its width and length, noting the dimensions for the new siding. Repeat for all damaged sections.
Obtain New Siding
It’s best to obtain the same siding that’s already on your home, or at least something similar in color. While you might not be able to find the same wood, it should be a good match once you’ve painted it. Bring the wood dimensions with you to make sure you’ve got the right thickness product. Buy enough siding to cover all the broken pieces, and consider getting a few more just in case you run into problems in the future.
Prepare the Siding
Cut the siding to the proper length and paint it to match the rest of the clapboard on your home. You’ll have to spot paint over top of the nails after they’re pounded into the siding later, but it’s easier to completely cover the siding when it’s painted in advance.
Find the Right Contractor for Your Siding Project
Whether you’re ready to begin your project now or need some expert advice, our network of contractors are here to help. With a few simple questions, we’ll find the best local professionals for you
Install the Siding
Slip the siding underneath the piece above it (the one that you pulled the nails out of). Nail the bottom piece back in place all along its length, ensuring that each of the nails is sunk into the wood at least 1/8″. Now nail the top piece of siding back in place as well. To finish the installation, just paint over top all of the nail heads. This will weatherproof the installation and keep your home dry and looking like new for years to come.
Replacing Sections Instead of Full Pieces
To replace a small section of a long clapboard piece, cut out the damaged portion and insert a new piece of the same length. While this creates seams, paint can mask them effectively. Pry up the piece above the damaged section, mark a square line with a speed square, and carefully cut along it with a reciprocating saw. Cut, paint, and install the new piece, following the standard repair steps.
Extend the Life of Your Siding
Now that you’ve seen all the necessary steps to repair clapboard siding, it’s easy to see that it would be better to avoid having issues to begin with. The best way to do this is to carefully maintain the siding so that it doesn’t deteriorate as quickly. Keep your siding painted regularly to protect it from the elements.
Find the Right Contractor for Your Siding Project
Whether you’re ready to begin your project now or need some expert advice, our network of contractors are here to help. With a few simple questions, we’ll find the best local professionals for you
-
 cost and budgeting
Affordable Home Upgrades
We’ve all had that moment walking into a room thinking, “It’s fine, but…” Sometimes it’s dated hardware. Sometimes it’s lighting. Sometimes it’s just that nothing feels fresh anymore. Here’s the... -
 maintenance and care
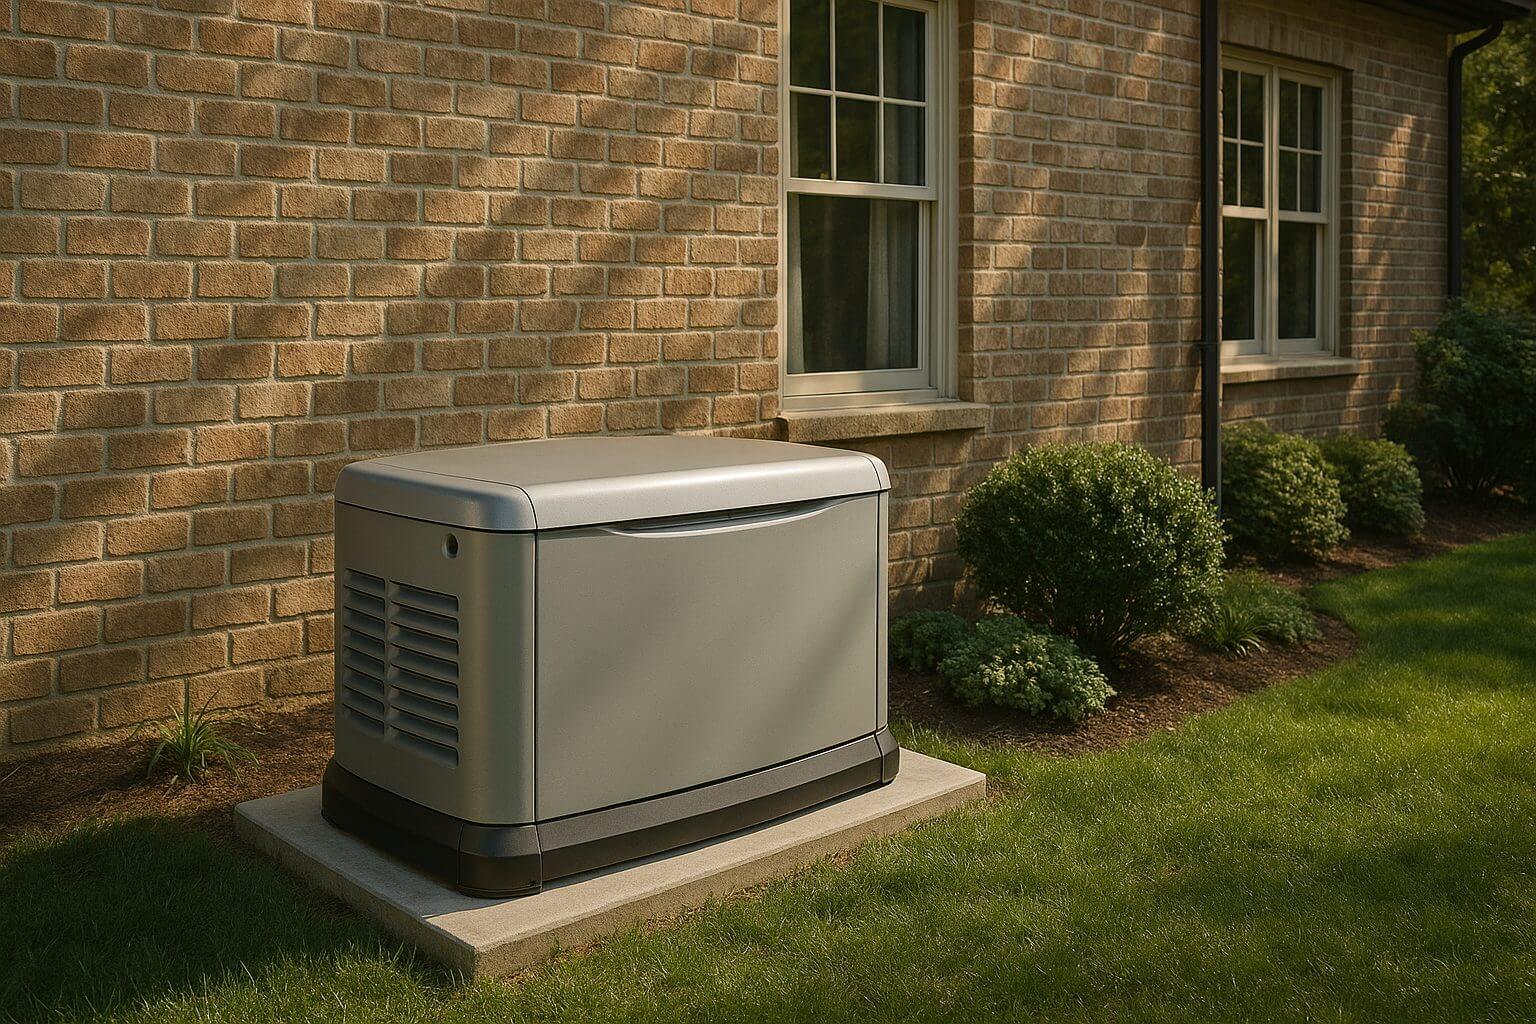
Natural Gas Generators and Carbon Monoxide: What Homeowners Should Know
Understanding the Concern Natural gas generators are one of the most popular standby power options for homeowners. They connect directly to your home’s gas line, which means no hauling fuel... -
 installation
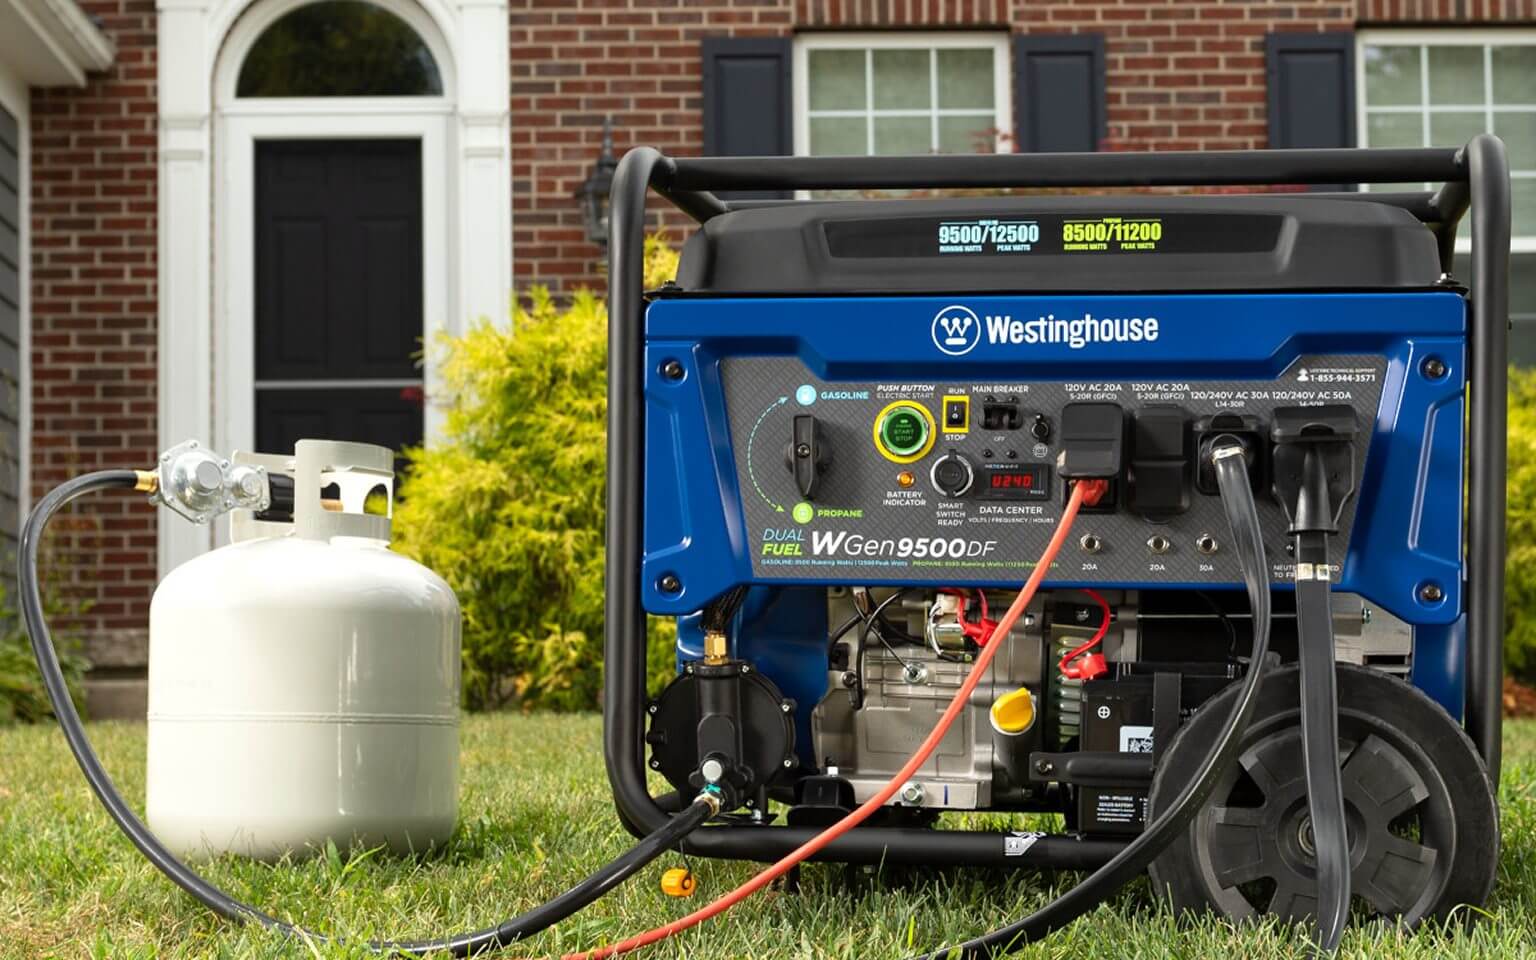
15 Practical Ways Homeowners Can Use a Generator
More Than Just Backup Power When people think about generators, they often picture them humming away during a blackout. While that is their most common role, generators are surprisingly versatile.... -
 maintenance and care
Diesel Generator Maintenance Made Simple: 10 Must-Know Steps
Why Regular Generator Care Matters A diesel generator can be a rock-solid backup power source, but like any engine, it needs consistent care to keep running reliably. Skipping maintenance can...
Reviews from Real Homeowners
Welcome to Homeowner Resources! We are the Modernize blog. Modernize pairs more than 3 million homeowners a year with pre-vetted contractors in their area. This blog started because we believe homeowners should know everything about their homes, from how their HVAC works to which front door colors they might love. On Homeowner Resources, you can find information on every part of your home, right down to how you can negotiate with contractors to get the best price. Here's more about the blog.
Need a contractor? Learn more about how Modernize finds the right pro for you.