Are you doing a solar project?
Modernize can pair you with three to four pros in your area, so you can compare options and save time and money.
- Finding Experts and Choosing the Equipment
- Installing the Collectors
- Surface Mounted Collectors
- Frame Mounted Collectors
- Getting the Tank in Place
- Closed Loop Plumbing
- System Vent
- Pressure Relief Valve
- Heat Exchanger
- The Expansion Tank
- Attach the Plumbing
- Fill the System
- Open System Plumbing
- Testing the System
Thank goodness for hot water heaters. They’re our key to the simple pleasures we sometimes take for granted, like hot showers and baths, and even running the dishwasher. Unfortunately, it takes a wasteful amount of energy for them to keep your water piping hot.
Many people try to cut water usage in an effort to reduce this lost energy, but they don’t realize that the heat is still generated throughout the day, whether or not they actually use the hot water in the tank. That’s because thermal energy—or heat—is constantly escaping through the sides and bottom of the tank, and that’s also why the tank is warm to the touch.
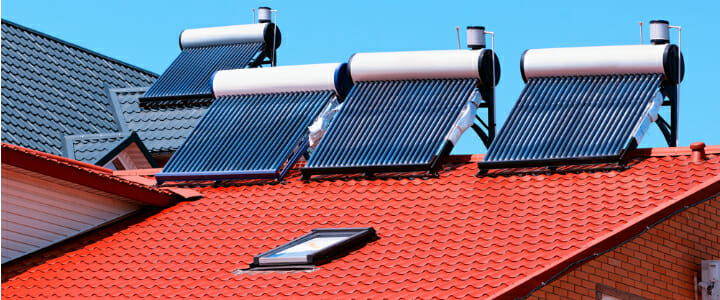
If you’re trying to figure out how to cut water heating expenses, a solar water heater is an incredibly beneficial choice. Designed to heat water using collected sunlight, they cost next to nothing to run, and they can be connected alongside a standard hot water heater to lower costs without reducing convenience. What’s more, they’re simply designed, and they can be installed by a professional with no trouble at all.
Finding Experts and Choosing the Equipment
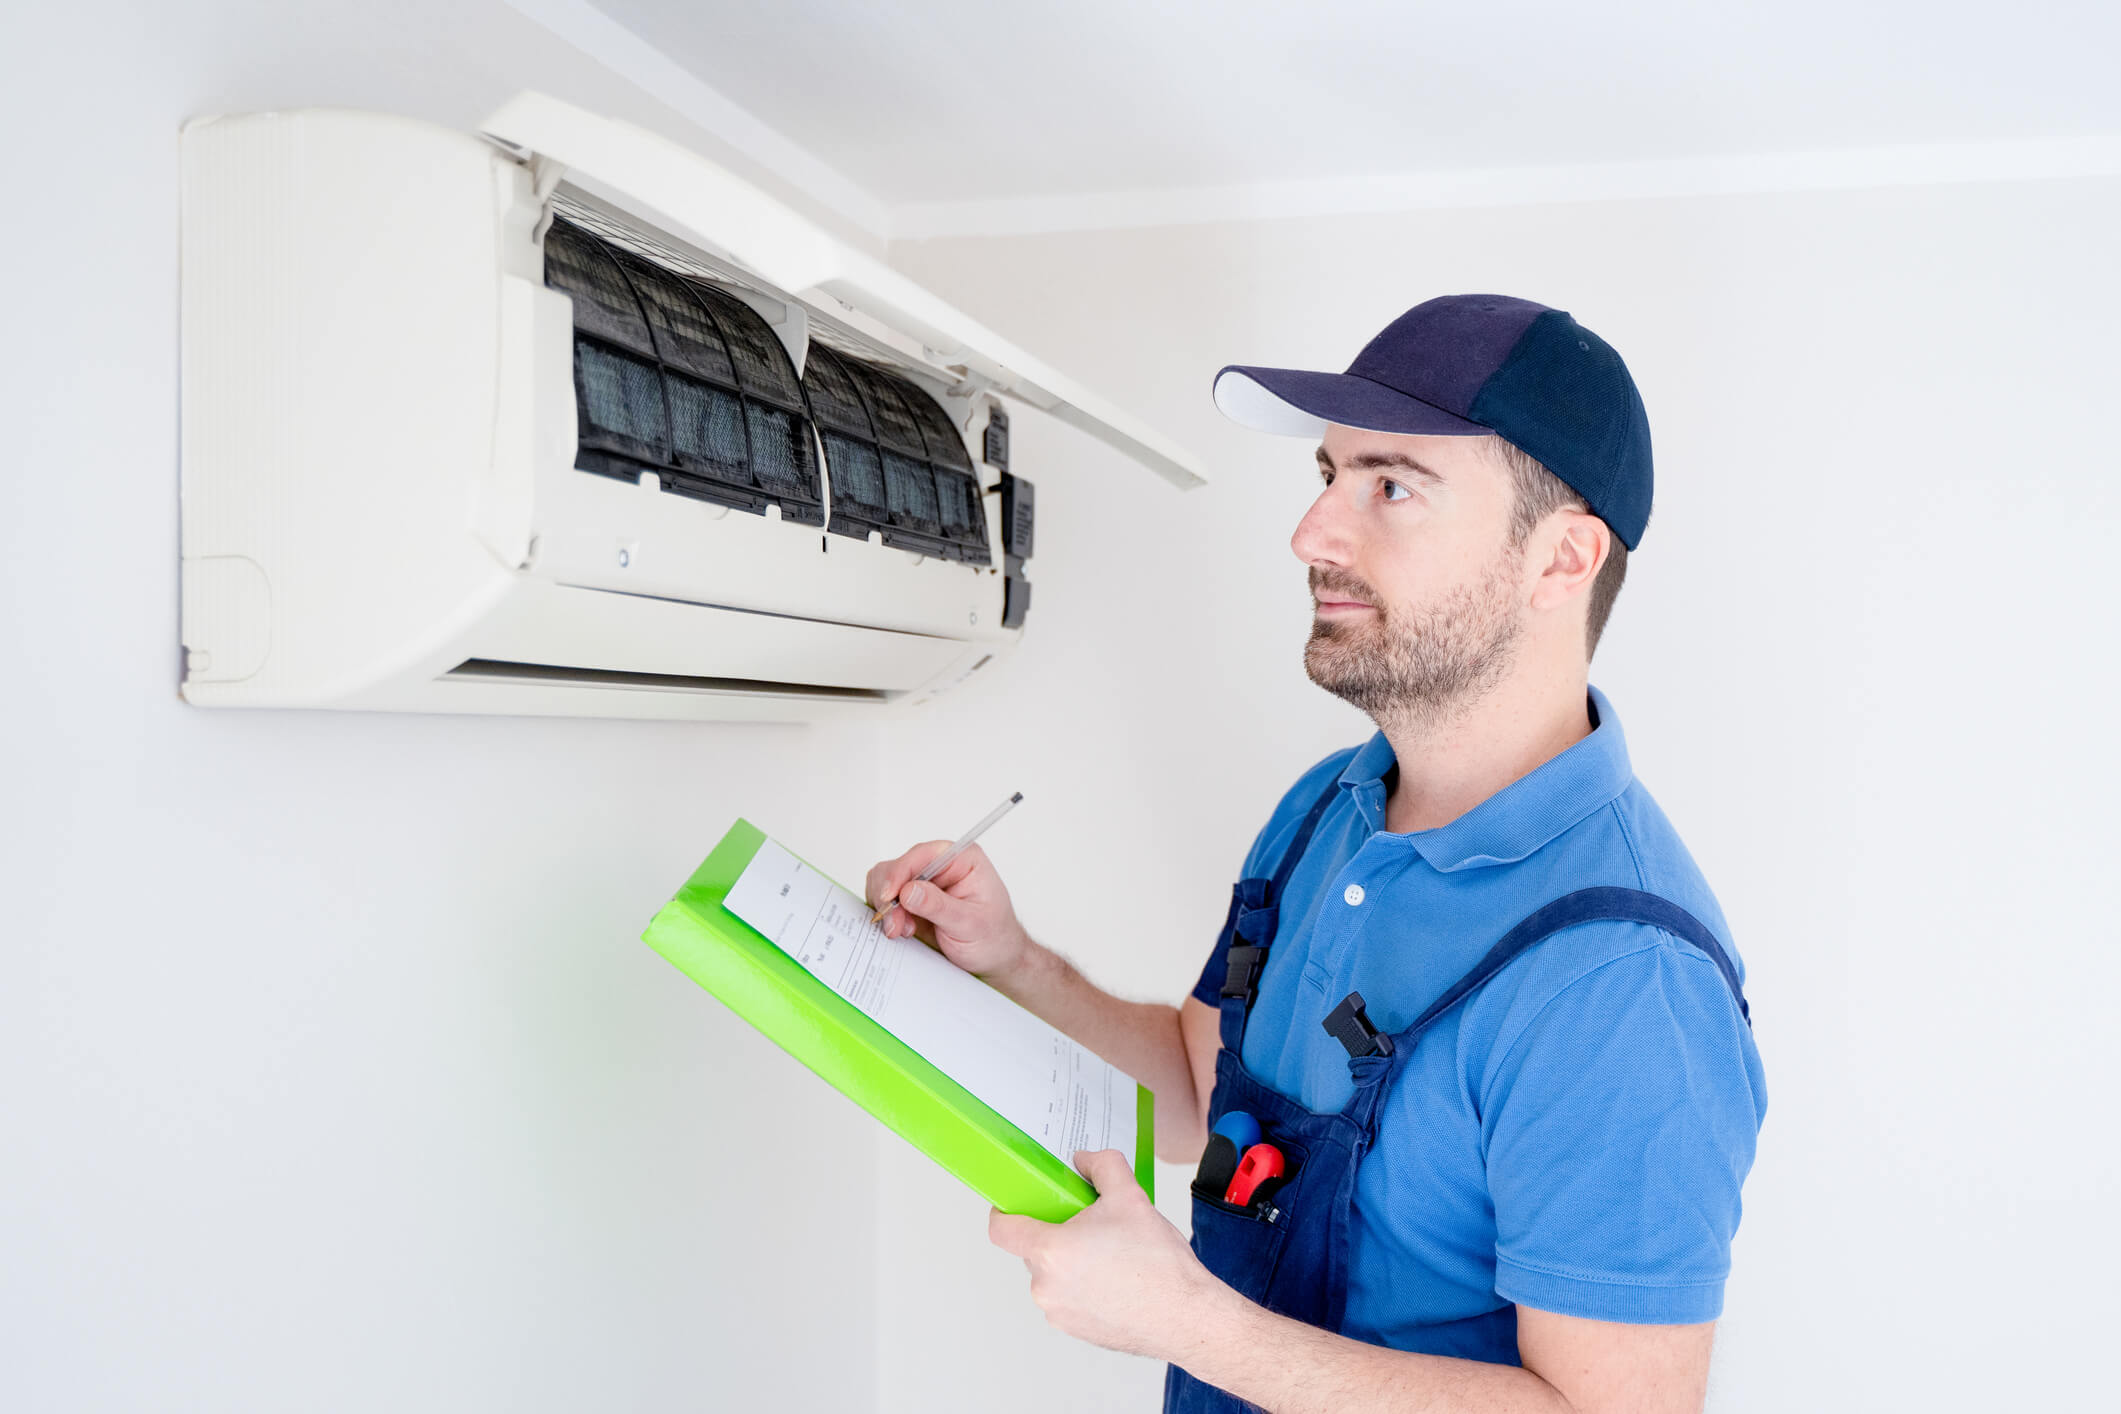
The beginning of any solar water heater installation is the planning phase. This is when you’ll want to find a reliable, experienced professional who will help with the smaller details in choosing the system that best fits your needs. You’ll need to explain your heating and cooling goals with the expert, who will turn your goals into an efficient and rewarding system. Talk with at least a few different experts first in order to find both the best prices, as well as the most helpful professionals in your area.
Installing the Collectors
The solar collectors are one of the most important aspects of the heating system, since they collect the sun’s energy in order to convert it to heat for warming your home.
The collectors can be put on the roof in a couple different ways, depending on both the mounting system that they use, as well as the type of collector. They’ll either be installed under the existing roofing, with the roofing coming up over the top of the edges like it would around a skylight, or they’ll be installed over top of the roofing with built-in flashing to keep water out.
Surface Mounted Collectors
Some solar collectors are designed to be surface mounted, which is convenient for homes with shingle roofing, or any other type of roofing that will need replacement over the lifetime of the system. The collectors are fastened right to the decking that supports the roof of your home. That means the existing roofing must be removed to make room for the collectors. Once the roofing is cleared away, the collectors are attached to the sheathing material that holds the roof together—usually plywood. Once the collectors are fastened, flashing is applied around them and the roofing is put back in place, creating a water-tight seal.
Frame Mounted Collectors
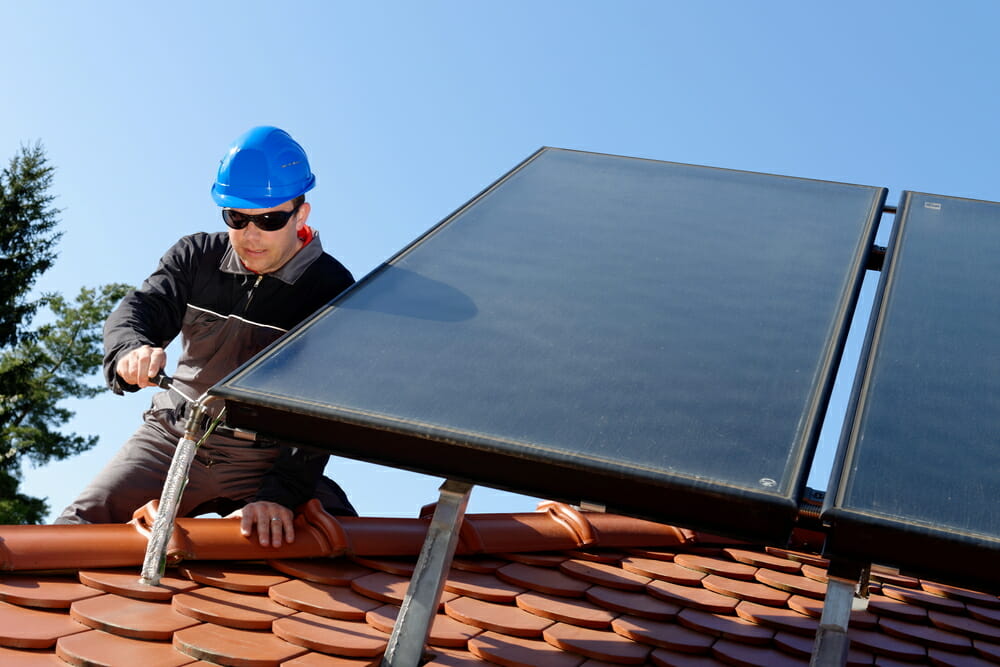
Most solar collectors sit on top of a frame system with built-in flashing to protect the roofing below it. These frames lift the collector up off the roof and at an angle for maximum sunlight. The legs of the frame attach right on top of the roofing, and the flashing around each of the legs is installed into the existing roofing to create a water-tight seal even with the new fasteners in place. The legs are typically bolted in place and designed to withstand high levels of wind.
All the collector frames are attached in place and the collectors are fastened to the frames to complete the collector installation.
Getting the Tank in Place
Most solar heating systems have a separate hot water tank designed to capture all the heat generated from the system. Sometimes the hot water tank in the system is the only one used to provide the home with hot water—and many modern solar water tanks come with a built-in electric element for auxiliary heating when the sun isn’t shining enough. In other installations, the solar tank is set up alongside an existing hot water tank, and the solar water preheats water for the main hot water tank. This cuts down on the other tank’s need to run, while also reducing the utility bill markedly.
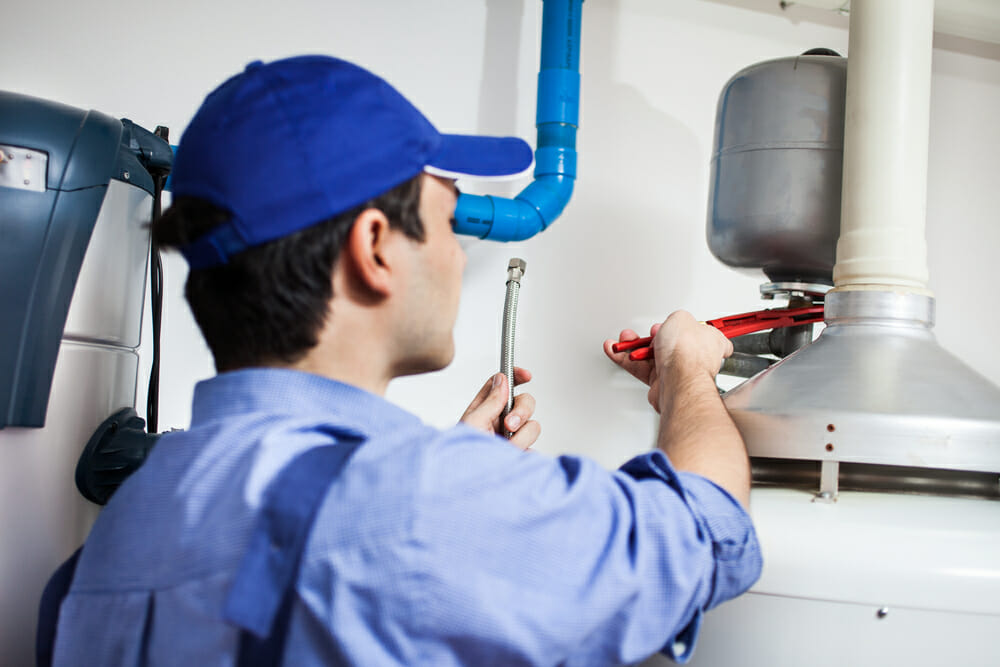
In either scenario, a new hot water tank must be installed before the system can be used. The hot water tank is carried into the home—usually in the basement, but often alongside the original hot water tank—and attached to an outlet, if auxiliary heating is provided by the tank.
Getting the hot water tank in place is a simple matter, but setting it up to function with the solar collectors and the existing system is a serious undertaking.
To complete the installation, a water pipe is run from the new tank into the original one. This is so water heated in the new tank will make its way into the original tank and curb the need for heating to occur at all.
Find the Right Contractor for Your Solar Project
Whether you’re ready to begin your project now or need some expert advice, our network of contractors are here to help. With a few simple questions, we’ll find the best local professionals for you
Closed Loop Plumbing
With the hot water tank in place next to the original water tank, it’s time for the plumbing.
System Vent
A system vent is put in at the top of the collector array. This allows water to flow freely through the system and helps prevent a vacuum from forming. The vent is an important part of the system, but it must be installed at the peak of the system to avoid taking any water out of it during standard operation.
Pressure Relief Valve
After the solar collectors there is a check valve to keep water flowing in one direction, as well as a pressure relief valve. If pressure increases to a level that’s dangerous for the system, it will be released through the pressure relief valve to drop levels down to safe measures.
Heat Exchanger
A heat exchanger is placed in the new water tank, and it’s the only thing bringing heat from that closed loop system. The exchanger takes a feed from the collectors and runs through the water tank that’s filled with standard house water, and it runs back out of the tank to channel through the collector once again.
The Expansion Tank
After the hot water tank in the system is an expansion tank installed to help keep pressure levels in the system at safe levels. A diaphragm separates one side of the expansion tank—which holds the water from the system—from the compressed air on the other side.
The tank expands to accommodate excess water as pressure increases, in order to keep everything stable and running properly. Unlike the pressure relief valve, the expansion tank prevents loss from occurring in the system. That means that the pressure can be moderated without liquid from the closed loop escaping.
Attach the Plumbing
With all the main components in place, it’s time to tie everything together with the plumbing. The plumbing runs from the heat exchanger in the hot water tank, to the expansion tank, up through the solar collectors above, down through the pressure relief system, and then finally back to the heat exchanger in the tank. Somewhere in the system there might also be a pump, depending on if the system is active or passive.
Fill the System
The last step is to fill the system with the anti-freeze solution. It’s usually a mix of water and propylene glycol to keep it from freezing. The solution is pumped in from the bottom and it can begin heating up and circulating around.
Open System Plumbing
An open system has plumbing very similar to a closed system with a few minor changes. Generally an expansion tank isn’t required because pressure doesn’t have the chance to build up as much. No heat exchanger is necessary either. The plumbing runs from the unit’s heat tank, around to the solar collectors, and back down through a check valve to the tank once again. There is still a vent and a pressure relief valve. The rest of the house’s plumbing remains the same as always. A pump may or may not be added, depending on what type of system it is.
Testing the System
With the plumbing in place, the system is complete. Now it’s time to test it out. Wait until a warm, sunny day and keep an eye on the temperature gauge. You should notice the temperature steadily increasing, and you should also be able to hear water cycling through the system. It’s also important that there are no leaks on any of the fittings for the plumbing. Look over the entire system as it operates to try and find any possible problems before they lead to water damage.
With your new system in place, it’s easy to save money on utility bills. Enjoy hot water more regularly during the day, without worrying about the utility bill going up. With a proper-sized system on your home, you should notice the hot water heater running much less often—and you should see a reduction on your next utility bill, too. People with electric hot water heaters will see a greater cost reduction than those with natural gas heaters, but everyone will save money over time.
Find the Right Contractor for Your Solar Project
Whether you’re ready to begin your project now or need some expert advice, our network of contractors are here to help. With a few simple questions, we’ll find the best local professionals for you
Reviews from Real Homeowners
Welcome to Homeowner Resources! We are the Modernize blog. Modernize pairs more than 3 million homeowners a year with pre-vetted contractors in their area. This blog started because we believe homeowners should know everything about their homes, from how their HVAC works to which front door colors they might love. On Homeowner Resources, you can find information on every part of your home, right down to how you can negotiate with contractors to get the best price. Here's more about the blog.
Need a contractor? Learn more about how Modernize finds the right pro for you.
