What to Expect When Replacing Old Pipes: A Homeowner’s Guide
When you have a serious leak or other problem from your pipes, obviously that’s time for replacement. But did you know that replacing outdated pipes before a major issue occurs is the best way to protect your home and wallet? Replacing old pipes can help prevent leaks and improve your water quality. Repiping a house can be a strong maintenance move, one that will increase the longevity of your property.
Why Replace Old Pipes?
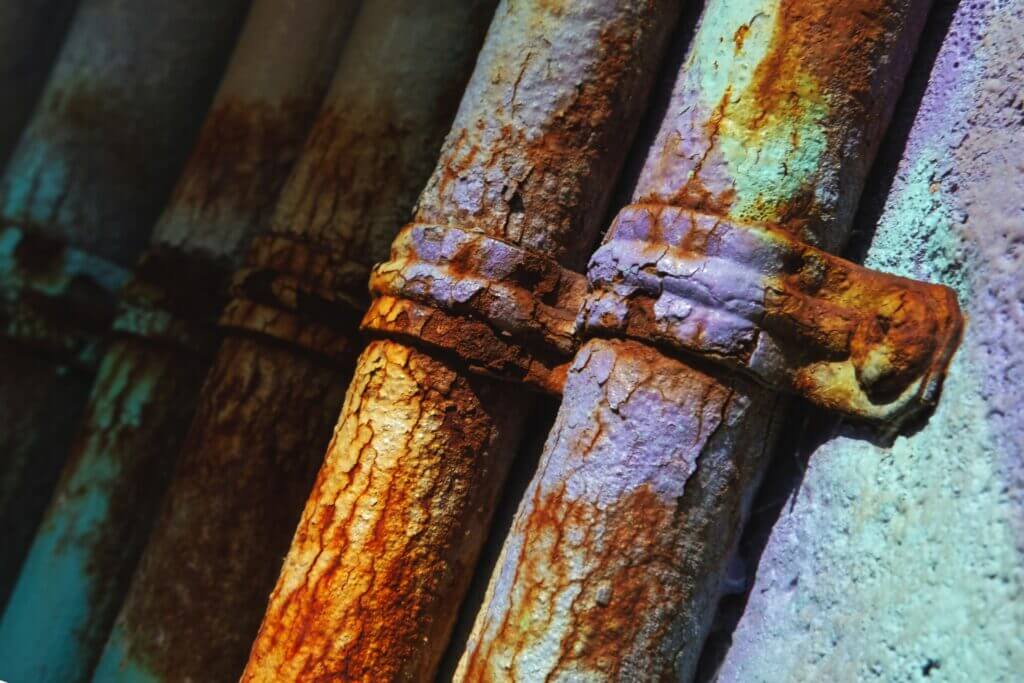
There are many reasons why your old pipes need replacement. Leaks and breaks are obvious reasons, but what about the things you can’t see? Corrosion inside the pipes leads to breakdown of the pipe itself, as well as issues with water flow. Buildup in the pipes over time can lead to compromised water pressure. Aging pipes can also be a culprit in water contamination, especially if those pipes are old enough to contain lead.
Replacing old pipes right now with modern plumbing materials can help avoid these problems for many decades to come. Today’s pipes are built to fight corrosion, withstand the freeze-thaw cycles that often lead to breaks, and keep water flowing smoothly and safely.
If the price of replacing the pipes is intimidating, consider the cost of replacing damage done by a water leak — drywall, flooring, household items, and much more. And that’s if you’re lucky and don’t have mold contamination to deal with as a result of the moisture! Proactive replacement of the old pipes is a smart move that will pay off in the long run.
Signs It’s Time to Replace Your Pipes
In most cases, your pipes will tell you when it’s time to replace them. Some loud and clear signs include:
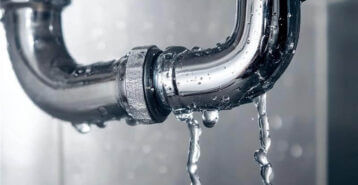
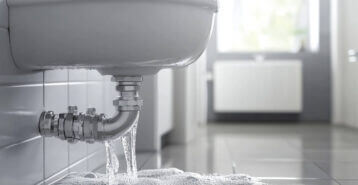
- Leaks: This is the most obvious sign that your pipes must be replaced. If you begin noticing that your pipes spring a leak more often, that means that the pipes along the whole system might be more vulnerable to those leaks. And that can eventually lead to serious repair work.
- Discolored Water: Do you notice that the water from your tap isn’t crystal clear anymore? As the pipes disintegrate over time, they could allow chemicals and minerals to leach into the water, changing the color.
- Mold: Leaks from water pipes can lead to serious mold problems, especially if those pipes are behind walls or under the floor, where you can’t see the slow trickle of damage. If there is mold in your home, it might be time to replace the whole piping system.
- Low Water Pressure: Have you been fighting to get more water pressure? Maybe you’ve changed out the faucets or the aerators and nothing seems to work. That could be because the pipes have buildup inside that is preventing the water from flowing properly into your home.
- Slow Draining: What about the water that flows out of your home? If you notice tubs and sinks are slow to drain, your appliances seem sluggish, and your toilets back up more often, you probably have an issue with the outlet pipes.
- Higher Utility Bills: Is your water bill rising? Inefficient pipes or leaks in those pipes can lead to more water usage showing up on your bill, even though you aren’t using more water or you’ve even cutting back.
- Corrosion: Though corrosion of the pipes can occur on the inside, the way the pipes look on the outside can be a clue to what’s happening within them. Any rust or corrosion on pipes means that they need to be replaced.
- Noise From the Pipes: Are you hearing banging, rattling, or whooshing sounds from your pipes? These could indicate problems with water flow, such as a blockage that will eventually turn into a serious issue.
Types of Replacement Pipes Available
There are many different types of pipes out there. Let’s look at what to expect when your contractor gives you a variety of options.
- PEX: This is a lightweight, flexible pipe that can withstand the freeze-thaw cycles that could ruin other pipes. Resistant to corrosion and other deterioration, PEX is often used as a good alternative to more expensive copper.
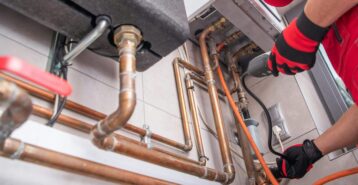
- Copper: This is a highly durable material that will easily last for decades. It’s resistant to corrosion, durable, and flexible enough to fit into tight areas. It’s often used for replacing iron or steel pipes.
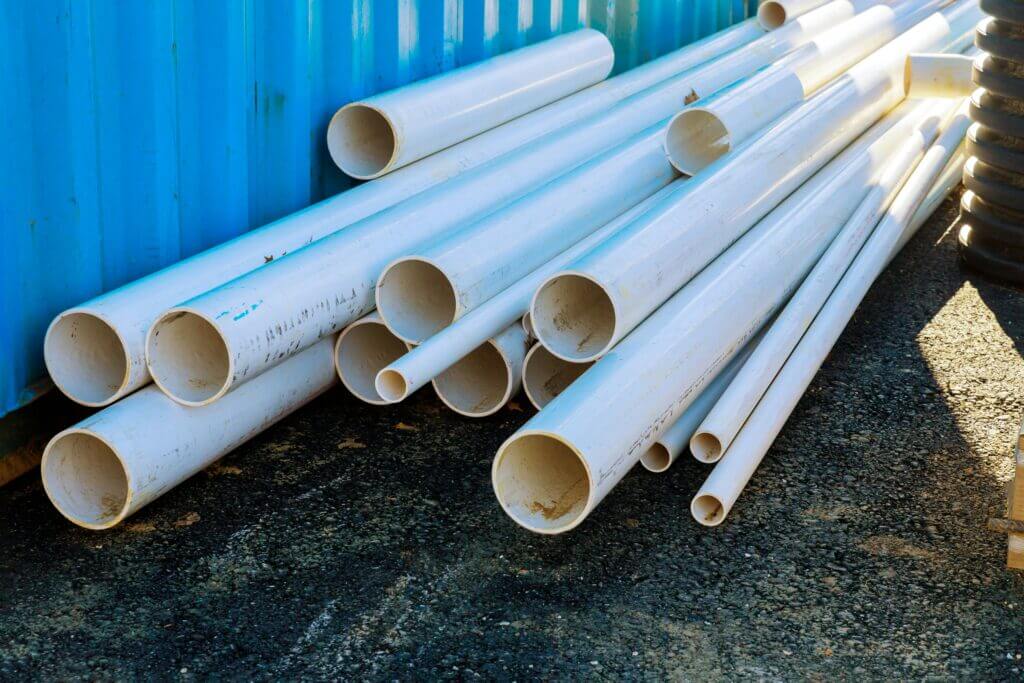
- PVC: Made of low carbon plastic, this environmentally friendly option is perhaps the most common in modern homes. While PVC is quite durable, it could eventually fall victim to significant freeze-thaw cycles.
- CPVC: This is another affordable option that is usually used to replace metal pipes. These pipes don’t often leak, won’t leach chemicals into the water, and are even resistant to fire.
- Galvanized: These pipes have a zinc coating that prevent corrosion. Though these are no longer the go-to option for pipes, they work well in some homes, especially when replacing lead pipes.
Steps in the Pipe Replacement Process
When it’s time to do any sort of home improvement work, understanding the process helps take away the mystery for homeowners. Here’s what to expect from pipe replacement.
Inspection and Assessment
A thorough inspection of your pipes begins the process. The contractor will look at your pipes to determine how old they are and what areas need to be replaced. If pipe replacement is needed throughout the home, they will create an action plan that allows them to work on one area at a time in the most efficient way possible.
Removing the Pipes
The first step is shutting off the water and draining the pipes. Then, the contractor will work methodically to remove the old pipes. If access is difficult, they might have to cut through walls or floors to get to the pipes. They will do this in careful stages to help ensure the least disruption possible.
Installing the New Pipes
Installation will be easy once the old pipe is out of the way. The contractor will carefully secure and seal the connections to ensure that the water flows smoothly through the pipe. They will work to ensure as few connections as possible, as that’s the “weak link” in the system that most often leads to leaks.
Testing
Once the job is done, the plumber will turn the water on to test the system. They will make sure there are no leaks and that the water flows freely through every appliance and faucet. They will also check for any issues with water pressure.
Cleanup
The final step will be to close and patch up walls and floors if necessary and cleanup the area. Keep in mind that if walls or floors must be patched up, the contractor will likely not be the one to repair the damage necessary to get to the pipes. Expect to hire someone to handle drywall repair, painting, and other small repair jobs to get the house looking like new.
Cost of Replacing Old Pipes
Replacing a pipe here or there can run a few hundred dollars. But replacing all the old pipes in a home can be one of the more expensive options you’ll choose for home maintenance — keep in mind, however, that replacing all the old pipes will go a long way toward keeping your home safe and avoid future problems.
Replacing the pipes in your home will run the cost of materials plus anywhere from $50 to $200 per hour in labor, depending upon where you live and how difficult the job is. The costs of replacing plumbing run between $3,000 and $16,000 for a 2,000 square foot home.
That’s obviously quite a wide range. There are many factors that can help you determine if your number will be at the high end or the low end of that scale:
- Size of the Home: The larger the home, the more plumbing it has, the more it will cost to replace all of it.
- Difficulty of Access: Replacing pipes that are behind walls or under flooring will require much more labor and will also cost you more in materials to repair the openings.
- Type of Pipes: The pipes you choose will make a difference. Copper pipe can cost between $4 and $12 per linear foot, for example, while PEX costs between $0.50 and $2, and CPVC costs between $0.50 and $1.
- Local Labor Costs: The costs of labor depend upon your geographical location as well as the difficulty in getting to and replacing the old pipes.
How Long Does Pipe Replacement Take?
Pipe replacement timelines depend greatly upon how big the home is and how complex the replacement will be. In most cases, replacing the pipes in a typical 2,000 square foot home will take two or three days of steady labor. Replacing pipes that are outside the footprint of the home, such as replacing the outlet pipes that run from the home to the street, will take additional time — three or four days is a good estimate.
To be safe, count on a week for the pipe replacement. This allows you to plan for temporary disruptions. Since the water will be shut off most of the time, it is likely best to find another place to stay while the contractors work on your home.
Why Pipe Replacement is Not a DIY Project
While it is possible — and maybe even quite easy — for a handy do-it-yourselfer to replace a pipe or two under the sink, it’s not a good idea to attempt anything more serious than that. Replacing pipes in an entire home, including those that run behind the walls, is best left to the professionals. They have the expertise and the tools necessary to make the job as fast as possible.
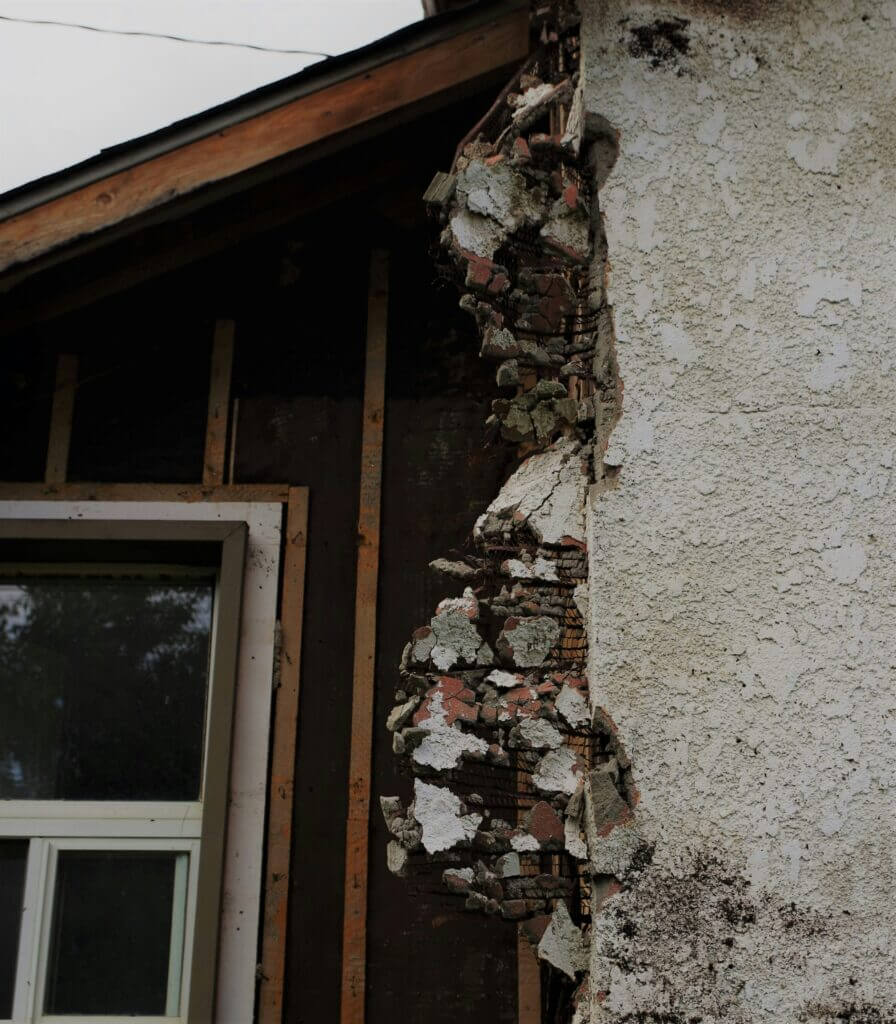
Where DIY comes in handy here is for restoring your home back to the way it looked before the pipe work. For instance, patching drywall and repainting the area that was damaged to get to the pipes is an excellent DIY project that can bring down your overall costs of the work.
Replacing old pipes is a significant investment, but it’s one that pays off by preventing costly water damage, improving water quality, and increasing your home’s value. While the process may involve some disruption and expense, it ensures your plumbing system operates efficiently and reliably for decades to come. Consulting a professional and understanding the costs and steps involved can help you plan effectively and make the right choices for your home.
Compare top-rated plumbing pros in your area.
Read real homeowner reviews, explore qualifications, and view promotions. Modernize makes it easy to browse professionals and find one that will be perfect for your project.


