Are you doing a siding project?
Modernize can pair you with three to four pros in your area, so you can compare options and save time and money.
Vinyl siding is affordable, attractive, and popular among homeowners due to its variety of colors and easy customization. However, it won’t last forever and can take a few bumps along the way. The good news is that vinyl siding repair is simple and cost-effective for minor damage. In most cases, replacing the damaged piece is the best option, as only intact sections provide the durable weather resistance that vinyl is known for, restoring your siding to like-new condition.
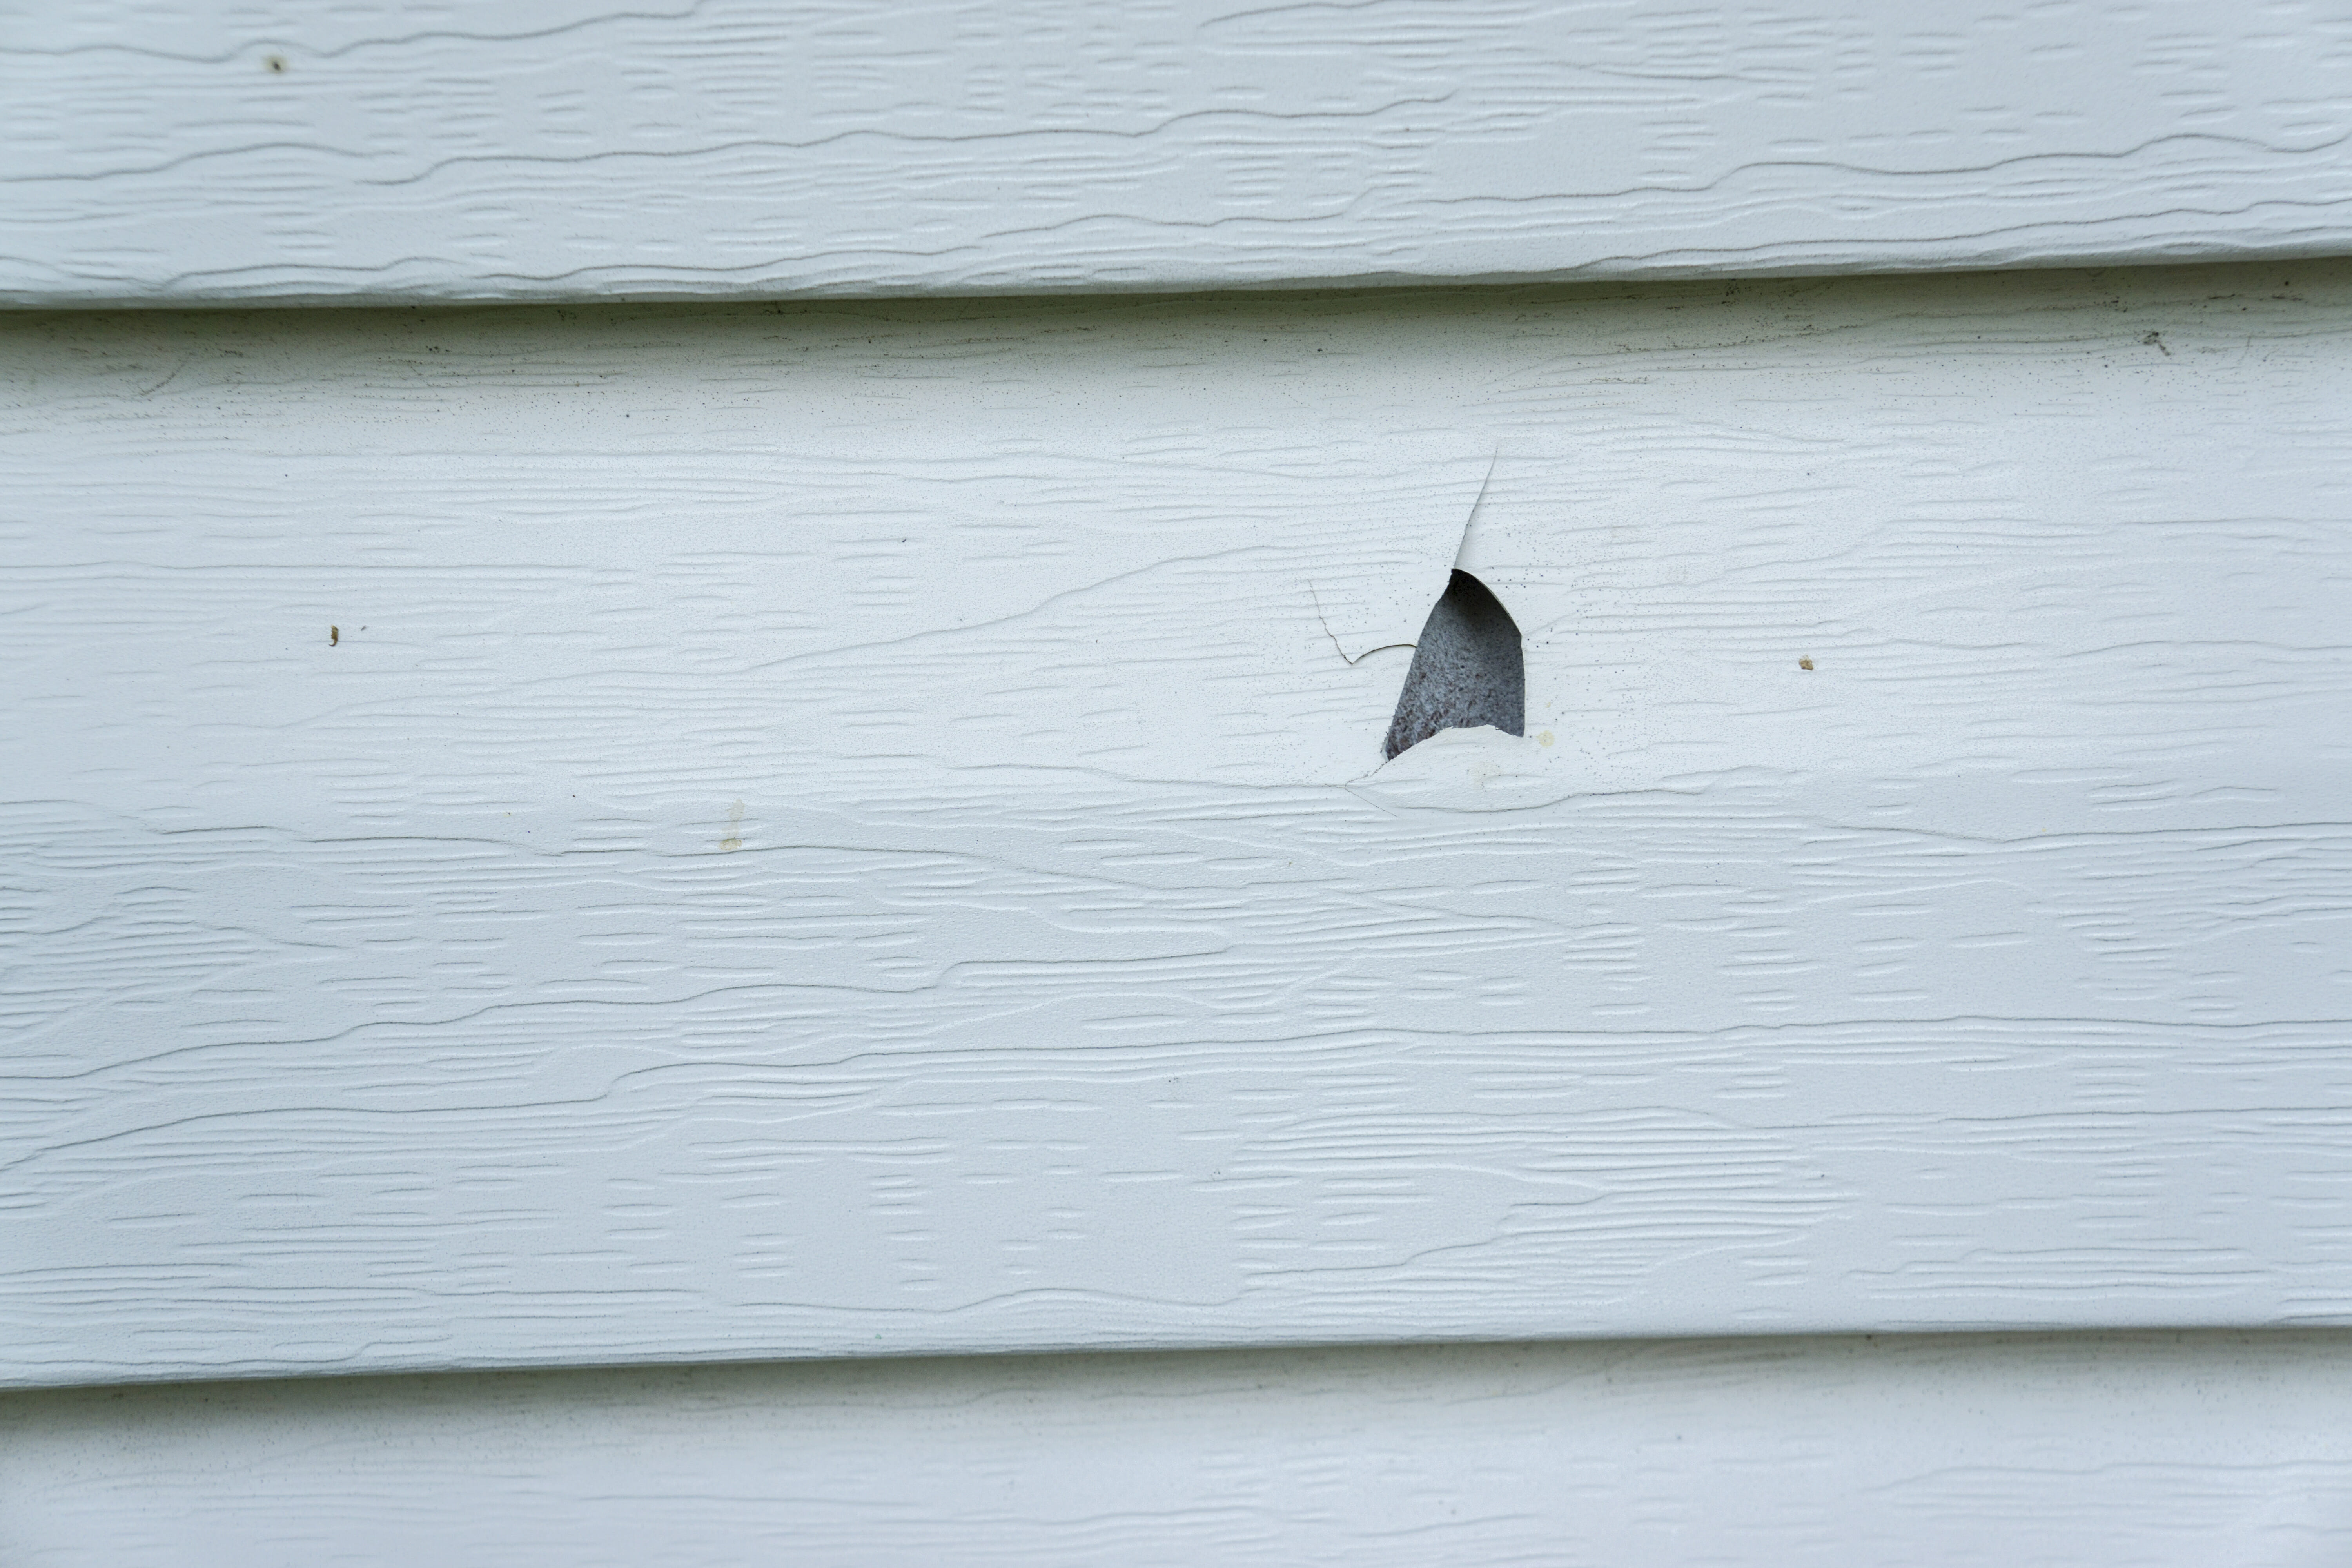
Locate the Breakage
The very first step to repairing vinyl siding is to locate the damaged spot. If you’re considering repairing, you’ve probably completed this step, but in favor of being thorough, you should walk around your home and briefly look for additional damaged locations. If you’re going to be replacing one section of siding already, it makes sense to fix all the damaged spots at once. Locate each damaged location and make a note so that you know where each is.
Acquire New Siding
If you don’t have additional siding panels at home to cover the repairs that you need to make, it’s time for a trip to the local home improvement store. Look around the store for siding that matches your current color. Match it as closely as you can, realizing that the new siding will be brighter than the old siding because it hasn’t yet faded in the sun.
It’s beneficial to buy extra siding when you have your house sided, or at the very least to keep track of your supplier. If you didn’t do this, and you have to track down additional siding to repair, it’s helpful to bring a piece of the siding with you when matching to a new piece.
Pull Off Donor Siding From Your Home
If the damaged siding is in a highly visible location, you don’t want to replace it with brand-new siding. If you do, the contrast will stand out, rather than blend in as it should. Instead, you should cut off a section of faded siding from a less visible part of your home that’s large enough to repair the damaged area of your house. With that section removed from the less visible part of your home, you can install the new siding in its place where it won’t be noticed, and then take the faded siding over to the damaged location.
Find the Right Contractor for Your Siding Project
Whether you’re ready to begin your project now or need some expert advice, our network of contractors are here to help. With a few simple questions, we’ll find the best local professionals for you
Cut Off the Damaged Siding
Cut off the damaged siding using a carpenter’s square and a utility knife to make the face cut, and use a pair of snips to cut the top and bottom lip of the siding. Be careful to cut away siding about four inches shorter than the patch piece — this is so the faded patch of siding you put in has a two-inch overhang at either side of the installation point.
Remove it
Run a siding removal tool along the bottom of the next row of siding above to unlock the bottom lip from where it latches to the broken piece below. Lift that siding up and away and pry out the nails holding the broken siding in place.
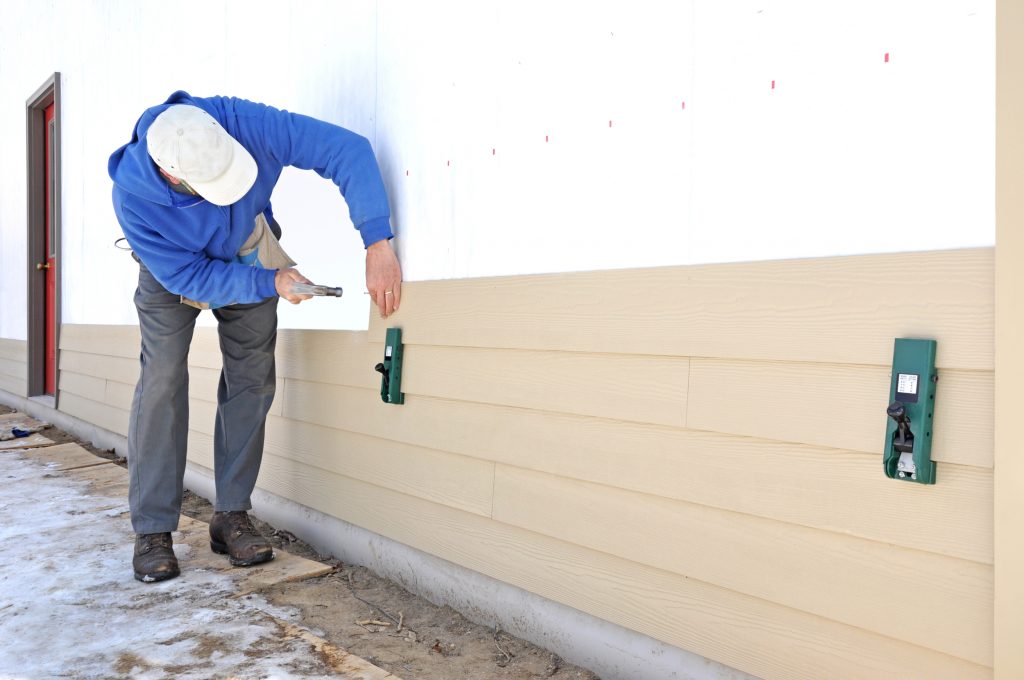
Install the Siding
Cut off the top and bottom channels at either end of the siding for about two inches. This is so the faded siding you put on can sit above the surrounding siding without the need to unhook additional nails. Lock the bottom of the siding into the full row of siding below it and slide it into position so that two inches overhang either side of the patched area. Hammer siding nails in the center of the open slots at the top of the siding, taking care not to lock the panels down tight against the house. Leave a small gap to allow the siding to slide a bit when it expands and contracts. Nail all along the repair location and then lock the bottom lip of the next row up into the top of the patched siding and you’re finished with the repair.
This procedure works for any holes or cuts that appear in the siding around your home. If most of the siding is in pretty good condition, it makes sense to patch the area rather than replace all the siding. Take care to keep up on these regular vinyl siding repairs and you won’t have to worry about weather damage to your house.
Find the Right Contractor for Your Siding Project
Whether you’re ready to begin your project now or need some expert advice, our network of contractors are here to help. With a few simple questions, we’ll find the best local professionals for you
-
 cost and budgeting
Affordable Home Upgrades
We’ve all had that moment walking into a room thinking, “It’s fine, but…” Sometimes it’s dated hardware. Sometimes it’s lighting. Sometimes it’s just that nothing feels fresh anymore. Here’s the... -
 maintenance and care
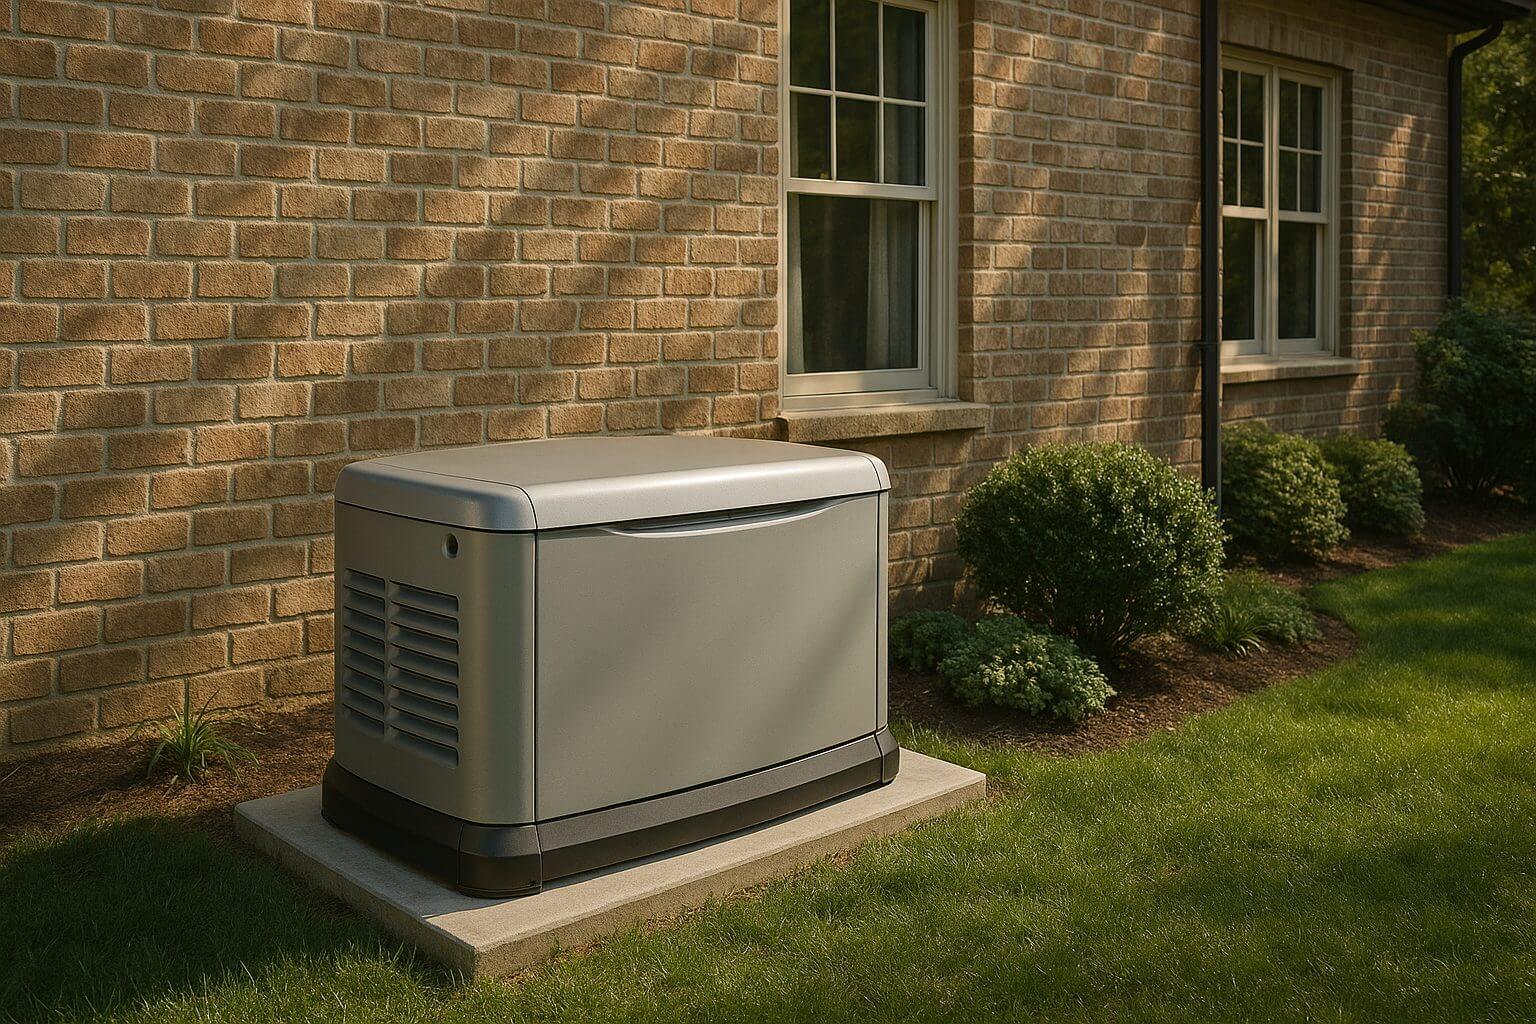
Natural Gas Generators and Carbon Monoxide: What Homeowners Should Know
Understanding the Concern Natural gas generators are one of the most popular standby power options for homeowners. They connect directly to your home’s gas line, which means no hauling fuel... -
 installation
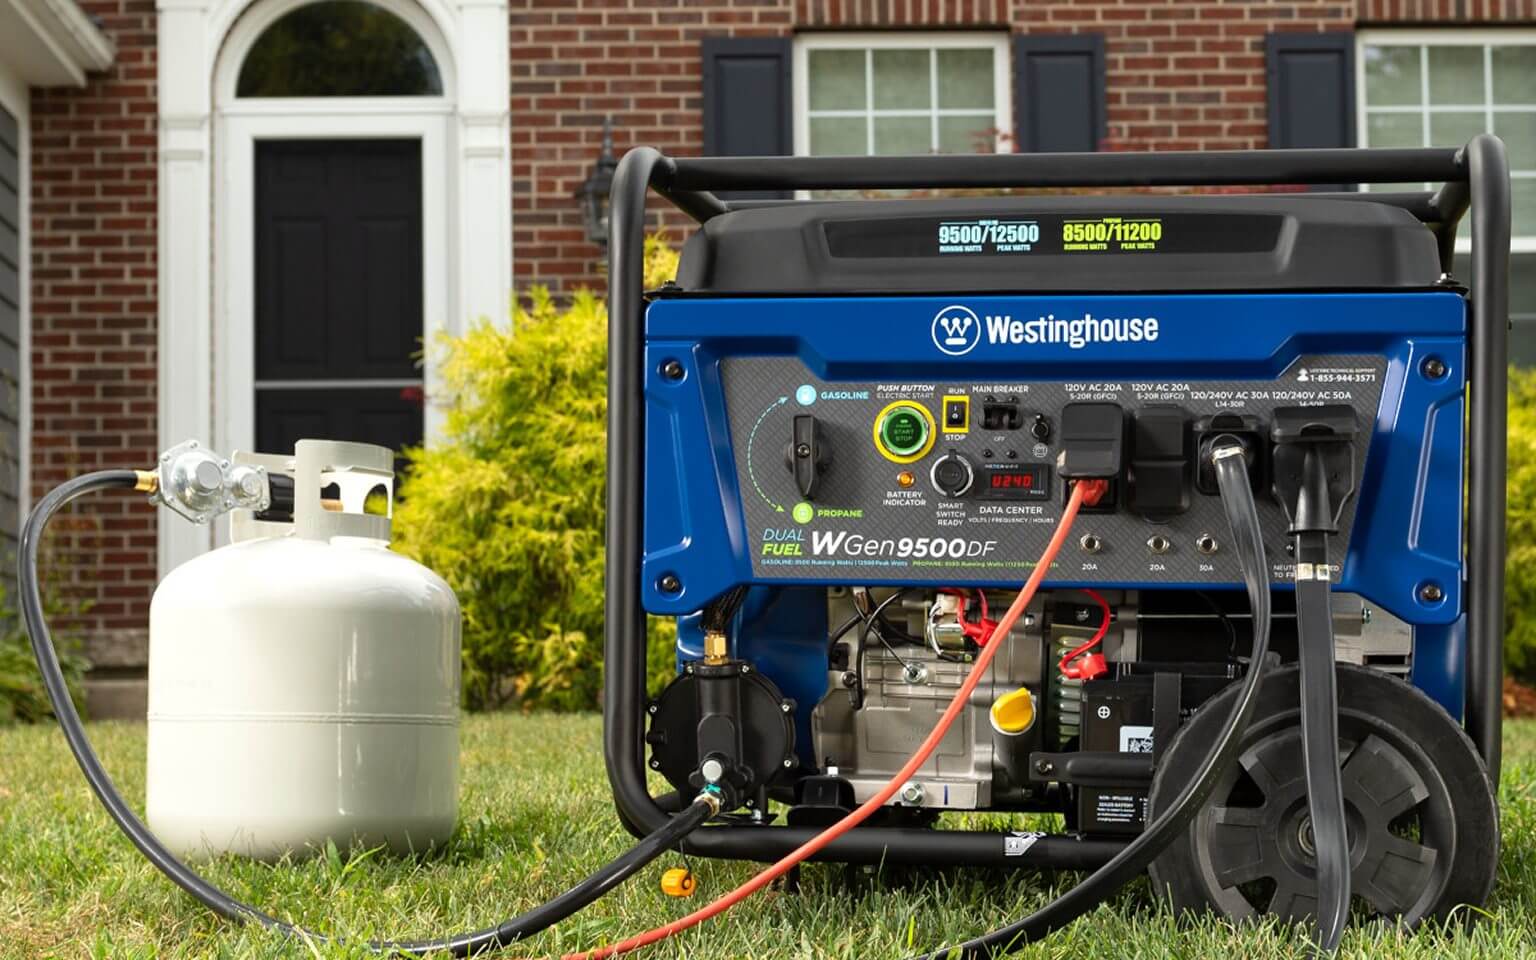
15 Practical Ways Homeowners Can Use a Generator
More Than Just Backup Power When people think about generators, they often picture them humming away during a blackout. While that is their most common role, generators are surprisingly versatile.... -
 maintenance and care
Diesel Generator Maintenance Made Simple: 10 Must-Know Steps
Why Regular Generator Care Matters A diesel generator can be a rock-solid backup power source, but like any engine, it needs consistent care to keep running reliably. Skipping maintenance can...
Reviews from Real Homeowners
Welcome to Homeowner Resources! We are the Modernize blog. Modernize pairs more than 3 million homeowners a year with pre-vetted contractors in their area. This blog started because we believe homeowners should know everything about their homes, from how their HVAC works to which front door colors they might love. On Homeowner Resources, you can find information on every part of your home, right down to how you can negotiate with contractors to get the best price. Here's more about the blog.
Need a contractor? Learn more about how Modernize finds the right pro for you.