Are you doing a home improvement project?
Modernize can pair you with three to four pros in your area, so you can compare options and save time and money.
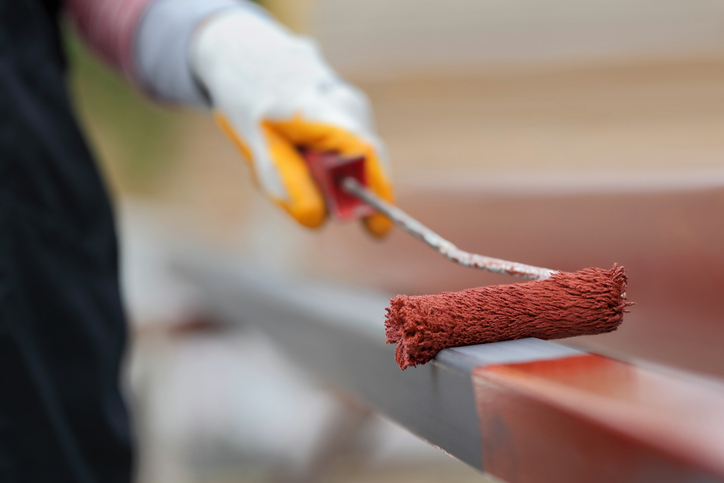
What’s the easiest way to change the mood or feeling of a home? If you ask any interior designer, they’ll answer without hesitation—paint the walls. Adding color is a surefire way to freshen up a room or add some visual interest to a home. But what if your walls are something other than drywall, or what if you don’t like the look of your floors? We’ve already covered how to paint siding, so read on to learn how to paint brick, cement, laminate, and metal.
But before we get started, remember that for every surface you want to paint, there will be prep-work involved. It’s not the most exciting part of any project, but skipping the prep-work will just lead to headaches down the road. So make sure you set yourself up for success—prep the area before you paint!
How to Paint Brick
Prep the brick you want to paint: Use a wire brush to scrape any dust and debris off of the brick and then spray the surface with a mixture of vinegar and water. An even 1:1 ration of vinegar and water is ideal. This washes the brick and gets it ready to be primed and painted. If you see spots of mold, add a splash of bleach to the water and scrub with that solution. If you’re painting the exterior of your home, a light power-washing is a good idea. Allow area to dry completely before painting—24 hours is a good rule of thumb.
Apply a primer: This is an important step and must be done before the first coat of paint. Your paint specialist may have a favorite to recommend, and a latex primer is typically a good starting place. In terms of paint, elastodynamic or acrylic latex are the best options for painting brick due to their high levels of elasticity. For a pro tip, remember that acrylic latex stands up the best against humidity, so that may be the better choice for exterior paint. Next, it’s important to tailor your paint choices to your project. If you’re painting your fireplace, opt for a heat-resistant paint for the interior of the fireplace, and use indoor paint on the mantel and around the fireplace. If you’re painting the exterior of your home, you’ll want exterior paint that can handle the elements.
Some tips to keep in mind:
- Since brick is porous, you’ll need to push the paint into the brick. Depending on the size of your project (are you painting a fireplace, the exterior of your home, or even just an accent wall?) your brush size and type will vary. For smaller projects like a fireplace, a paint brush will do. A paint sprayer will work best for larger projects, but a roller brush will also suffice. Regardless of what your project is, make sure to apply a second coat as necessary.
- If you’re on the fence about a paint color, or if you like the original color of your brick but crave a refresher, consider staining or glazing your brick. The process is the same, but you’ll be able to enjoy the natural beauty of your brick a little more.
- A note of caution. If your brick is relatively new, try to resist painting it for a year, because it needs to dry completely and acclimate to your home. If the brick itself is not completely dry and you paint over it, the moisture won’t have a way to escape. This can cause your brick to deteriorate quickly—very bad news for your home! Other things to consider: painted exterior brick will need to be repainted approximately every three to five years. Also, keep in mind the quality of the brick. If it’s of poor quality—for example, if it crumbles or breaks easily—it’s not the best candidate for painting. The paint will chip off with the brick and will quickly become an eyesore.

How to Paint Cement
Sand the area. If you’re painting a cement floor, be sure to vacuum thoroughly. Wash with soap and water to remove any spills or mystery stains. To get rid of any oil—especially if you’re painting your garage floor—pick up some tri-sodium phosphate (TSP) at a paint or home supply store. If old paint or any scuffs are on on the cement, use a paint remover to banish them. This is especially important if you’re going with a light-colored paint. If you’re painting, the old paint will probably be covered up. Let the concrete dry completely before continuing with the priming and painting.
Patch any cracks or holes with a concrete patching compound. Only do this step if you want a smooth surface, of course. This will extend the life of your paint job, so it’s recommended. It’s also best to patch indoor cracks with concrete sealant to prevent moisture from entering your home. Once the patching and sealant are dry, it’s time to paint!
Apply a layer of primer with your roller brush and allow it to dry overnight. The primer will help the paint adhere to the concrete and last longer. If you’re painting over an old color instead of removing it, consider adding a second layer of primer so the old paint doesn’t show through the new. For the paint, opt for a masonry paint when available because it will expand and contract with the concrete as it heats and cools—wood is not the only material subject to environmental changes. You may notice that masonry paint is thicker than other paints, and that’s why it’s best to use a roller brush to apply it. However, there are a few paints that work well in a paint sprayer, so ask a specialist about those.
After you apply the first layer, remember to let it dry completely overnight before adding a second layer. After the final coat, give your paint extra time to set before walking on it or moving any items on top of it—this may be up to a full day or two. After that, enjoy the finished product! Painted cement, if done well, ages beautifully and will acquire a well-worn appearance over time.
Some tips to keep in mind:
- As you gather your painting supplies, check the weather forecast—especially if you’re painting outdoor concrete. For this project, you’ll need at least two dry days in a row—three if you’re doing a second layer—because each layer of paint needs to dry overnight.
- Because concrete is smooth, a roller brush is a great option for applying both the primer and the paint. However, if you’re working with a small surface area—or getting creative with detailing—you can use a paintbrush.
Find the Right Contractor for Your Project
Whether you’re ready to begin your project now or need some expert advice, our network of contractors are here to help. With a few simple questions, we’ll find the best local professionals for you
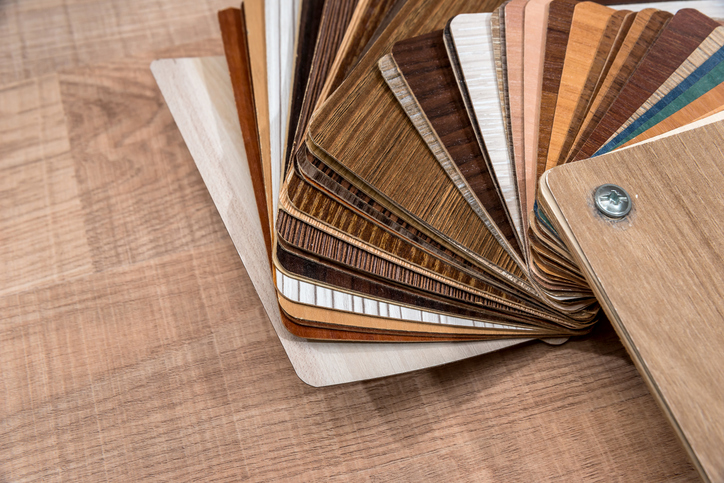
How to Paint Laminate
Laminate flooring is a great flooring option, especially for those of us with smaller budgets. However, over time these floors can look pretty beat up. Replacing the flooring is an option, but you can also paint it for a modern floor.
Prep your laminate flooring. Move everything off the floor and sweep up the room for any large pieces of debris. Next, use a sander to remove the glossy finish on your laminate so the primer and paint will adhere better. I recommend using a sander versus hand-sanding for efficiency’s sake. If there are any holes or tears in your laminate, use caulk to patch them and then sand the area again so the surface is even. Then give the room one last sweep with a good broom to remove all the dust kicked up from sanding.
Before you start painting your laminate floor, remember that you won’t be able to walk on the floor until it is dry, so pick several days in a row that you can stay out of the area. Yes, it’s inconvenient but it will be worth it in the end—trust me.
Use a roller brush to apply a primer to your clean floor. Choose a latex primer and consider tinting your primer with the color you’ll be painting over it, especially if it’s a dark color. This cuts down on the number of layers you’ll need to finish the product.
Once the primer is dry, get to painting. After the primer has set and dried—meaning it’s not tacky to the touch—you’re ready to paint. Choose a paint made specifically to be walked on—floor and porch paint is usually specified as such. Use your roller brush to apply each layer of paint—letting it dry completely between each layer. You can use large fans to speed up the process, and I’ll also recommend having the heat on to cut down on humidity—not ideal during the summer, but a good option for any other time of the year. After your floor is the color you want, let it dry and cure for a day or two before you start to move items back in.
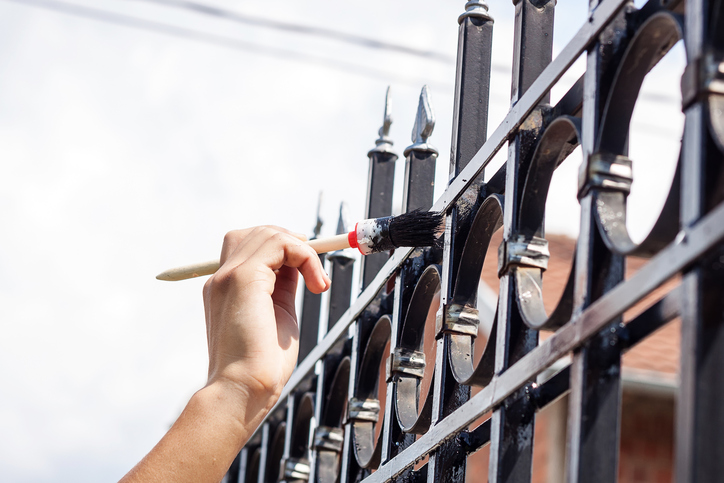
How to Paint Metal
It’s as easy to paint metal as it is to paint brick, cement, and laminate. However, the type of primer used before you start painting metal is much more important because you may need an anti-corrosive primer and you also want a primer that works with the paint you’ll be using. As with every surface type, though, you need to clean before you prime.
Galvanized metal, especially, needs to be cleaned with a detergent solution to remove any oily residue, especially when it’s a new galvanized metal. Remove any old paint or rust spots with a wire brush, and remove debris and dirt with a strong bristle brush.
If the surface you’re working with is still a little rusted, prime it with a zinc-chromate first which prevents against future rusting. This is a pre-priming step, because you’ll prime it again with a different primer after this dries. Next, most professionals recommend using an oil based primer because it works well with acrylic paint and, yep, you guessed it— you’ll want to use acrylic paint for this project.
Now depending on the size of your project—painting a metal fence, an aluminum door, or the exterior of a metal wall—your paintbrush options will vary. You won’t want to use a roller brush to paint a wrought iron fence, and you’ll probably want to go with a paint sprayer or roller brush if painting a door or a wall instead of a small paintbrush. Let the size of your project be your guide.
Finishing Projects
Depending on what you’re painting, whether it’s a brick fireplace, a laminate floor, or an aluminum door, there are differing opinions about using a varnish or finish over your paint. If you’re going to the trouble of painting any part of your home—especially a high-trafficked part like a floor—you should take steps to protect it. Most finishes have different glosses, so you can opt for a matte finish if you don’t like it shiny, or go for a semi-gloss if you want a light sheen.
Do you have any tips or tricks for painting that you’d like to share? Tell us about them in the comments below!
Find the Right Contractor for Your Project
Whether you’re ready to begin your project now or need some expert advice, our network of contractors are here to help. With a few simple questions, we’ll find the best local professionals for you
-
 cost and budgeting
Affordable Home Upgrades
We’ve all had that moment walking into a room thinking, “It’s fine, but…” Sometimes it’s dated hardware. Sometimes it’s lighting. Sometimes it’s just that nothing feels fresh anymore. Here’s the... -
 contractor selection
A Complete Manual J Guide
Manual J Load Calculations: The Essential Guide to Sizing a Home HVAC System Correctly When a homeowner needs a new HVAC system, one of the most important — yet least... -
 installation
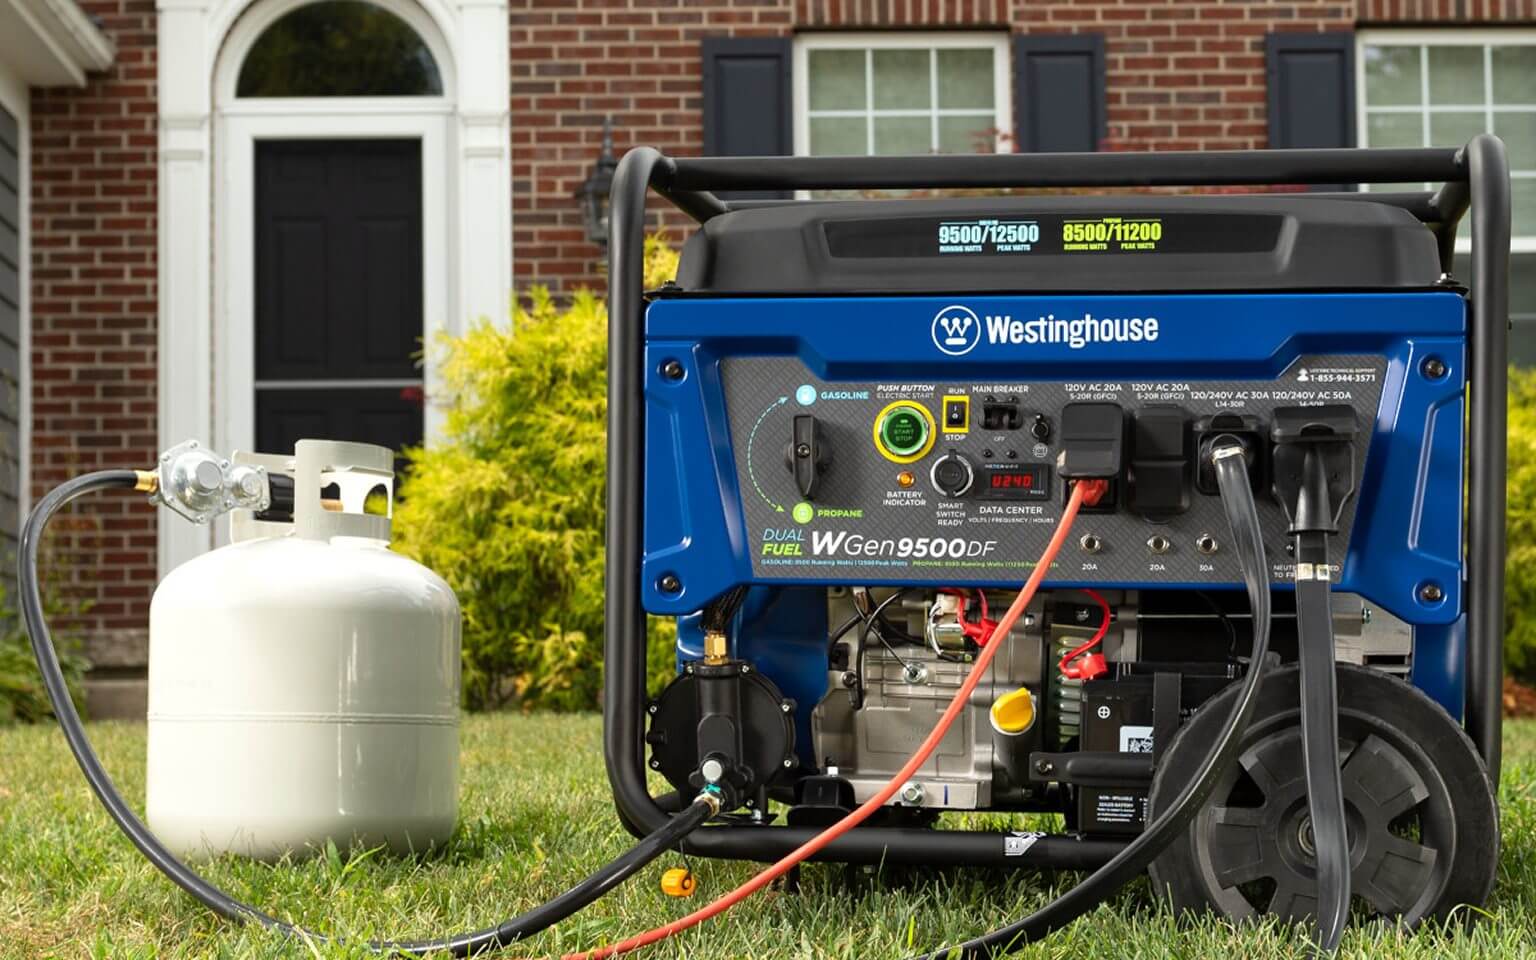
15 Practical Ways Homeowners Can Use a Generator
More Than Just Backup Power When people think about generators, they often picture them humming away during a blackout. While that is their most common role, generators are surprisingly versatile.... -
 cost and budgeting
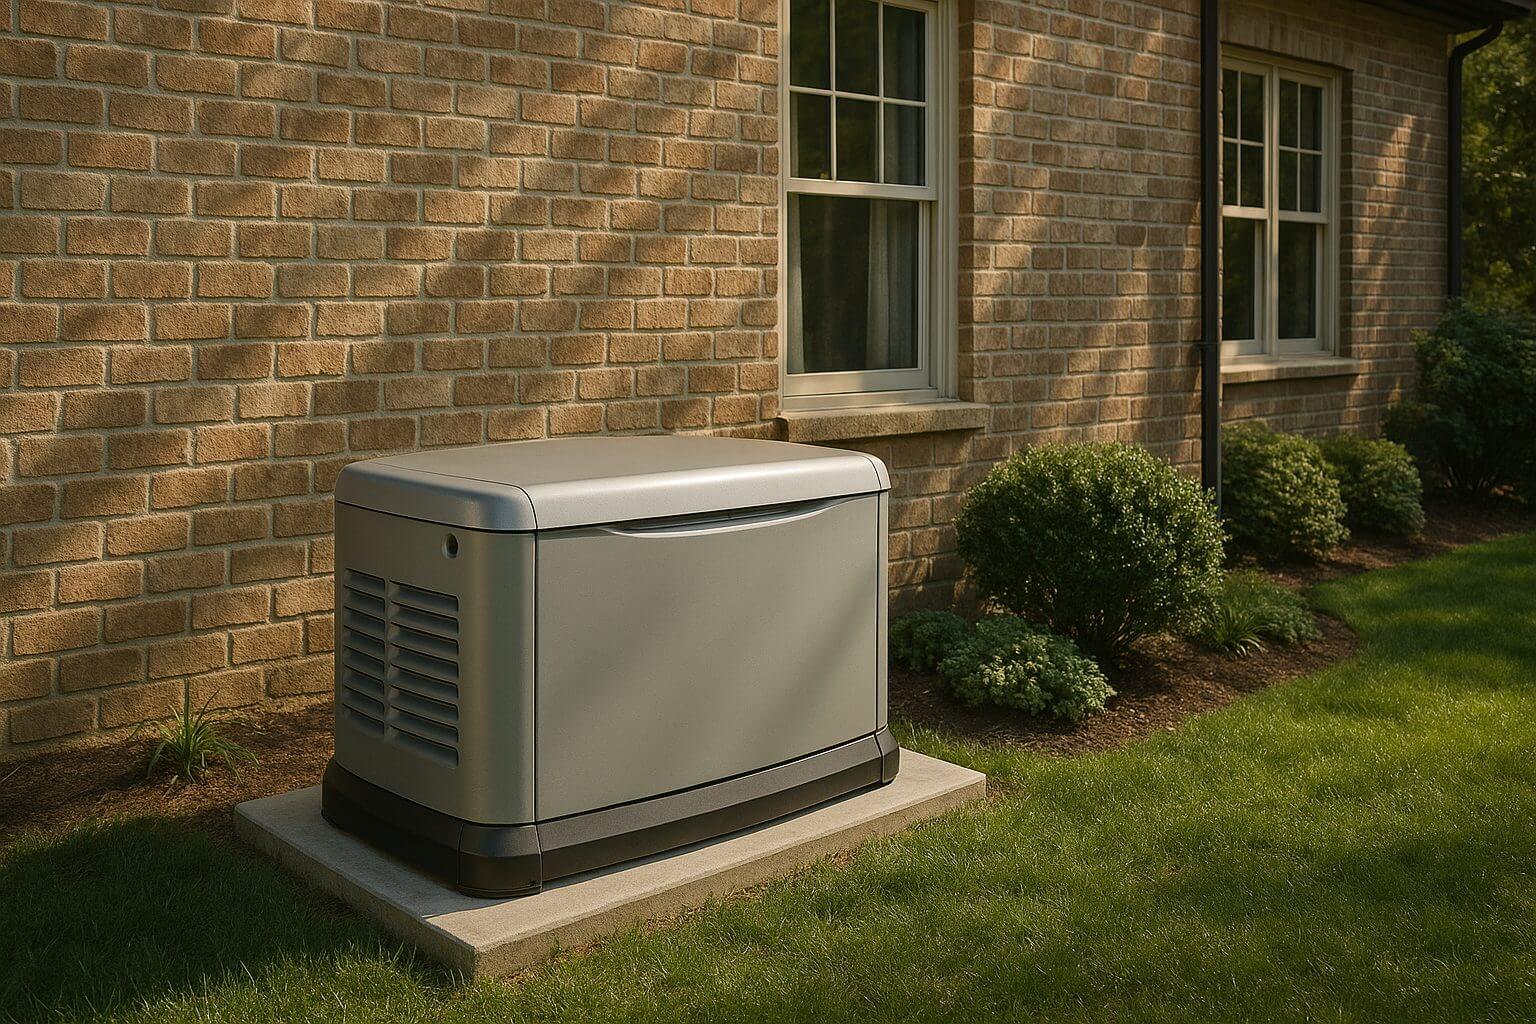
The Real Costs and Benefits of Installing a Whole-House Generator
Why Homeowners Consider Whole-House Generators A whole-house generator is more than just a convenience — for many homeowners, it’s peace of mind. Unlike portable units, these generators are permanently installed,...
Reviews from Real Homeowners
Welcome to Homeowner Resources! We are the Modernize blog. Modernize pairs more than 3 million homeowners a year with pre-vetted contractors in their area. This blog started because we believe homeowners should know everything about their homes, from how their HVAC works to which front door colors they might love. On Homeowner Resources, you can find information on every part of your home, right down to how you can negotiate with contractors to get the best price. Here's more about the blog.
Need a contractor? Learn more about how Modernize finds the right pro for you.