
Are you doing a home improvement project?
Modernize can pair you with three to four pros in your area, so you can compare options and save time and money.
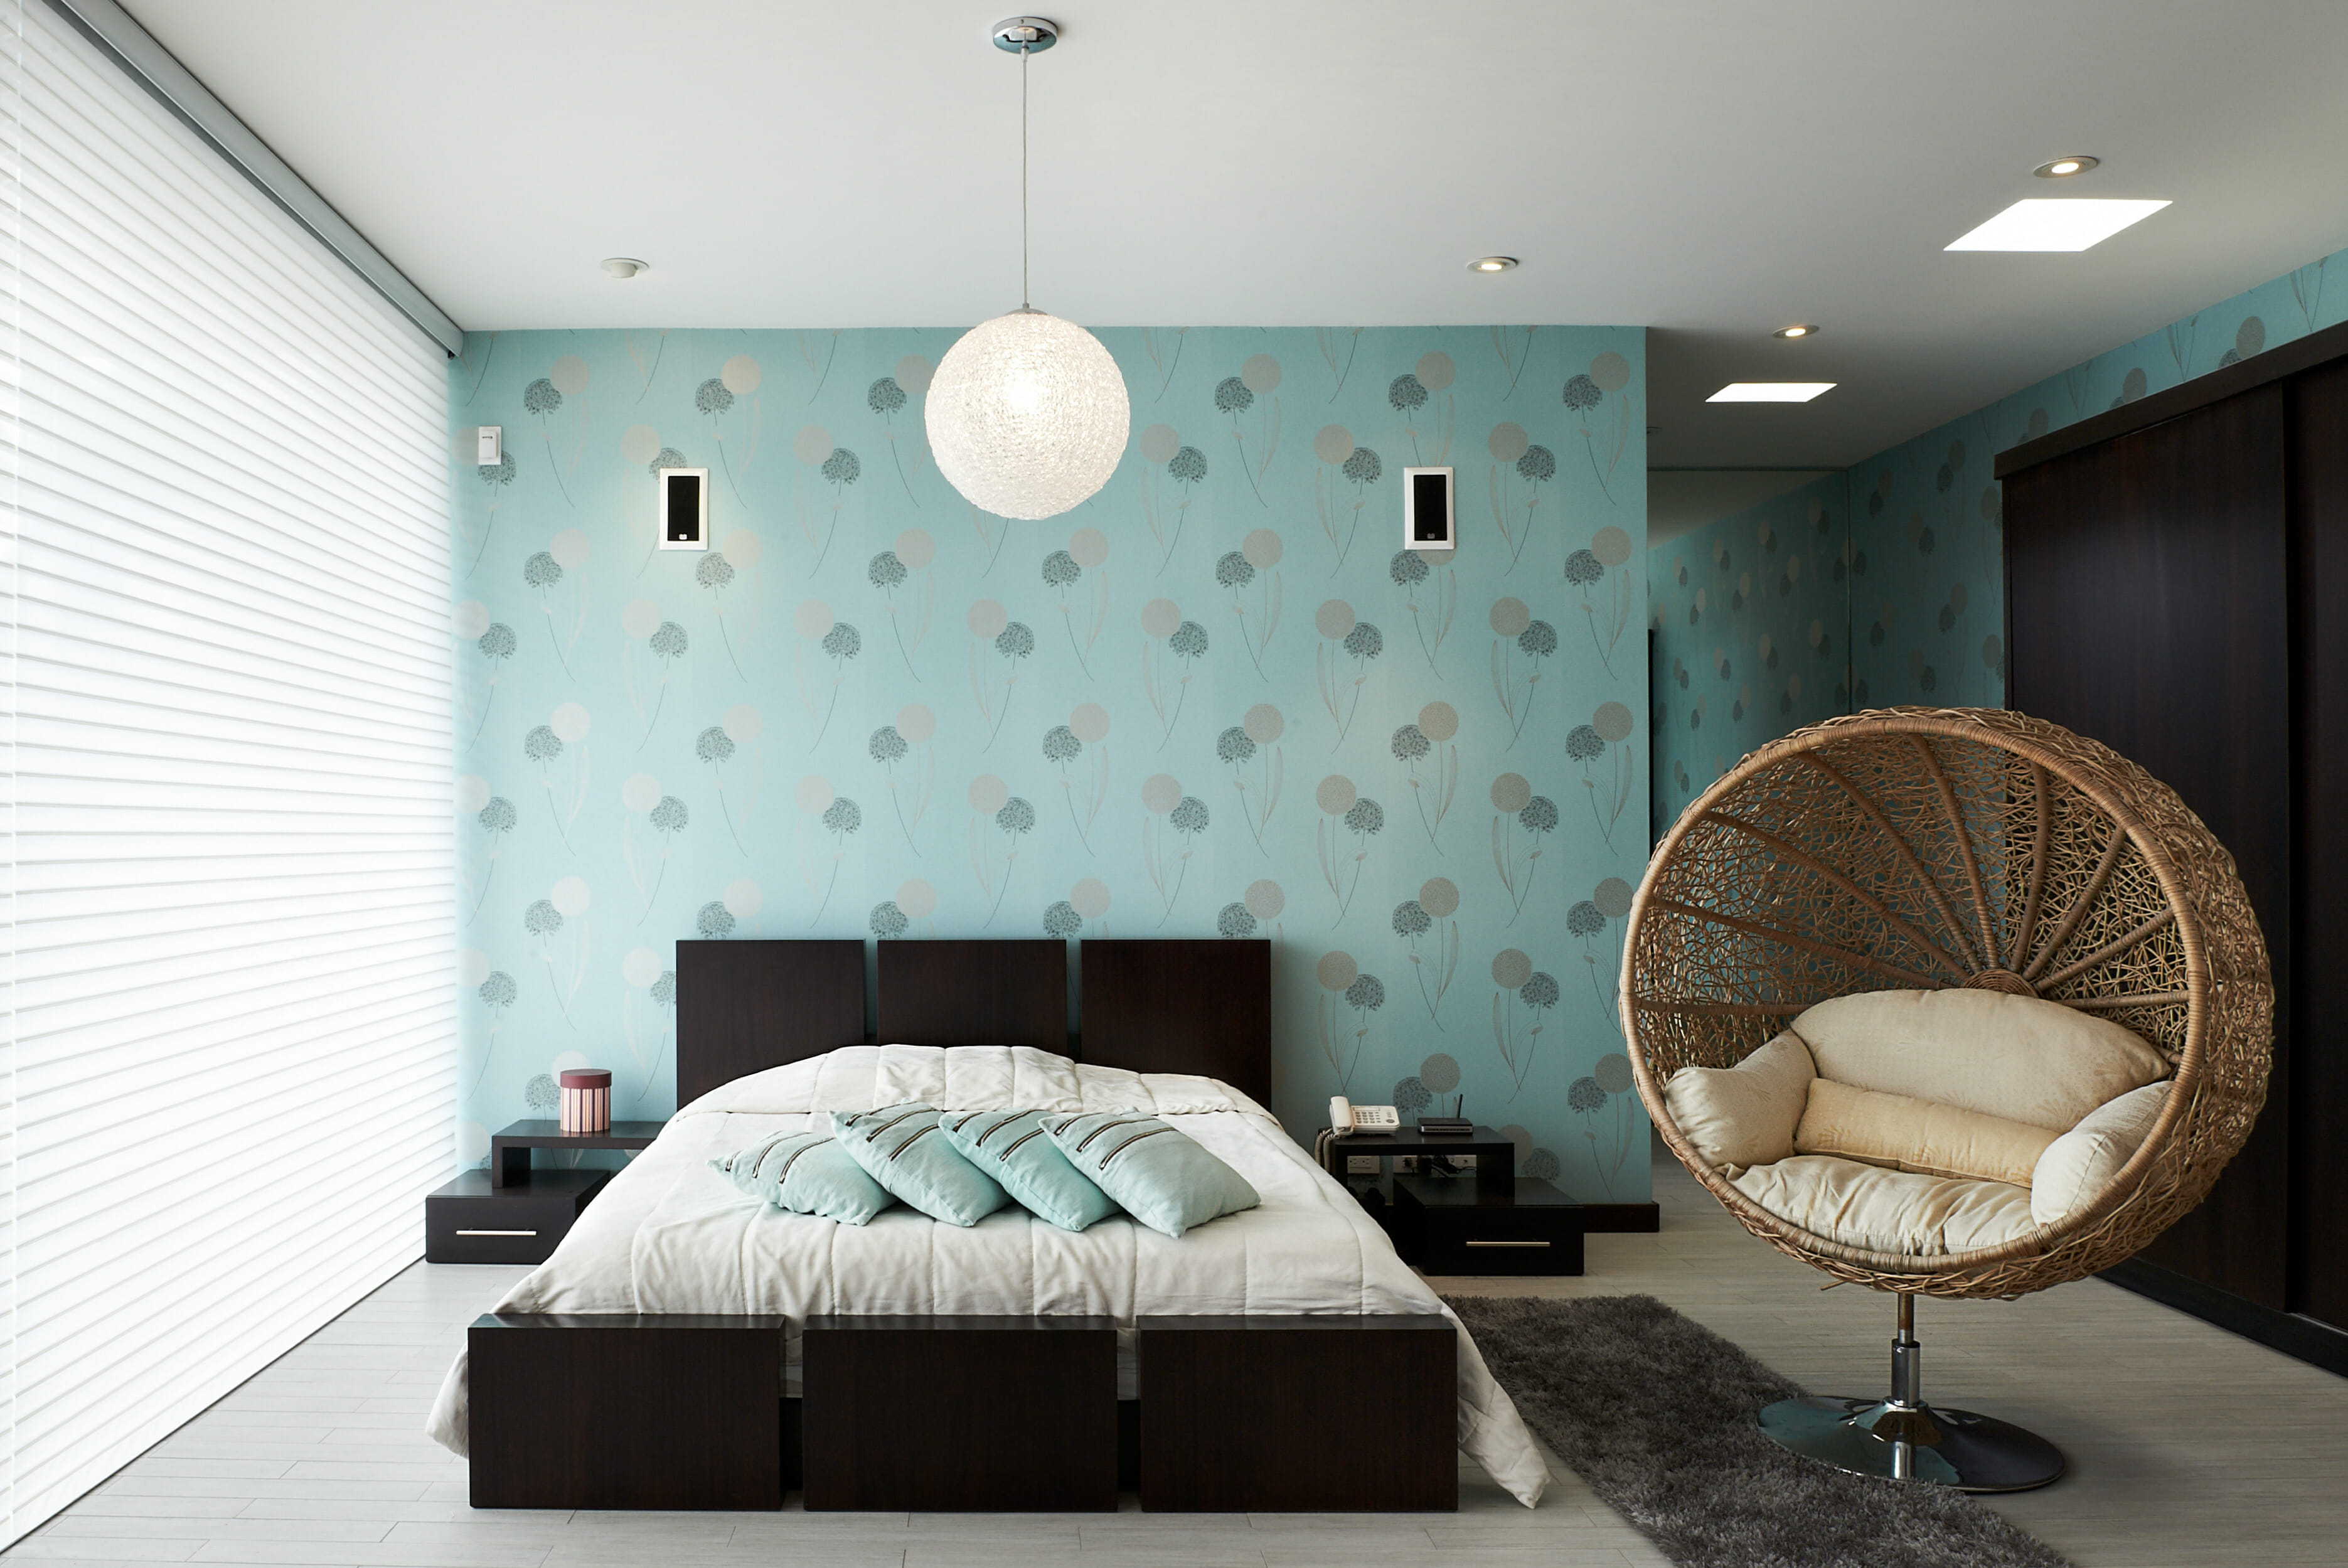
Wallpaper seems like a serious job compared to painting. But in reality, with careful planning, almost any novice DIYer is up to the task. A neat, tidy layout and level hanging are the key to professional-looking work, so preparing the space and learning how to align the paper properly will both serve you well. Here’s the best technique for getting the job done right.
Prepping the Room
Like most home projects, wallpapering goes a lot smoother with a little preparation. To ensure that the paper hangs flat, first take care of any rough spots, dents, or dirt on the wall. Follow these steps to get the room ready:
- Keep it safe! Shut off electricity to the room and remove the outlet plates.
Wall dings happen from time to time. Fill nicks, dents, and scratches with putty or drywall compound. Smooth the surface flat and allow it to dry. - Sand the area with 120 grit sandpaper. Apply a layer of primer over the surface with a sponge. Allow this to dry.
- Sweep away any grit on the floor and wipe all the walls down with water and dish detergent.
Getting Your Walls Ready
What’s on your walls before you begin papering largely determines the kind of prep work you’ll need to do. For instance, always apply a layer of primer to bare drywall before hanging wallpaper. If the walls were previously painted, however, it depends on the type of paint. A high-gloss texture may be fine—it will allow you to move the paper around a bit on the surface as you work to get it into place. Matte surfaces, however, create friction that can make laying the sheets more frustrating.
This is where wallpaper sizing can be your best friend. Sizing refers to a texturing substance you apply to the walls to give them a glossy, slippery surface. Applying sizing before you begin makes it a lot easier to adjust the wallpaper sheets while you’re hanging them. Appropriate for almost any wall surface, sizing particularly helps with those previously painted with matte-textured paint.
Cutting the Paper
Once your walls are dry, prepped, and clean, you’re ready to begin hanging the paper. To ensure that your pieces lay straight, however, first draw a vertical line across the middle of the first wall, checking it with a level to make sure it’s plumb. Next, draw another line to use as a horizontal guide. Generally, it works well to start on a corner wall near the door.
Line the first sheet of paper against the horizontal guide. If the paper is patterned, make sure the dominant element sits in the middle of wall, across your plumb line. Leave as much overhang as you need to line it up across the midsection—you can trim the paper later. In fact, even if you’ve chosen wallpaper in a solid color, leave about four inches of overhang on either side to give yourself some wiggle room.
Cut the wallpaper into sheets that match this first piece’s measurements—as many as you need to cover the whole space.
Applying Paste
Lay the first strip of paper against a table or flat surface, and spread a thin layer of wallpaper paste onto the back with a roller. Be careful not to get any paste on the front of the paper, as some materials—like silk, cloth, or textured rolls—may become permanently stained. Wipe the table with a slightly damp sponge when you’re done to keep excess paste off the next piece.
Find the Right Contractor for Your Project
Whether you’re ready to begin your project now or need some expert advice, our network of contractors are here to help. With a few simple questions, we’ll find the best local professionals for you
Booking the Paper
The paste needs time to soak into the paper before it will properly adhere to the wall. This process is called booking, and to do it, you just fold the paper in half and smooth it back on itself, making sure that the edges line up perfectly. Then let it sit for as long as required by the instructions on the wallpaper roll.
Hanging the First Sheet
Starting in a corner, unfold the first strip of paper, and align it against your horizontal line. Then press the top edge of the paper into the crease where the wall meets the ceiling, with at least a two-inch overhang over the top. Allow the end of the paper to dangle while you check your level. Adjust the paper until it sits level with the edge of the door or the wall.
Once you feel confident that the paper is properly aligned, brush the sheet from the top down until it lies smooth, with no bubbles in the surface. Start from the center of the sheet and work outwards in sections to push excess glue to the sides. Sponge off any glue that seeps out from the paper.
Trim the Paper
After you brush the paper down from top to bottom, place a six-inch taping knife into the joint between the wall and ceiling to give yourself a straight edge to cut against. Use a razor to trim the paper to where the knife ends, then reposition the knife to make the next cut. Do this until you have trimmed off all the excess.
Finishing the Seams
Unfold the second sheet of wallpaper and press it gently against the top edge of the wall. Align it against the previous piece of paper and roll the top of the seam between the two lightly with a seam roller. Push the paper into place with your hands, working slowly so the paper does not tear. Roll the entire seam again. Continue hanging the strips, rolling the seams, and trimming the paper until you’ve covered the whole room.
Cutting Around Molding
Eventually, of course, you’re going to come to a door or window or other opening that requires special trimming. Hang the paper as you would for any other part of the wall, and cut a rough opening into the surface over the molding. Press the taping knife into the joint, and trim the edges with the same knife-razor technique you used on the ceilings.
Once you’re done, allow the wallpaper to dry overnight, then replace the outlet covers and turn the electricity on. That’s all there is to it! You’ll be wallpapering like a pro in no time!
Find the Right Contractor for Your Project
Whether you’re ready to begin your project now or need some expert advice, our network of contractors are here to help. With a few simple questions, we’ll find the best local professionals for you
-
 maintenance and care
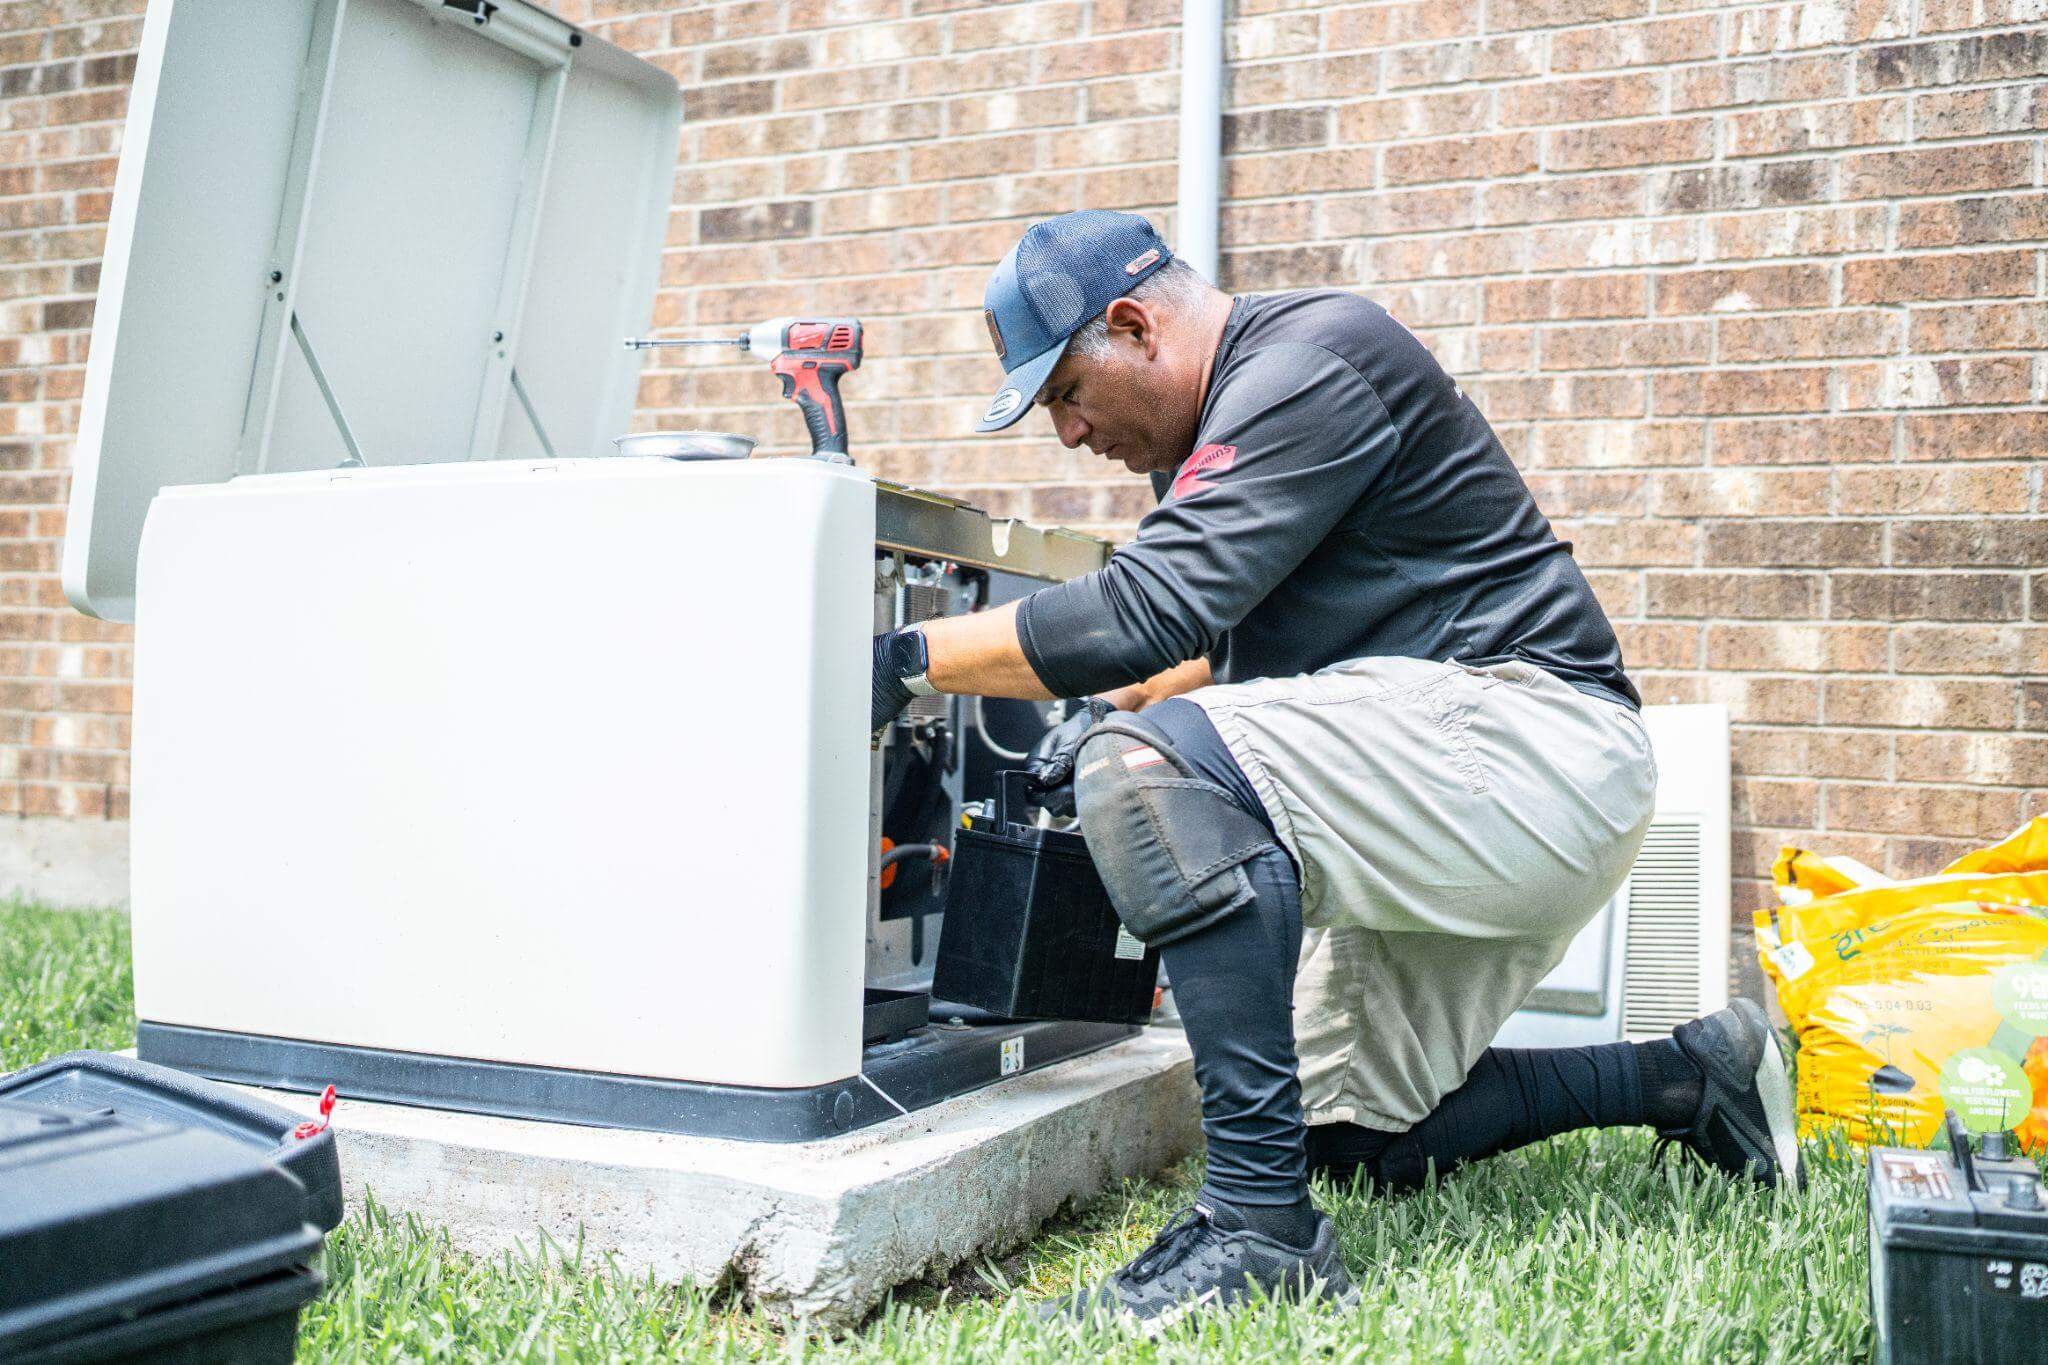
Diesel Generator Maintenance Made Simple: 10 Must-Know Steps
Why Regular Generator Care Matters A diesel generator can be a rock-solid backup power source, but like any engine, it needs consistent care to keep running reliably. Skipping maintenance can... -
 Restoration
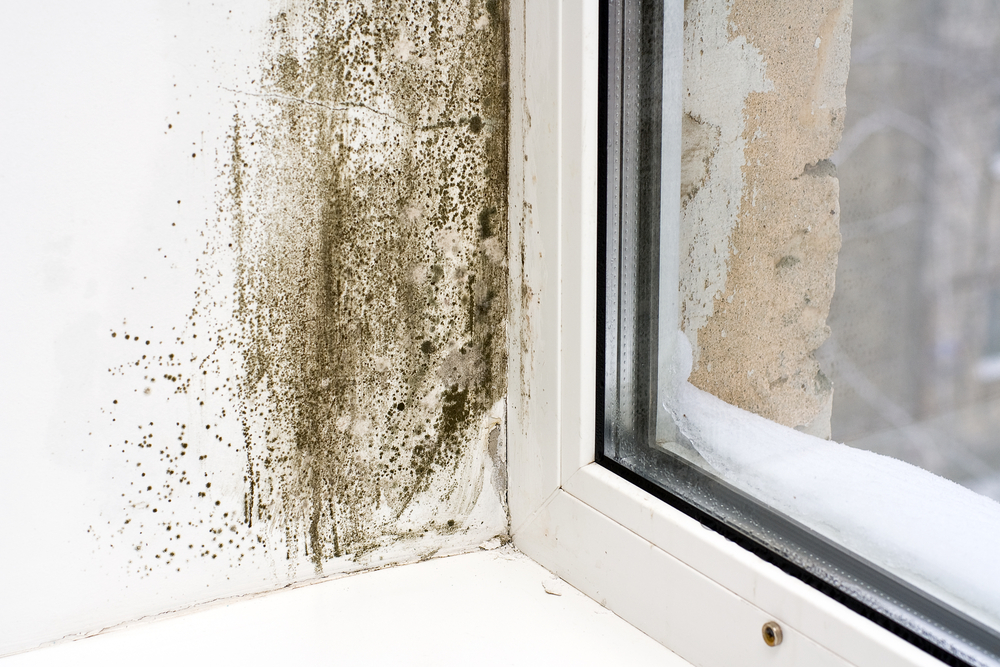
DIY Mold Cleanup: Is It Safe or Should I Hire a Professional?
Mold Cleanup: What Homeowners Need to Know Discovering mold in your home can be alarming. Mold often hides behind walls, under floors, or in damp corners, spreading quietly and potentially... -
 research and planning
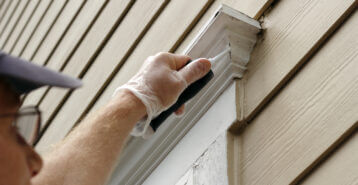
The Ultimate Guide to the Best Window Sealants for Every Need
Windows are an integral part of your home’s overall energy efficiency and weatherproofing. Choosing the best window sealant is crucial for ensuring that any cracks, air gaps, or other problems... -
 research and planning
Tiling a Bathtub: Benefits, Steps, & Best Tile Options
Bathtubs tend to be splash-heavy, especially with kids and their bath toys. So, is tiling around your bathtub the right solution? Although moisture-resistant drywall is often used around tubs, it’s...
Reviews from Real Homeowners
Welcome to Homeowner Resources! We are the Modernize blog. Modernize pairs more than 3 million homeowners a year with pre-vetted contractors in their area. This blog started because we believe homeowners should know everything about their homes, from how their HVAC works to which front door colors they might love. On Homeowner Resources, you can find information on every part of your home, right down to how you can negotiate with contractors to get the best price. Here's more about the blog.
Need a contractor? Learn more about how Modernize finds the right pro for you.