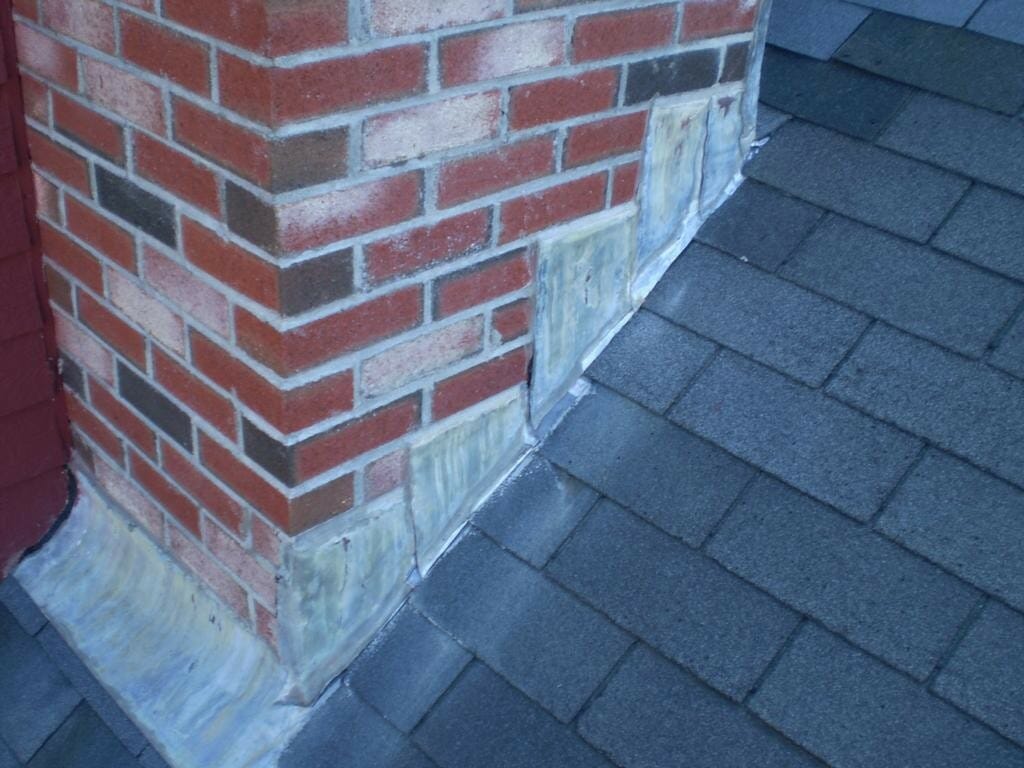
It’s hard to say if there’s a more important part of your home than the roof. It keeps you safe and protected from the elements, but even more importantly, it keeps all the materials used to construct your house dry, too. That means you won’t have to worry about anything rotting or wearing out—and best of all, you won’t have to make repairs. One way to ensure that your roof is as sturdy and long-lasting as possible is to maintain one of the most integral parts of your roof system—the flashing. It’s sometime best to play it safe and hire a local roofing contractor to help you with this project
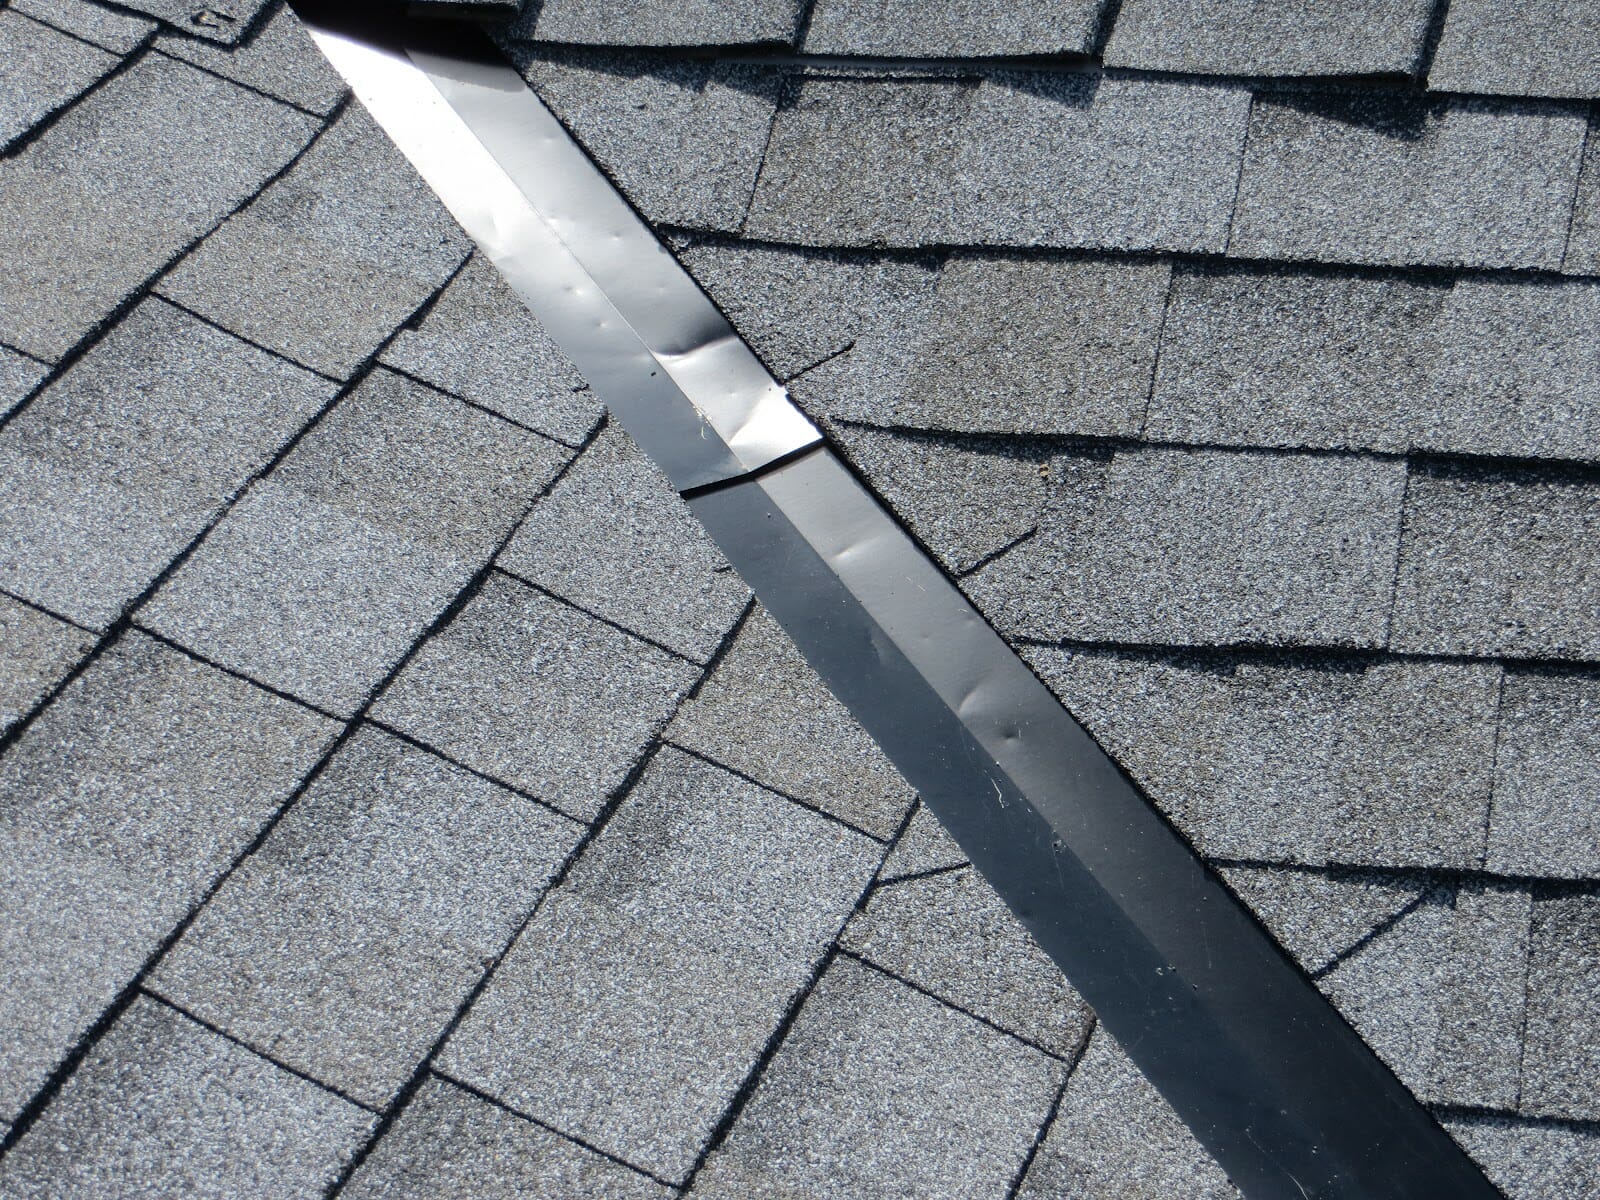
What is Flashing?
Flashing is the protective metal tie-in material used on homes and other construction projects to prevent water damage from occurring. It comes in a range of types: you can track down aluminum, copper, lead, PVC, and galvanized steel flashing to name a few options. It’s very thin material that comes on a simple roll—and it’s one of the keys to a long-lasting project that won’t wear out before it should.
Why is it Used?
Flashing is used to tie two different sections of a construction project together, and also to keep out water in the process. For instance, when you install a deck on a home, it’s important for you to put flashing between the band—the wooden side panel of the deck connected to your home structure—and the deck itself. The flashing keeps water from doing damage to the wooden framing behind the decking. Each time it rains, water seeps in behind that back band of your deck, and without flashing it would dampen the wood of your home and lead to it rotting and wearing out.
Locating Leaks
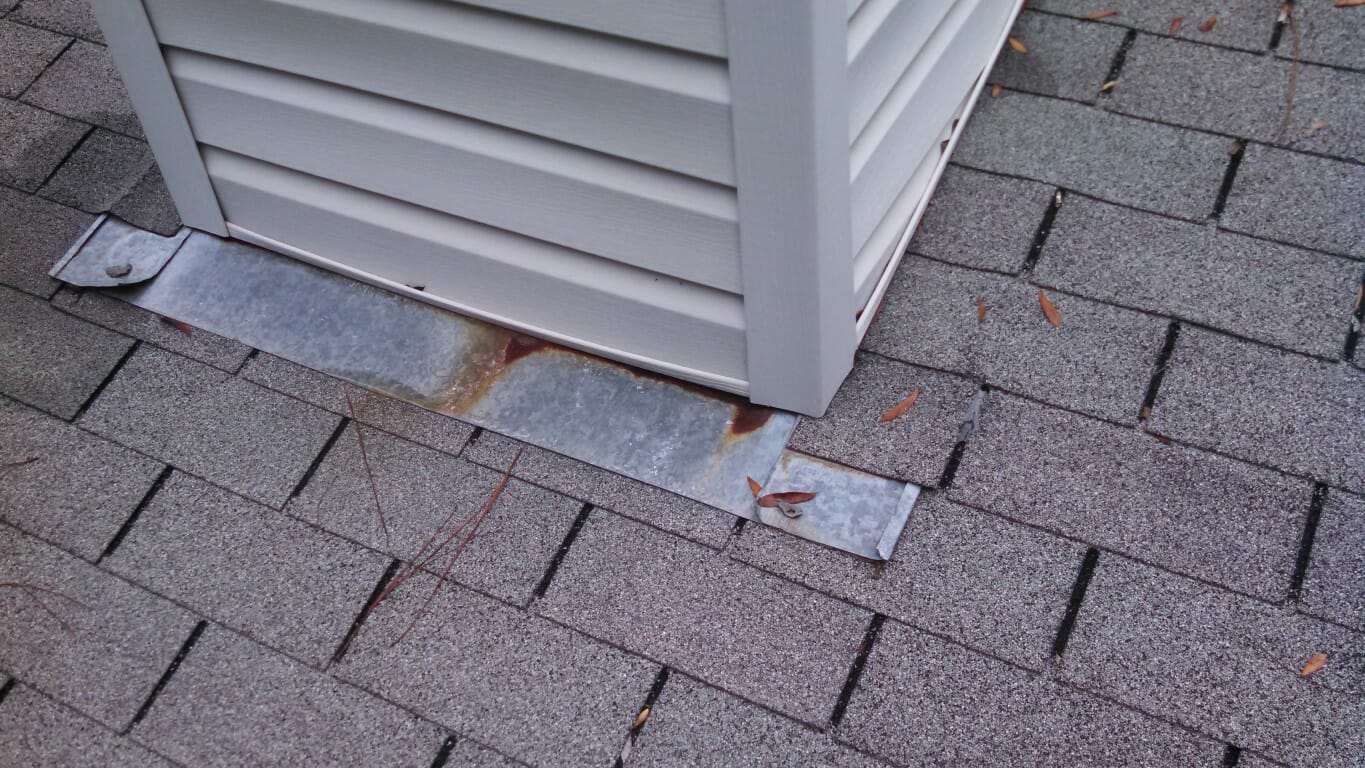
Most of the time when you notice a leak around a chimney or at the corners of your roofing, it’s because of issues with your flashing installation. These problems often require professional intervention, but if you’re patient and willing to dabble in a new DIY project, you might be able to fix the issue yourself and save some money in the meantime. Take a close look around your home, and crawl up in your attic to see if you can spot the exact location that’s suffering from a leak.
Maintaining Your Flashing
Make a good habit to check your flashing each time you’re up on the roof—or at least once a year—to see if it’s loose or has any holes or leaks. You’ll notice any issues that require repair, and you can often spot the problem early enough before any real damage occurs.
Lock it Down
It’s common for flashing to become loose and even removed from your home over time. Either the screws anchoring it into place become loose and pull out, or the metal wears away from around the edge of the hole where the flashing was initially locked down. Either way, that leaves flashing loose and unable to properly perform its job. To solve this problem, simply purchase screws made of the same metal as your flashing and screw them down into the framing underneath to lock the flashing into place. Cover each screw head using roofing cement, to keep water from getting into your home.
Fill Holes
Even though flashing is designed to be weather resistant, there are times when corrosion or wear will cause small holes to occur. If this happens, you don’t have to completely replace your flashing; you simply have to cover up that hole. Wipe away any sharp edges and corrosion using a stiff-bristled brush. Next, cut a piece of flashing that’s several inches larger than the hole and secure it overtop of the hole using roof cement. Add another liberal coating of roof cement around the outside edges of the patch to form a water-tight barrier.
Re-caulk Your Chimney Flashing
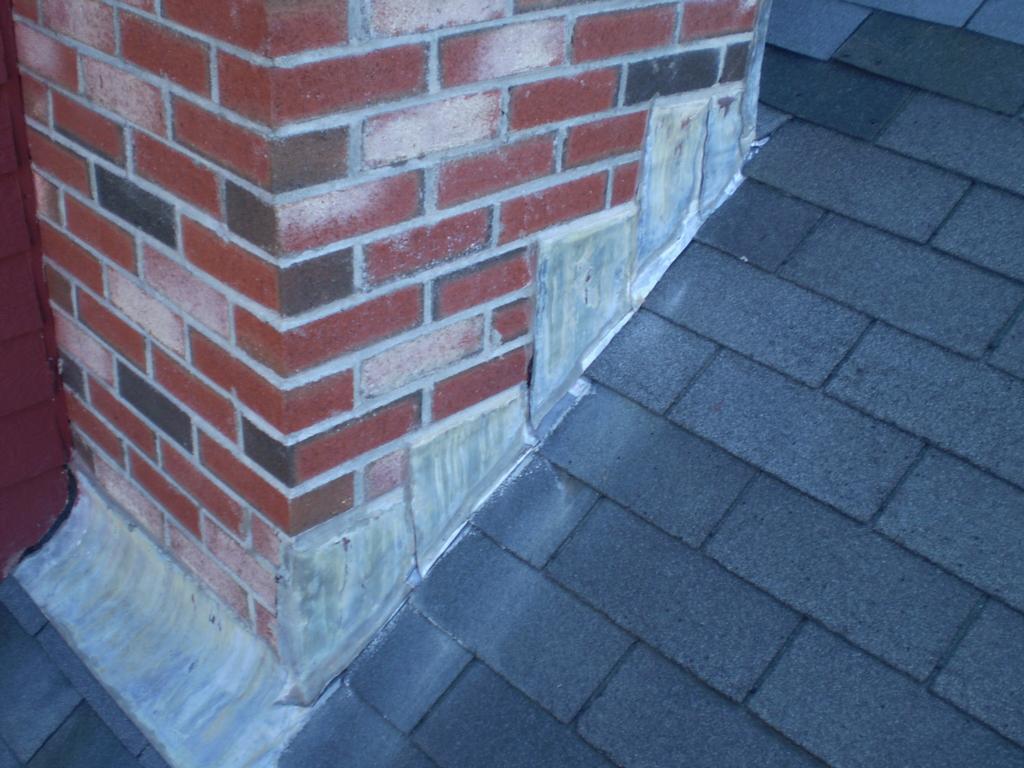
Flashing is tied into the mortar of the chimney itself to form a waterproof barrier. Over time, the mortar can crack and crumble—and it’ll need to be updated in order to continue providing that protection. Work away any of the cracked mortar using a stone chisel and then apply a new layer of mortar caulk in place of the worn mortar. While doing this, be careful to cover the flashing entirely and to fill in the chimney gap completely between the brick or stone.
Fix a Leaking Seam
As long as the flashing has been installed properly, you can repair a leaking seam using simple roofing cement in most instances. Simply push the seam back down and secure it in place with screws if necessary, and then apply roofing cement around all the edges of the flashing for a watertight seal.
Flashing is simple to repair if you know what you’re doing, but when it’s been installed improperly, or you simply don’t know how to do the work, it’s important to consult with an expert to have your roof reliably sealed once again.
How have you maintained your roof’s flashing? Tell us about it in the comments below!
Find the Right Contractor for Your Roof Project
Whether you’re ready to begin your project now or need some expert advice, our network of contractors are here to help. With a few simple questions, we’ll find the best local professionals for you