
Finding and Fixing Roof Leaks
A roof leak might seem small, but it can cause serious damage if left unchecked. Luckily, there are simple ways to spot and fix leaks before they turn into bigger problems. Here’s a guide to help you identify signs of a roof leak, fix them, and know when to call in a professional.
Signs of a Roof Leak
Roof leaks aren’t always obvious at first. But the sooner you notice them, the easier they are to fix. Here’s what to look for:
- Water Stains on the Ceiling: These are often yellowish or brown rings that appear on ceilings or upper walls. If they keep getting bigger or darker, it means water is seeping through more than once.
- Musty Odors: A musty smell, especially in the attic or upstairs rooms, usually means moisture is present. Unfortunately, this could also be a sign of mold and mildew.
- Dripping Sounds: If you hear dripping, especially after rainstorms, it’s a good idea to inspect your roof and attic for water damage.
- Moldy Exterior Walls: Mold outside your home, especially near the roofline, is often the result of water getting in. Even if your interior walls look fine, check for peeling paint or greenish-black patches outside.
If you notice any issues, try to get them fixed as quickly as possible to hopefully avoid serious damage.
How to Find a Roof Leak
Sometimes a leak is easy to spot. Other times, it takes some investigation. Here’s how to track down roof leaks:
1. Check Out the Attic
Grab a flashlight and head into your attic during daylight. Look for:
- Dark streaks or water stains on rafters or roof decking.
- Mold, mildew, or a damp, musty smell.
- Wet insulation or soggy drywall.
- Sunlight peeking through small holes in the roof boards.
- Water pooling in ceiling fixtures
2. Follow the Water Tracks Uphill
Water doesn’t always drip straight down. Gravity pulls it along beams and insulation before it finally shows up as a stain. Once you spot where the trail begins, look directly above that point on your roof for the likely entry spot.
3. Check Common Entry Points
Most roof leaks start where the roofing material is cut or interrupted to allow for pipes, chimneys, or other features. Focus on checking these common problem areas first:
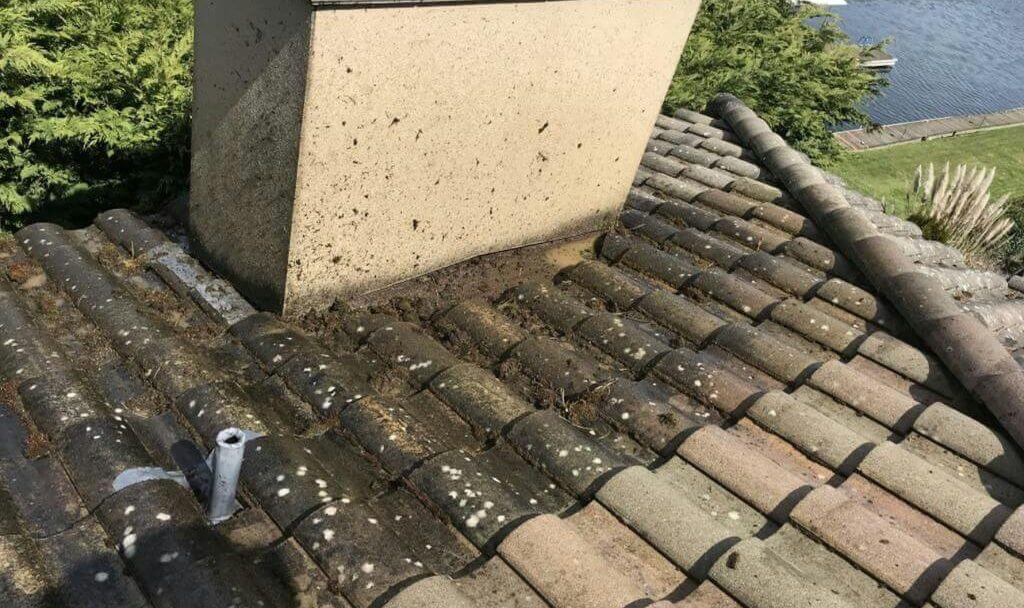
- Chimneys: Check for gaps between the bricks and flashing or worn-out sealant.
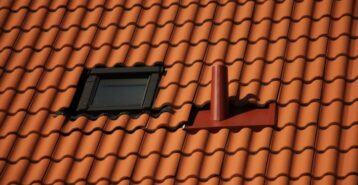
- Skylights: Look for broken seals, cracked panes, or damaged flashing around the perimeter.
- Roof Vents: Plumbing vents and exhaust fans are often sealed with rubber boots that can crack over time.
- Flashing: Metal flashing around dormers, valleys, or along edges may come loose or rust.
- Satellite Dishes or Antennas: Screws or mounts installed directly into the roofing can allow water in if they’re not sealed properly.
- Gutters and Downspouts: If these clog, water can back up and seep under shingles near the edge of the roof.
Take note of any cracked, loose, or missing components. Water finds the easiest path in, and these entry points are often the culprits.
4. Look at Your Roof
From the ground, use binoculars to scan your roof for visible signs of damage. If you’re comfortable and it’s safe to do so, you may also choose to climb up for a closer look. But safety comes first. Here’s how to check your roof safely:
Roof Safety Tips:
- Only go on the roof in dry weather — wet shingles can be extremely slippery.
- Wear shoes with rubber soles for good traction.
- Use a sturdy ladder on level ground, and have someone hold it for extra security.
- Don’t walk on steep or high-pitched roofs; leave those to the pros.
- Never step on skylights or soft-looking areas; you could fall through.
- Never go up alone. Always have someone nearby in case of an emergency.
When Inspecting the Roof:
- Look for shingles that are cracked, curled, missing, or discolored.
- Check for sagging or soft spots. These can indicate rot or water damage.
- Inspect valleys, edges, and the ridge line for lifted or damaged materials.
5. Grab a Friend and Try a Leak Test
Still can’t find the leak? Here’s a simple, tried-and-true trick you can try:
- Have someone stay inside while you go up onto the roof with a garden hose.
- Slowly spray sections of the roof, starting from the bottom and working upward.
- Wait a few minutes between sections. If your helper sees a drip, you’ve found the leak.
- Be patient! This process can take a while, but it usually does the trick.
Can’t find the leak? Modernize can connect you with up to four local roofing contractors who can solve your leaky roof problem. Get started below.

How to Fix a Roof Leak
Once you’ve found the leak, it’s time to fix it. Experienced homeowners can often tackle minor repairs, but there’s no shame in calling a pro to handle these tasks. Just be sure to act quickly before water causes more damage.
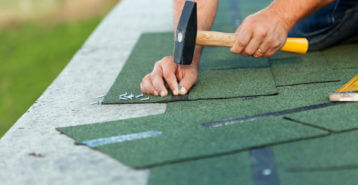
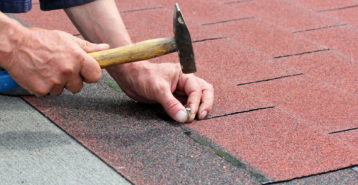
Repairing Roof Shingles
Asphalt shingles can blow off in a storm or loosen over time, leaving your roof susceptible to water damage. Here’s how to replace them:
- Use a flat pry bar to gently lift the shingles above the damaged one.
- Remove any nails holding the bad shingle in place.
- Slide a new shingle into position and secure it with roofing nails.
- Dab a little roofing cement under the corners to keep it from lifting again.
Fixing a Roof Vent Boot
Rubber vent boots wear out over time. If yours is still in decent shape but needs a little bit of TLC, you can replace the nails or screws with rubber-washer-head roofing screws and that may solve the problem.
If your vent boot needs a full replacement, you can carefully lift the shingles around the old boot, use a flat bar to pry up the old nails, remove the old boot, put on the new boot, and drive screws into the old nail holes.
Sealing Around Skylights, Chimneys, Windows, or Vents
Leaks around skylights, vents, chimneys, or windows usually come from worn seals or flashing. Sometimes a fix is as simple as removing the old caulk and applying new, high-quality caulk.
Fixing Flashing
Roof flashing is a thin metal strip used to keep water out of vulnerable points like chimneys, vent pipes, skylights, and windows. Heavy storms or wind can damage or weaken flashing, making your roof susceptible to damage.
- If the flashing is just loose, but in otherwise good shape, you may be able to reattach it with roofing nails or screws and a new bead of caulk or sealant.
- If your flashing is leaking but otherwise in good shape, you may be able to get by with simply cleaning the area and applying a new layer of sealant. This is only a temporary repair and should be addressed by a professional when possible.
- If it has a small crack, you may be able to temporarily repair it with flashing tape until a professional can come out to replace it.
- If your flashing is damaged (cracked, rusted, missing pieces), it needs to be replaced. This is best left to the pros.
Sealing Nail or Screw Holes
A small nail or screw hole can go unnoticed for a long time but can slowly allow water to enter your home and eventually lead to issues. To fix this, apply liquid flashing or fit metal flashing under the damaged shingles. While you may be tempted to just fill the hole with roofing caulk and call it a day, that repair will likely fail. Flashing is a much better long-term solution.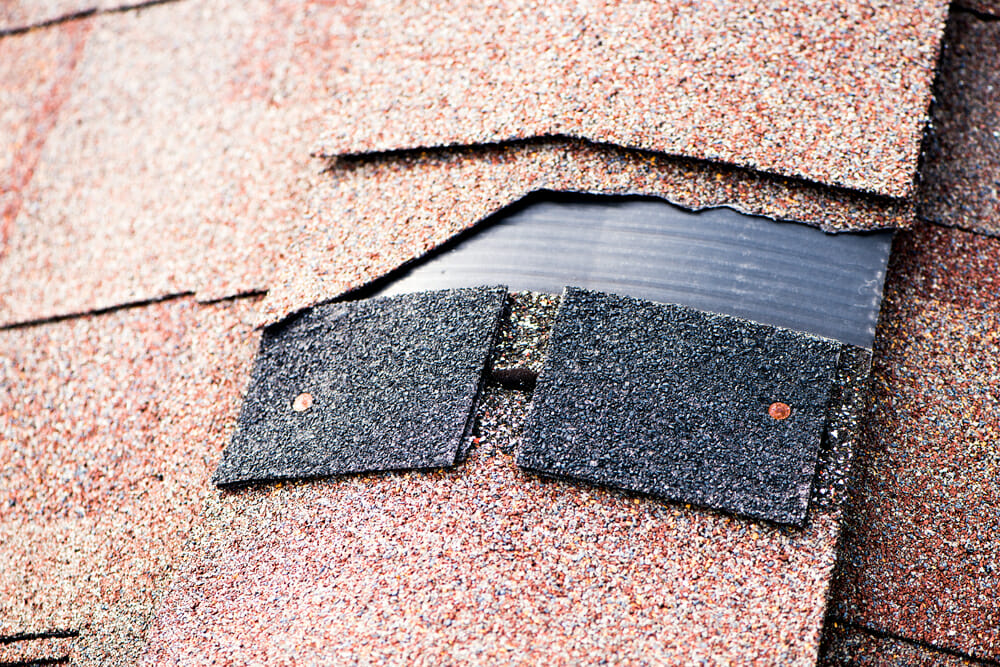
When to Call a Professional
Sometimes a leak is more than a DIY job. Call a licensed roofing contractor if:
- Your roof is steep, tall, or difficult to access.
- The leak has caused widespread damage.
- You’re unsure where the leak is coming from.
- The repair is complicated, such as replacing multiple shingles, roof decking, flashing, etc.
- You’re uncomfortable going onto your roof to make the repairs yourself.
- Your roofing warranty will be voided if you make the repairs yourself.
Repair vs. Full Replacement
Not every leak means your whole roof needs replacing. Here’s how to tell the difference:
You can likely opt for a repair if:
- The leak is small and in one area.
- Your roof is under 15 years old.
- The rest of your shingles look solid and intact.
Consider a replacement if:
- Leaks are popping up in multiple spots.
- You see widespread shingle damage or curling.
- Your roof is 20 years old or more.
If you’re not sure whether a repair would suffice, it’s always best to call in a local roofing professional. They can diagnose the problem and advise the best course of action.
Cost to Repair Roof Leaks
Roof leak repair costs depend on the size and location of the damage, your roof type, and labor rates in your area, but here’s a rough estimate:
- Minor repairs (a few shingles, sealant touch-ups): $150 to $450
- Moderate repairs (replacing flashing, skylight resealing): $500 to $1,000
- Major repairs (chimney work, decking replacement): $1,000 to $3,000+
On average, homeowners spend around $1,200 on roof repairs. Fixing roof issues as soon as you notice them can help keep these costs lower, hopefully preventing them from causing significant damage.
-
Roof Framing Elements
What Is a Roof Frame? Think of the frame of your roof like a skeleton. It’s made of wooden pieces that form the shape and structure of the roof. Once... -

Metal Roofing Guide
What Is Metal Roofing? Metal roofing is made from strong, recyclable materials like aluminum, copper, steel, tin, and zinc. It comes in a variety of styles, from sleek standing seam... -
Roof Ridge Vent Installation
Did you know that your roof does much more than just protect you from the weather? Roof ventilation systems help circulate air throughout your home, protect it from moisture build-up,... -

Impact Resistant Roofing Guide
Impact-Resistant Roofing: Summary Impact-resistant roofing is designed to hold up against hail and flying debris. This is ideal for homeowners in storm-prone regions. While various roof materials can be considered... -
How to Install Roof Shingles
Is It a Good Idea to Install Roof Shingles Yourself? Installing roof shingles yourself may seem like a great idea to save on labor costs, but it’s a physically demanding... -
New Roof Installation And Replacement Guide
When you are thinking of replacing your roof, whether to fix an issue or to increase your curb appeal, it is important to know the right steps in the roof...