
Is It a Good Idea to Install Roof Shingles Yourself?
Installing roof shingles yourself may seem like a great idea to save on labor costs, but it’s a physically demanding project that requires a solid understanding of tools, materials, and — most importantly — safety precautions. Experienced DIYers may be able to tackle the task, but this isn’t a job for the faint of heart.
Roofing involves working high off the ground, often on steep angles. It also means handling sharp tools, heavy materials, and staying alert for long stretches of time. If you’re unsure whether you have the experience or stamina, it’s worth getting quotes from local roofers. This gives you a cost comparison and helps you understand what the job really entails.
How to Install Shingles: 11-Step Guide
For experienced DIYers, installing asphalt roofing shingles can be done in roughly 11 steps. Here’s what you need to do:
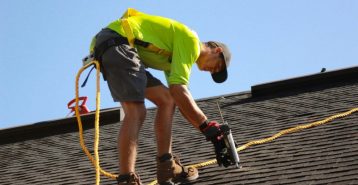
1. Safety First!
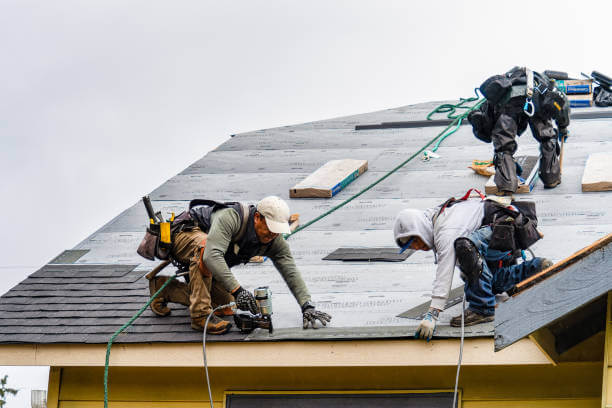
Before doing anything else, make sure you’re set up to stay safe. Roof work can be dangerous, especially on two-story homes or in windy weather.
Always wear a safety harness attached to an anchor point secured to the roof structure. Non-slip footwear is a must to avoid slipping on shingles or underlayment. Always wear gloves to prevent cuts from tools or metal flashing. Wear safety glasses to protect your eyes. Only use ladders that are rated for your weight and height needs, and make sure they extend at least three feet above the roof edge for safe access.
2. Acquiring Your Tools
You’ll need the right tools and supplies to complete the job safely and efficiently. Essential tools include:
- A tape measure for accurate roof measurements
- A chalk line to mark straight guides for shingle rows
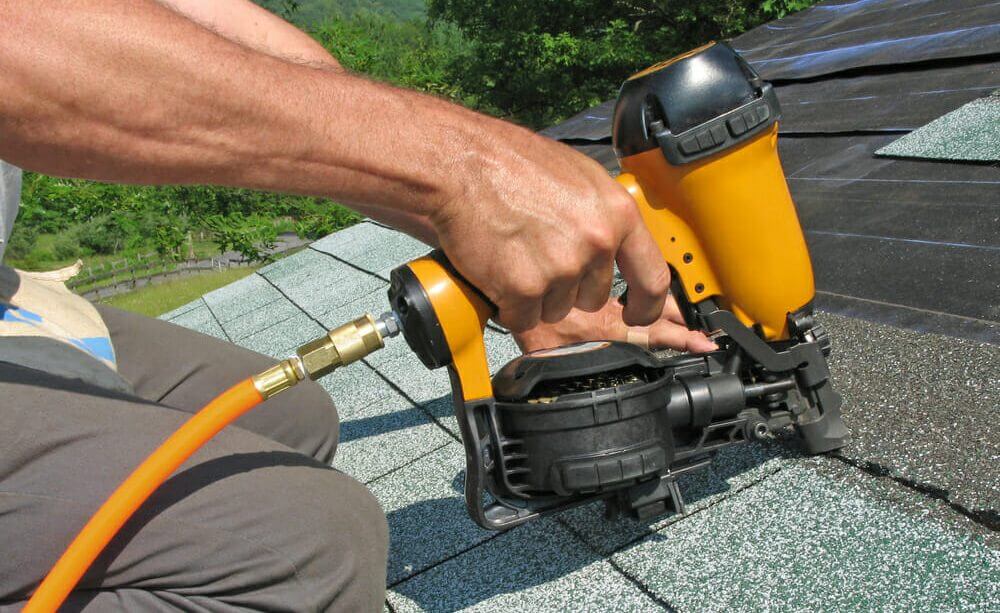
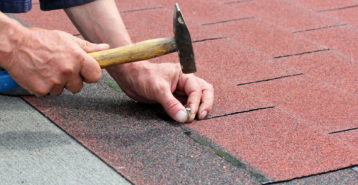
- A roofing nail gun or hammer to secure shingles
- A utility knife to cut shingles and underlayment
- Cap nails or staples to fasten underlayment
- A roofing shovel or pry bar if removing old shingles
You’ll also need materials like roofing nails, starter shingles, roofing underlayment (a water-resistant barrier), a drip edge (metal strips installed along roof edges), and your choice of asphalt shingles.
3. Pre-Installation Preparation
Figure Out How Many Shingles You Need
To figure out how many shingles it’ll take to complete your project, start by measuring the length and width of each roof section. Then, multiply those numbers to get the area in square feet. Add up the total and divide by 100 to get the number of roofing “squares.” A square is equal to 100 square feet.
Since shingles are sold in bundles — typically three bundles per square — you’ll need to multiply your total squares by three. Always add 10% to 15% extra for cutting and waste.
Remove Old Shingles and Flashing
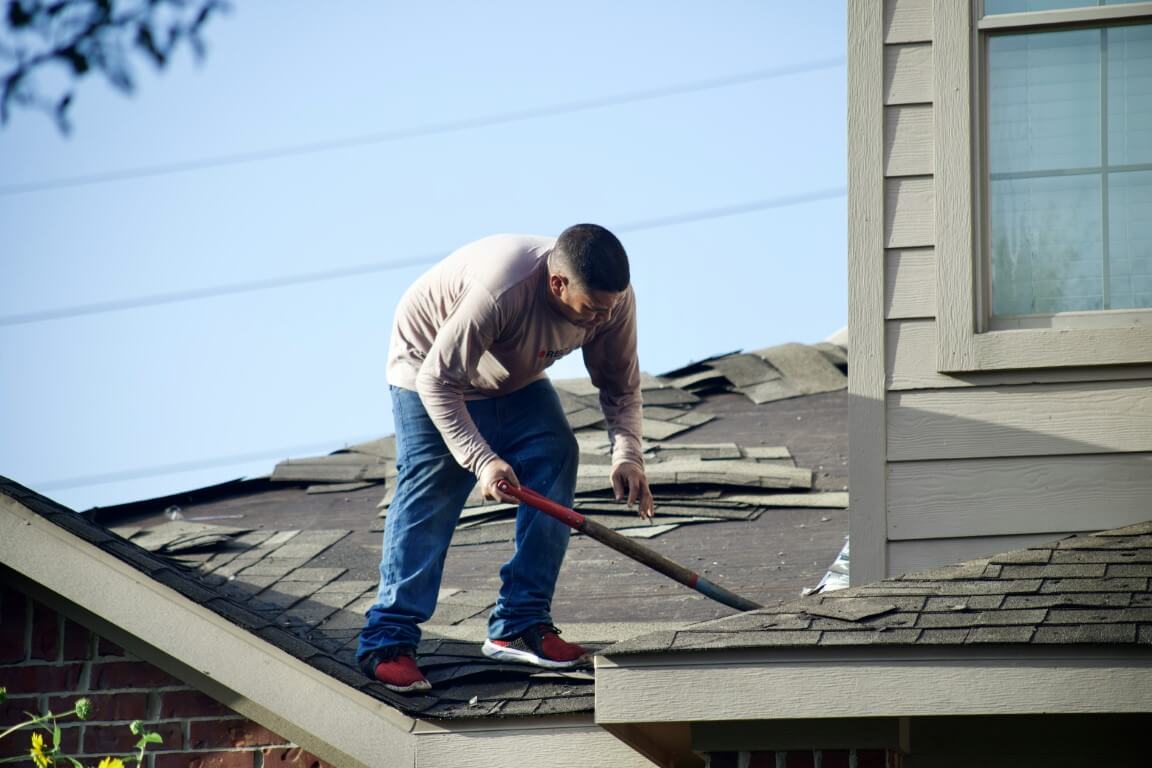
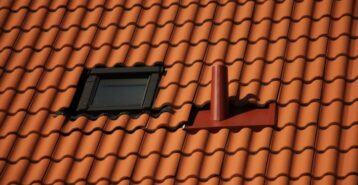
If you’re working on a re-roof, use a roofing shovel or pry bar to remove existing shingles. Then, carefully pull up any old nails and inspect the condition of the roof deck underneath. Next, remove any damaged or corroded flashing: the thin metal material that protects joints, like where the roof meets a chimney, wall, or valley, from leaks.
Inspect and Clean the Roof Deck
Once stripped, inspect the roof deck: the wood surface (usually plywood or OSB) that supports all roofing materials. Replace any soft or rotted spots and re-secure loose boards. Clean off dust and debris. A smooth, solid surface is key for long-lasting shingles.
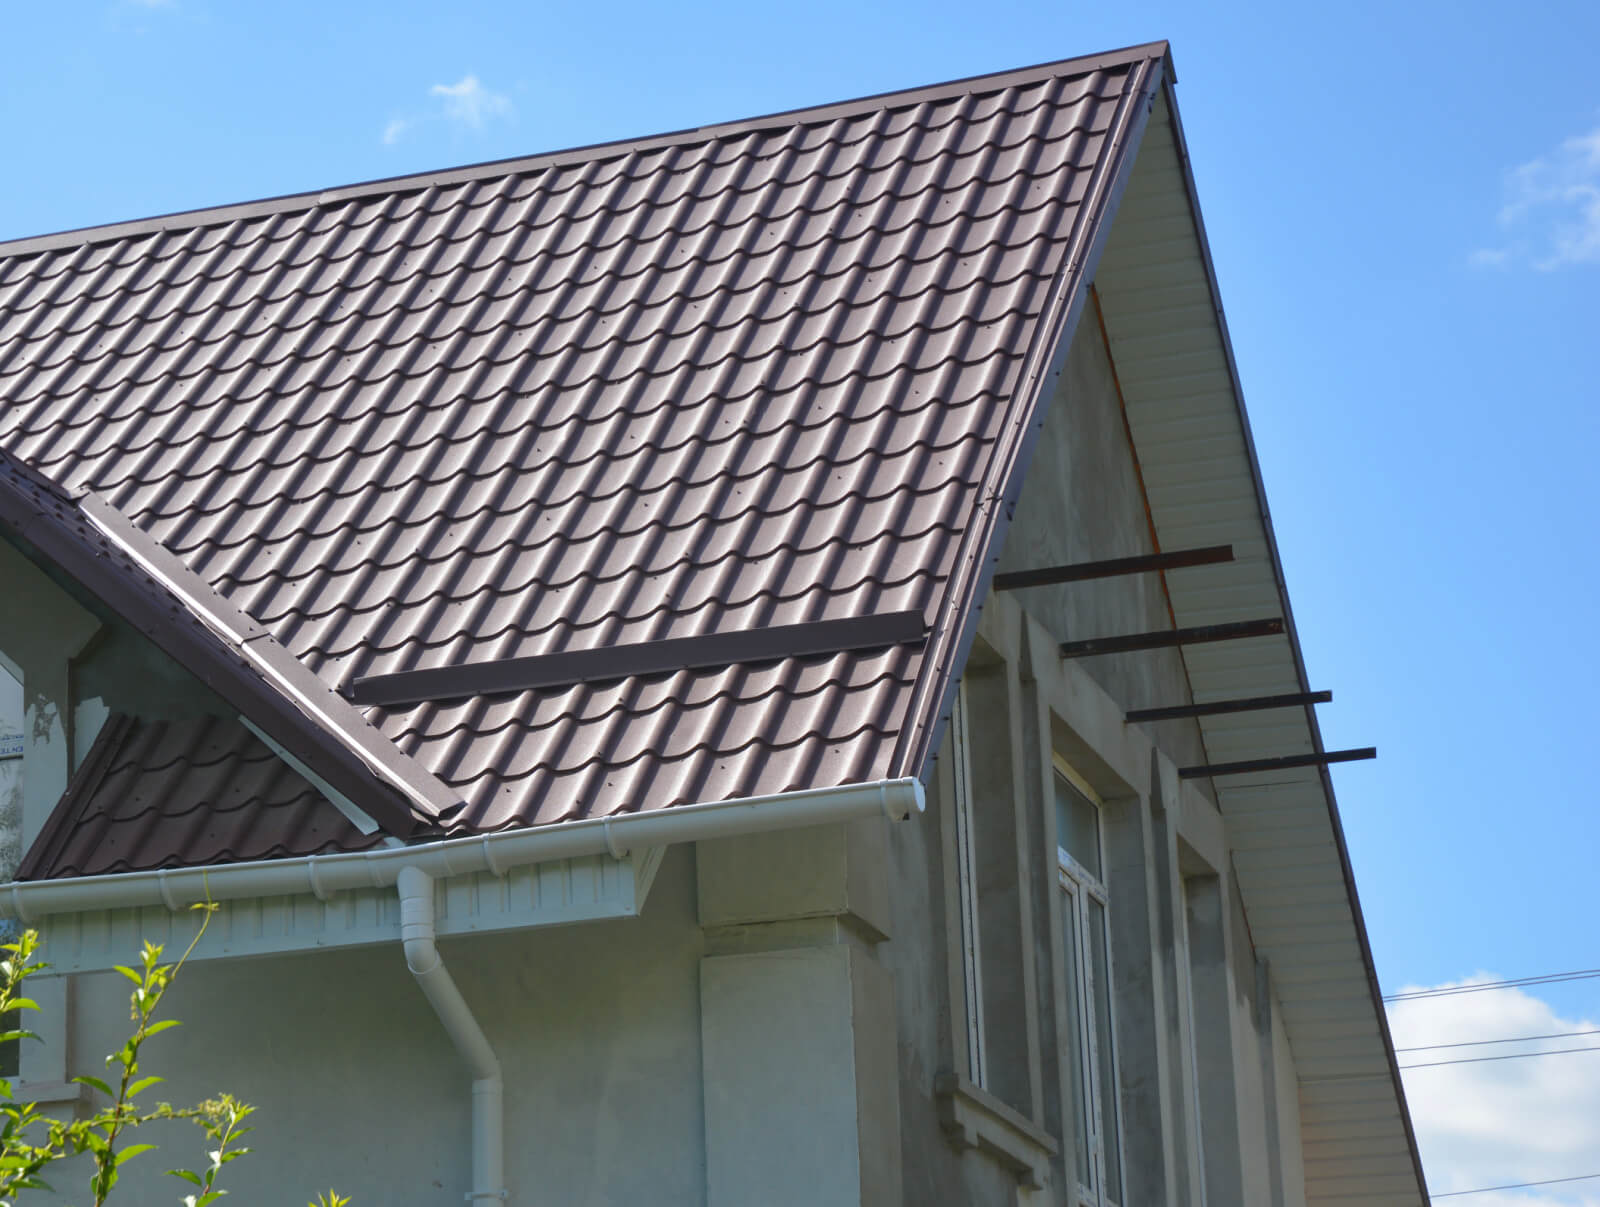
4. Installing the Drip Edge

A drip edge is a metal strip that goes along the edges of your roof. It helps guide rainwater off the roof and into your gutters, preventing water damage and rot to your decking and fascia boards.
Start by installing the drip edge along the bottom edge (eaves) of the roof, nailing it down every 10 to 12 inches. Each piece should overlap the previous one by at least two inches. For the sides (gables), install the drip edge over the underlayment to seal out wind-driven rain.
Installing Ice Protection (Optional)
If you live in a cold climate, ice and water shield is a self-sticking membrane that prevents water from ice dams from leaking under shingles. Install it above the drip edge at the eaves and extend it at least 24 inches inside the heated wall space of the home. Also apply it in valleys, around vents, and other vulnerable areas.
5. Installing the Underlayment
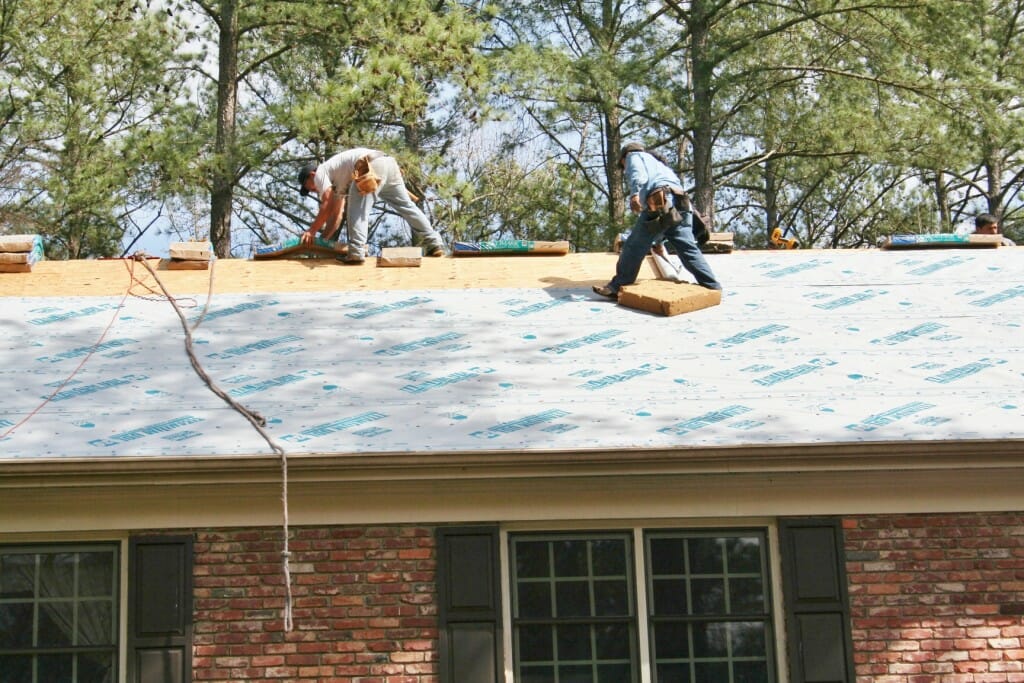
The underlayment is a protective layer between your shingles and the roof deck. It’s designed to shed water that makes it past the shingles, especially during heavy rain or snow.
Roll out the underlayment horizontally across the roof, starting at the bottom. Overlap each row by 2 to 4 inches. Use cap nails spaced about 8 inches apart. This layer should be tight and smooth, without wrinkles, and it should cover the entire roof up to the ridge.
6. Covering Joints and Valleys
A valley is where two roof slopes meet to form a trough. These areas get a lot of water flow, so they need extra protection.
In a closed valley, shingles from one slope extend across the valley, and shingles from the other slope are trimmed to meet them. In an open valley, a metal flashing is exposed and visible in the center, with shingles trimmed to fit alongside it. Apply roofing cement underneath shingles near valleys to secure them and prevent water from working its way underneath.
7. Marking Your Pattern
Use a chalk line to snap horizontal lines every 5 inches up the roof. These lines guide your rows so that shingles are spaced evenly and aligned straight. Add vertical lines every 6 inches to help stagger your seams, which strengthens the roof and prevents water infiltration at the joints.
8. Laying the First Row of Shingles
The first row is built on top of starter shingles, which are specifically designed to block wind and water from getting beneath your first layer of full-size shingles. Starter shingles go at the roof’s edge and should overhang the drip edge slightly.
Place your first full shingle directly over the starter course. Line it up with your chalk guide and fasten it with four nails just below the adhesive strip. Avoid overdriving the nails and be sure they’re flush with the shingle surface.
9. Shingling the Main Part of the Roof
Work your way up the roof, staggering each new row so seams don’t align. Typically, you’ll trim 6 inches off the first shingle of every other row to create a “stair-step” pattern.
Make sure each row overlaps the previous one by the correct amount (usually around 5 inches) to ensure proper water shedding. Keep checking your chalk lines and nail placement as you go. Six nails per shingle may be recommended in high-wind areas, especially near roof edges.
10. Shingling Hip and Ridge Caps
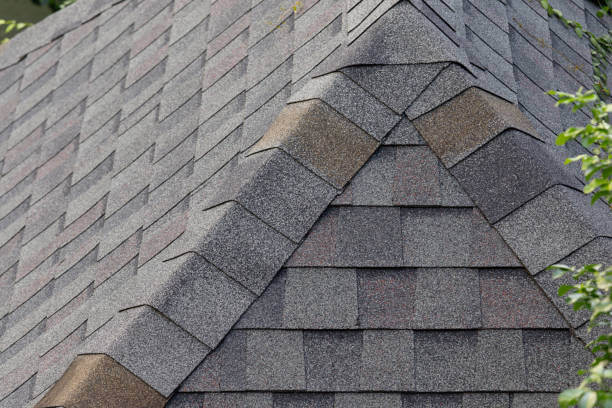
The ridge is the horizontal peak where two slopes meet. For these areas, cut shingles into thirds to create ridge caps — these are smaller shingles that bend over the peak and cover the seam between both roof sides.
Start at the end opposite the prevailing wind direction. Overlap each ridge cap over the nail of the one before it. Secure with nails and seal the final exposed nail with a dab of roofing cement to prevent water intrusion.
11. Inspect Your Final Product
After installation, walk around your home and inspect the roof carefully. Look for gaps, crooked rows, raised nails, or loose shingles. Check valleys, ridges, and flashing to ensure they’re sealed. Clear debris from the roof and clean your gutters so that water can flow freely off the roof during the next rainfall.
Final Checklist for Homeowners
If you made it this far, congrats on your new shingled roof! But before you call the job done, go through this quick checklist to make sure everything’s in place and your roof is ready to go:
- Roof deck is solid and smooth
- Drip edge and underlayment are installed properly
- Starter shingles and main shingles are nailed securely
- Shingles are straight, staggered, and fully overlapped
- Valleys and flashing are sealed
- Ridge caps are in place and nail heads sealed
- Roof is clean, and gutters are cleared
If you’re unsure about any part of the installation, or if your roof has a steep slope, complex features, or height concerns, it’s a good idea to get help from a professional. A well-installed roof will protect your home for decades, so it’s worth doing right.
-
Roof Framing Elements
What Is a Roof Frame? Think of the frame of your roof like a skeleton. It’s made of wooden pieces that form the shape and structure of the roof. Once... -

Metal Roofing Guide
What Is Metal Roofing? Metal roofing is made from strong, recyclable materials like aluminum, copper, steel, tin, and zinc. It comes in a variety of styles, from sleek standing seam... -
Roof Ridge Vent Installation
Did you know that your roof does much more than just protect you from the weather? Roof ventilation systems help circulate air throughout your home, protect it from moisture build-up,... -

Impact Resistant Roofing Guide
Impact-Resistant Roofing: Summary Impact-resistant roofing is designed to hold up against hail and flying debris. This is ideal for homeowners in storm-prone regions. While various roof materials can be considered... -
How to Find & Repair Roof Leaks
Finding and Fixing Roof Leaks A roof leak might seem small, but it can cause serious damage if left unchecked. Luckily, there are simple ways to spot and fix leaks... -
New Roof Installation And Replacement Guide
When you are thinking of replacing your roof, whether to fix an issue or to increase your curb appeal, it is important to know the right steps in the roof...