Are you doing a siding project?
Modernize can pair you with three to four pros in your area, so you can compare options and save time and money.
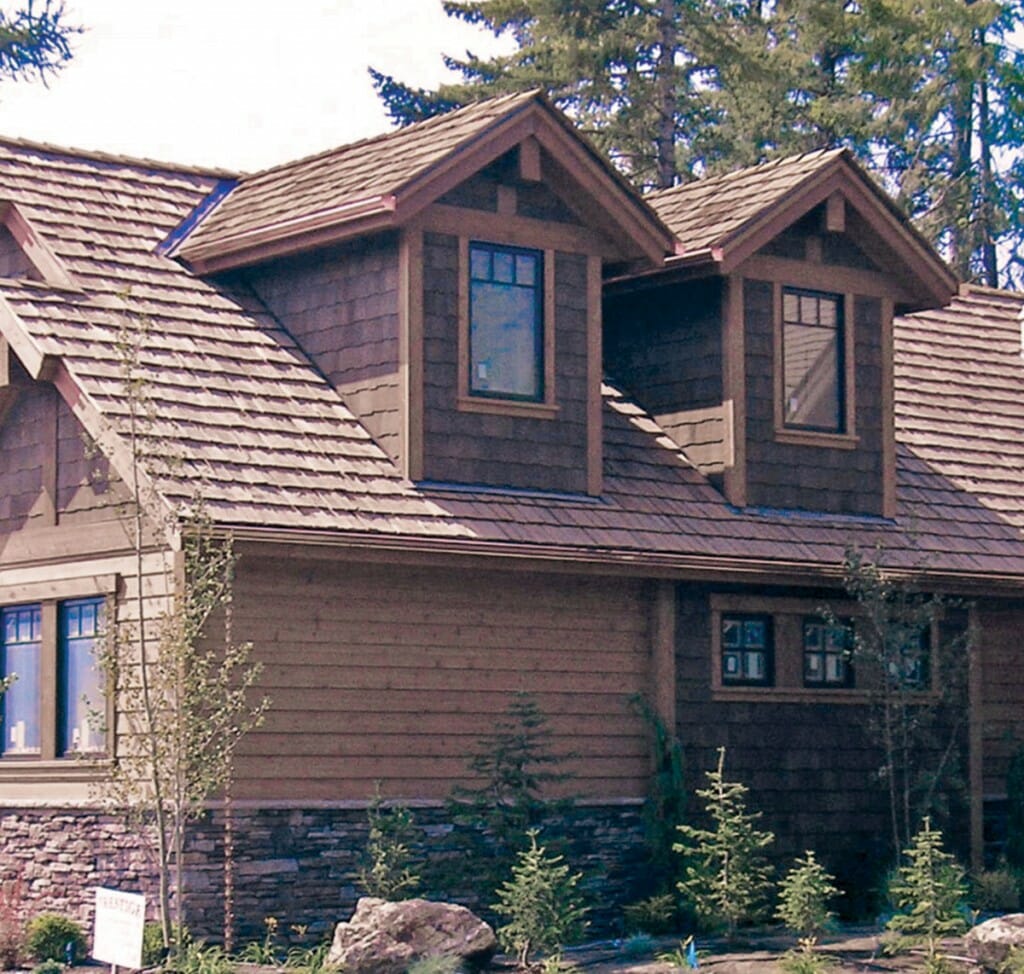
Wood siding evokes visions of majestic log cabins and rustic retreats surrounded by nature. It’s no surprise that many homeowners love its natural charm. Beyond aesthetics, wood siding offers versatility, allowing you to change its color to match your style—something vinyl siding can’t do. However, maintaining wood siding requires commitment. To keep it in top shape, it must be treated every decade. Without proper care, it can split, crack, blister, and lose its ability to protect your home. Two common treatment options are painting and staining. Both have pros and cons, so understanding their differences is essential before deciding which is best for your siding.
Painting vs. Staining: Which is Best for Your Siding?
When wanting to treat wood siding, your choice comes down to longevity and maintenance effort.
- Painting: Lasts 7–10 years but requires more prep work during touch-ups, including stripping and sanding.
- Staining: Easier to reapply every 3–5 years but needs more frequent maintenance.
Choose based on your priorities: a colorful, durable surface or a natural grain of wood with more frequent touch-ups.
How to Paint Wood Siding
Painting is ideal for hiding imperfections and creating a bold, uniform look. It also offers long-lasting durability when done correctly.
1. Pressure Wash the Surface
Use a pressure washer to remove dirt, mildew, and other debris. A clean surface ensures better paint adhesion.
2. Seal the Joints
Fill any gaps or joints in the siding with a high-quality, 50-year silicone or polyurethane exterior caulk. This prevents water from seeping behind the siding and adds another layer of protection.
3. Prime the Siding
Apply an exterior primer that matches your paint color. For best results, choose a primer slightly lighter than your paint to achieve even coverage and extend the lifespan of the paint. Cover every inch of the siding to create a strong seal.
4. Apply the Paint
Use a brush or roller for detailed application, or a sprayer if you’re experienced. A sprayer speeds up the process but requires masking nearby surfaces to avoid overspray. Apply two coats for a durable, vibrant finish.
Find the Right Contractor for Your Siding Project
Whether you’re ready to begin your project now or need some expert advice, our network of contractors are here to help. With a few simple questions, we’ll find the best local professionals for you

How to Stain Wood Siding
Staining enhances wood’s natural beauty while protecting it from the elements. It’s a simpler process than painting but requires some preparation.
1. Clean and Prepare the Siding
Pressure wash the surface, then apply a bleach solution to remove mold or mildew. Rinse thoroughly and let the wood dry completely for several days before moving to the next step.
2. Seal the Gaps
As with painting, use exterior caulk to seal any joints or gaps to protect against water damage.
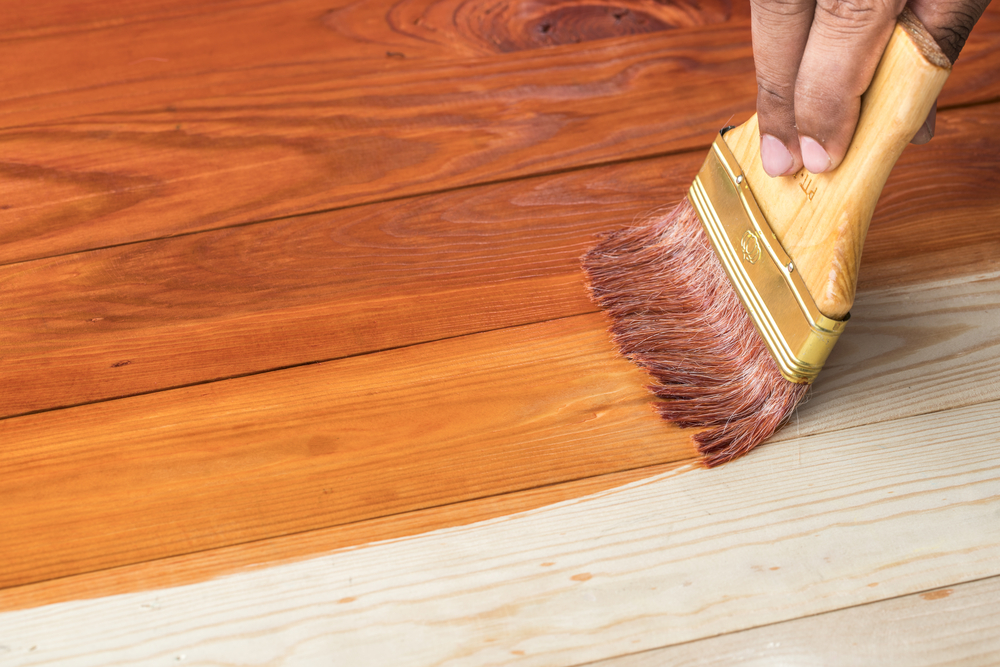
3. Choose and Apply the Stain
Pick an oil-based exterior stain that suits your desired color. Test a small area first to ensure the result matches your expectations. Use a wet brush to fully penetrate the wood, and avoid staining under direct sunlight to prevent uneven spots.
Whether you decide to treat wood siding with paint or stain, it is vital to its longevity. Regular maintenance not only protects your home but also preserves its charm for years to come. Invest the time upfront to ensure your siding stays beautiful and durable—saving you money and hassle in the long run.
Find the Right Contractor for Your Siding Project
Whether you’re ready to begin your project now or need some expert advice, our network of contractors are here to help. With a few simple questions, we’ll find the best local professionals for you
-
 cost and budgeting
Affordable Home Upgrades
We’ve all had that moment walking into a room thinking, “It’s fine, but…” Sometimes it’s dated hardware. Sometimes it’s lighting. Sometimes it’s just that nothing feels fresh anymore. Here’s the... -
 maintenance and care
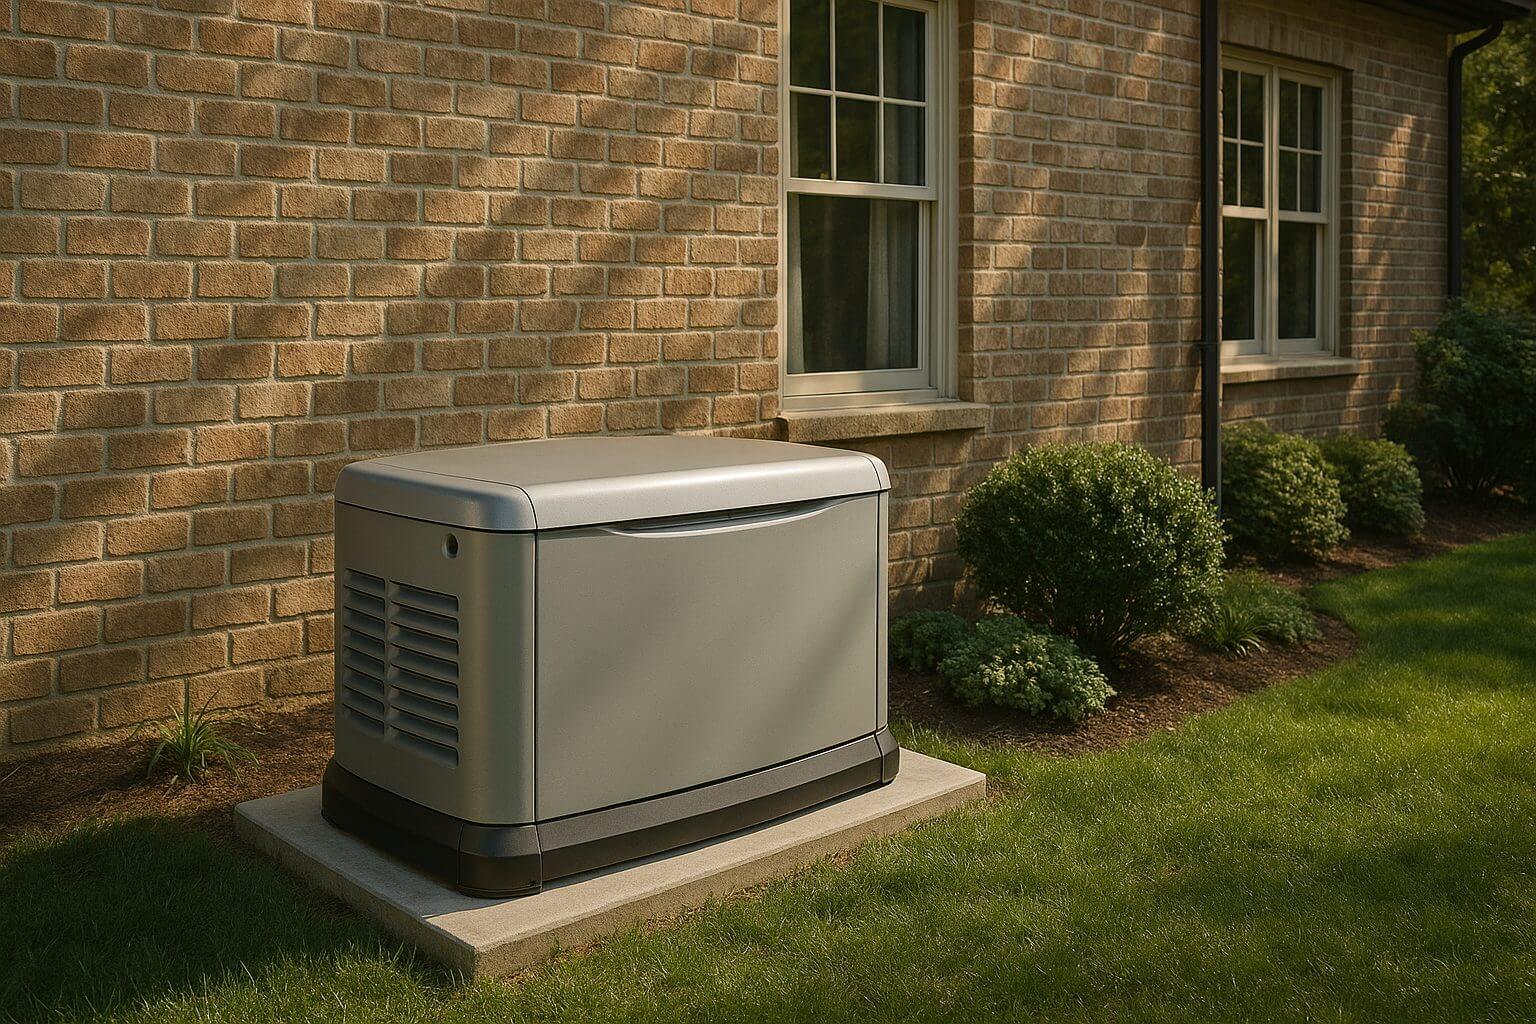
Natural Gas Generators and Carbon Monoxide: What Homeowners Should Know
Understanding the Concern Natural gas generators are one of the most popular standby power options for homeowners. They connect directly to your home’s gas line, which means no hauling fuel... -
 installation
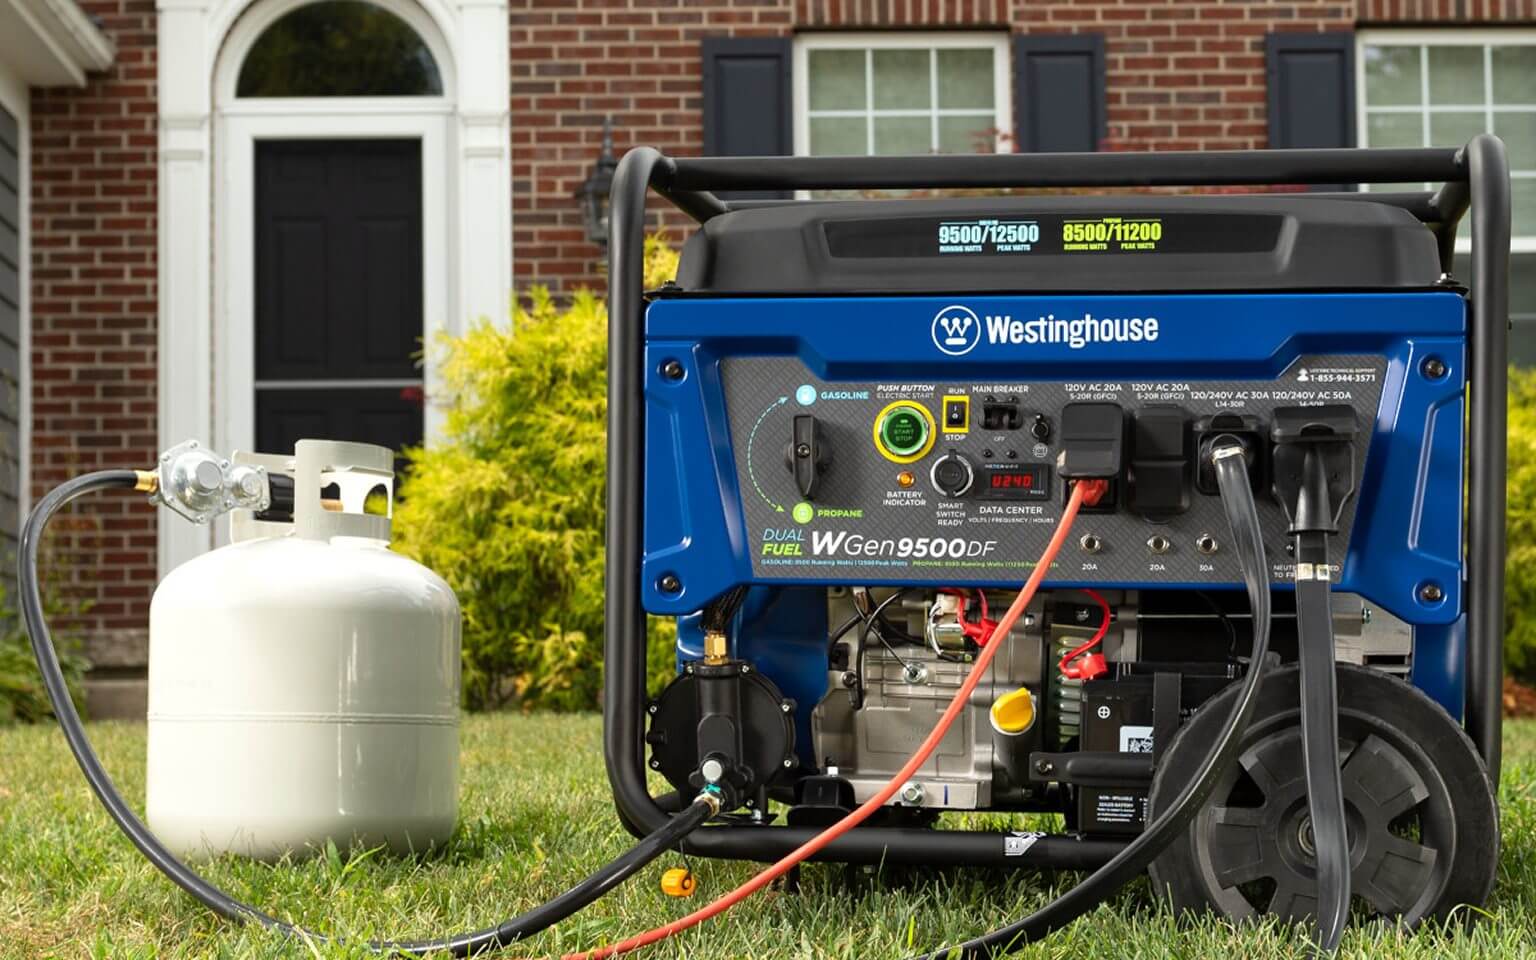
15 Practical Ways Homeowners Can Use a Generator
More Than Just Backup Power When people think about generators, they often picture them humming away during a blackout. While that is their most common role, generators are surprisingly versatile.... -
 maintenance and care
Diesel Generator Maintenance Made Simple: 10 Must-Know Steps
Why Regular Generator Care Matters A diesel generator can be a rock-solid backup power source, but like any engine, it needs consistent care to keep running reliably. Skipping maintenance can...
Reviews from Real Homeowners
Welcome to Homeowner Resources! We are the Modernize blog. Modernize pairs more than 3 million homeowners a year with pre-vetted contractors in their area. This blog started because we believe homeowners should know everything about their homes, from how their HVAC works to which front door colors they might love. On Homeowner Resources, you can find information on every part of your home, right down to how you can negotiate with contractors to get the best price. Here's more about the blog.
Need a contractor? Learn more about how Modernize finds the right pro for you.