Are you doing a siding project?
Modernize can pair you with three to four pros in your area, so you can compare options and save time and money.
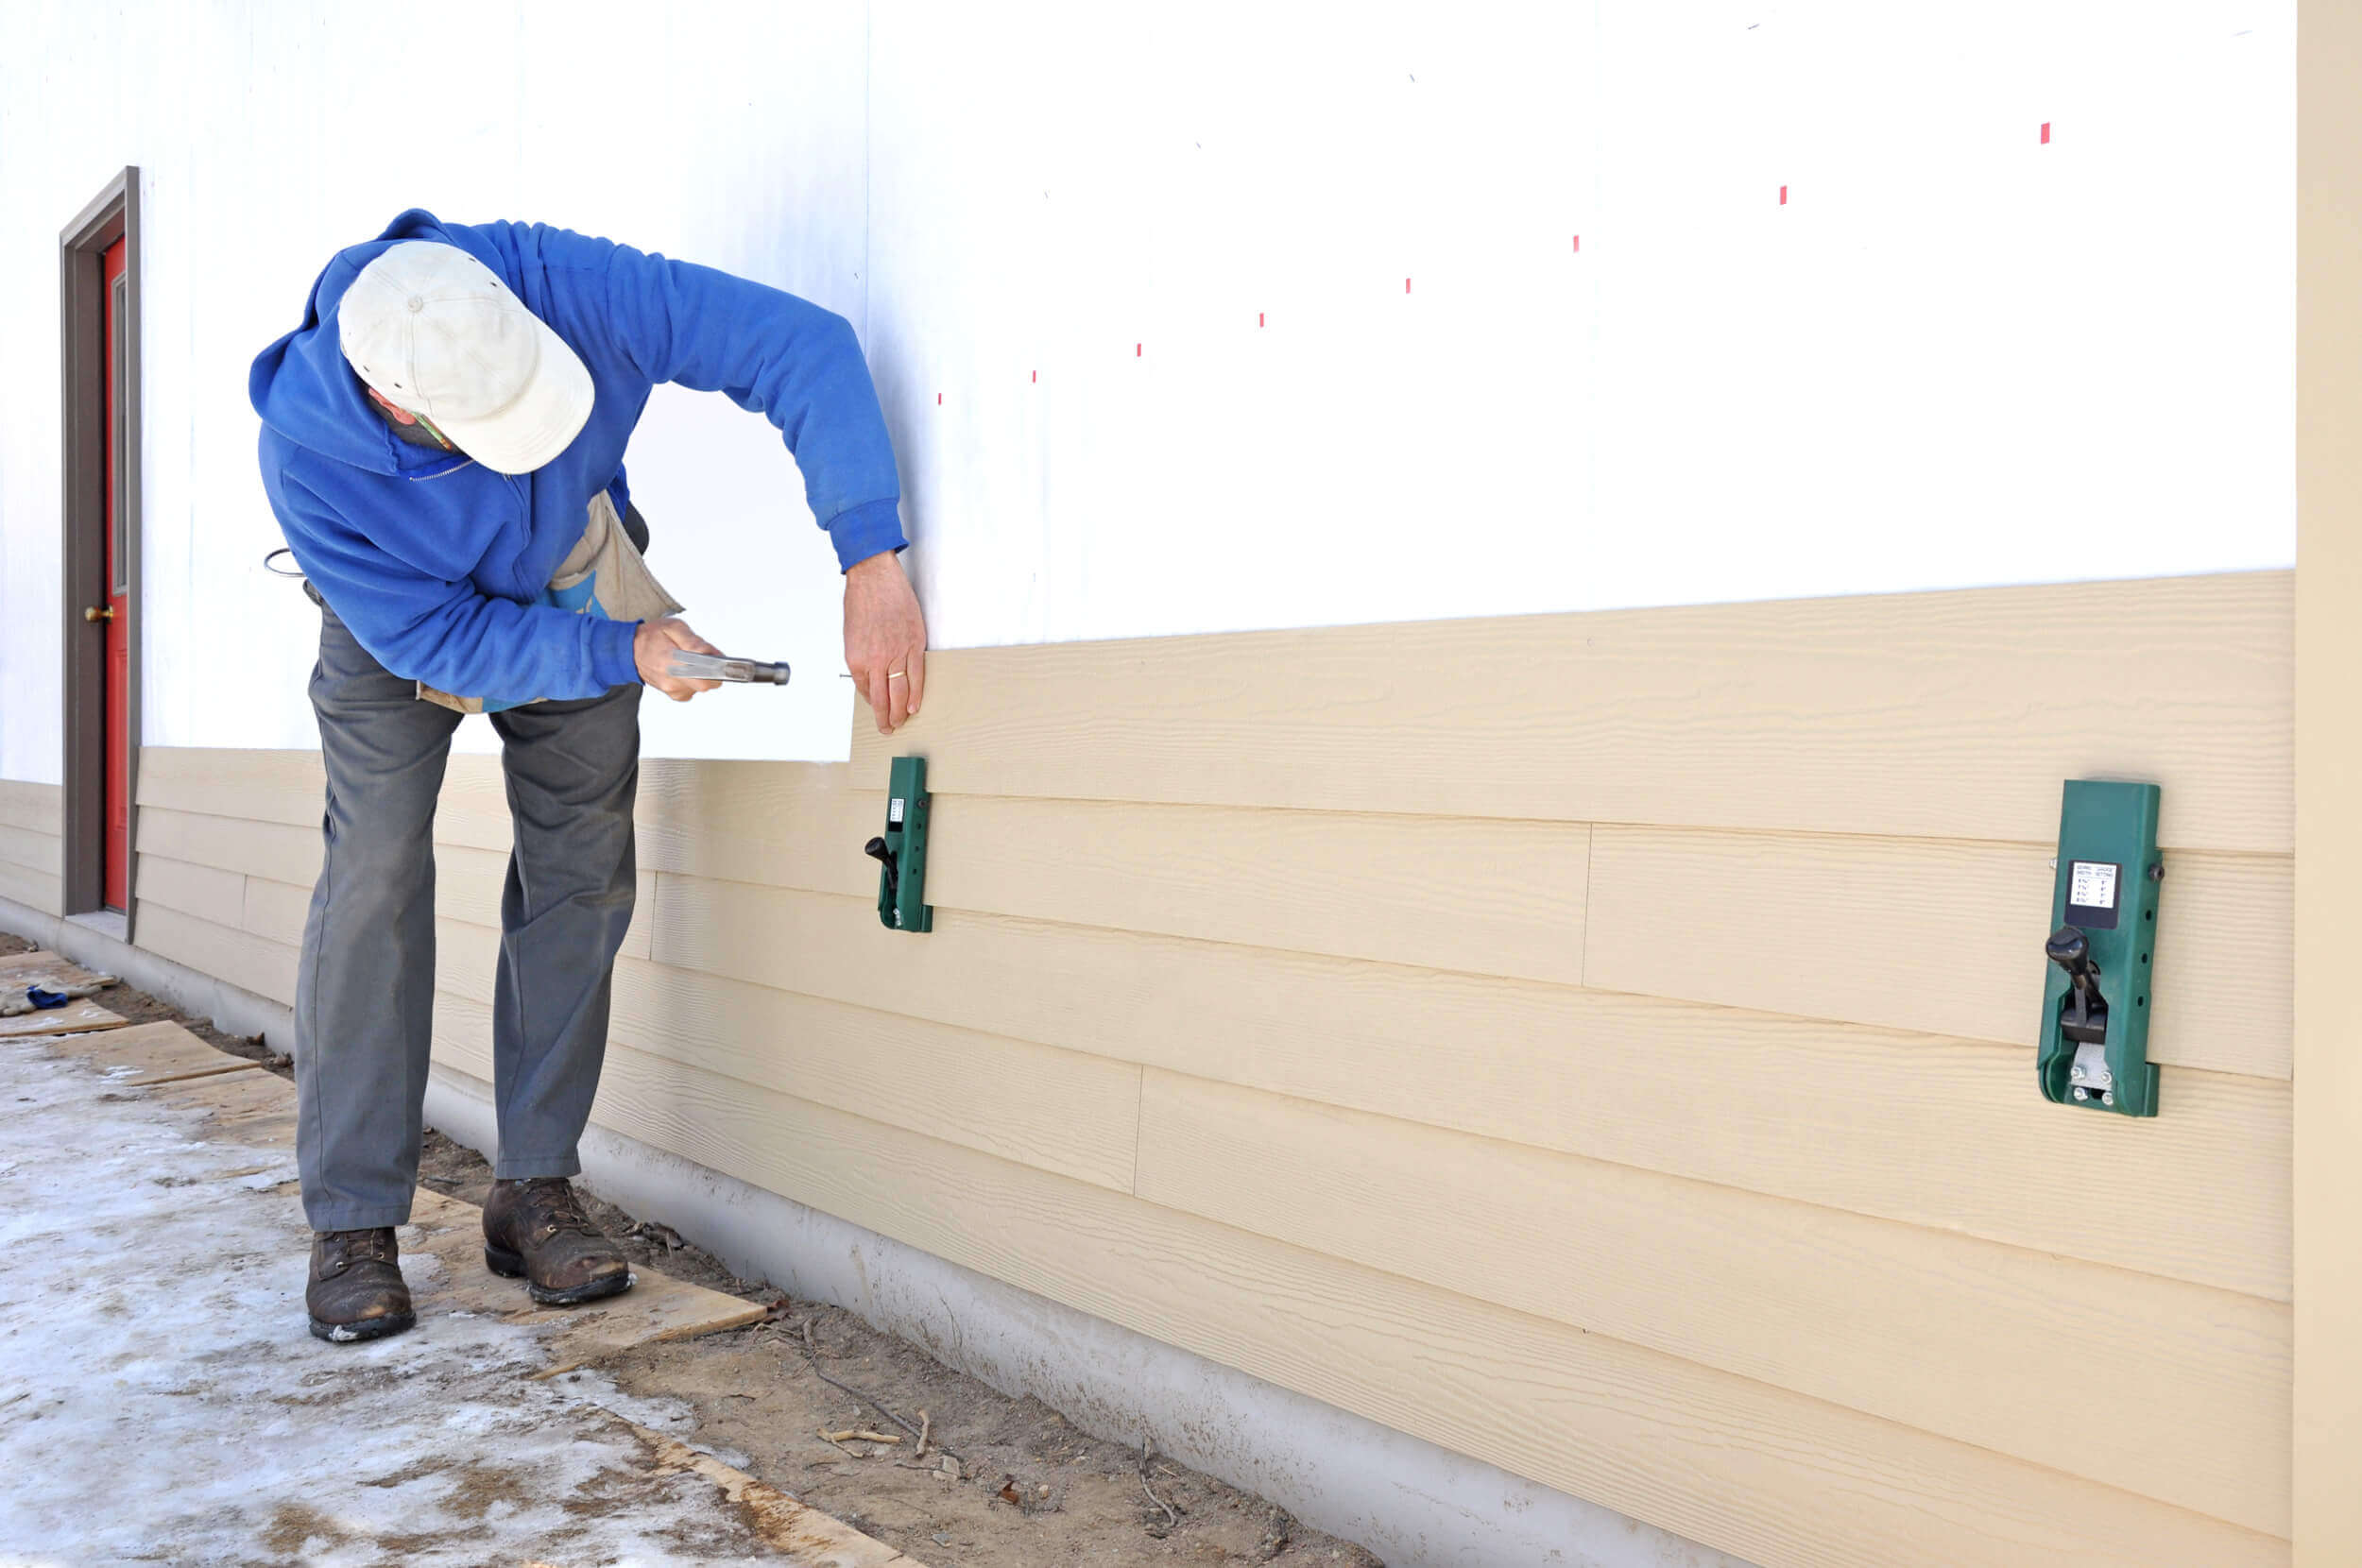
Homes function best when every element works in perfect harmony. Even the smallest parts, like nails and screws, make a difference. But the type of nails you use — and your nailing technique — is extra important when you install vinyl siding on your home.
Vinyl is a plastic product, so it’s a little bit more malleable than aluminum or wood — particularly when the sun is shining overhead. Unfortunately, that means it’s easy to get the nailing wrong. If you mess up and nail it too tight, the siding won’t have room to expand when the weather heats up. Likewise, if you don’t drive the nails in straight, the siding can buckle and ripple, as well.
Don’t let that put you off of vinyl, though. If you take care to install it properly, it can be a durable, attractive home cladding for years to come. Here’s how to do it right — and avoid any buckles or ripples along the way.
Galvanized Roofing Nails Are Your Best Bet for Siding Success
It’s not surprising to hear that you need a galvanized nail on your home’s exterior — after all, regular fasteners could rust when exposed to the elements. Still, you’ll want to make sure that the nails you choose are strong enough — and long enough — to keep your siding from lifting off when the wind blows.
What Size Nails for Vinyl Siding?
Most builders agree that you should opt for roofing nails for this sort of project. Roofing nails have longer shanks — between one and two inches — and a flatter nail head to keep the material below held securely in place. They’re also extra sharp, so you won’t have to work as hard to nail them in. Most contractors agree that nails used in siding projects should measure at least 1 ½ inches long — or up to 2 ½ inches if you’re installing backerboard with the siding. Nail heads require a 5/16 inches minimum in diameter. Nail shanks? At least ⅛ inches in diameter.
Additionally, a lot of contractors say not to use aluminum nails, since these may eventually bend. Galvanized nails are typically made from steel, which is a stronger material overall.
How to Nail Siding: Leave Some Space
Gently rippling waves may be nice in a reflecting pond or a lake, but they’re no good for the side of your home. Siding that buckles and bulges isn’t just unsightly, it makes you more vulnerable to moisture intrusion, mold, and rot as well.
While there are a lot of reasons siding may start buckling, one of the easiest to avoid is improper nailing. Vinyl siding that’s nailed on too tight doesn’t leave room for the materials to expand and contract, and that causes ripples to form come summertime. For the best results, leave at least 1/16 inch between the nail head and the siding to give it some room to grow.
Additionally, unless you have to make an emergency repair, it’s best to begin a siding project in spring or fall, when the weather is milder. That way, your siding won’t be slightly expanded (as it would be in summer) or contracted (as it would be in winter).
Find the Right Contractor for Your Siding Project
Whether you’re ready to begin your project now or need some expert advice, our network of contractors are here to help. With a few simple questions, we’ll find the best local professionals for you
You’ll also need to leave a little extra room in spots when your siding abuts up against window trim, door frames, and other accessories. It’s all due to the same principle: the siding needs a little room to spread out during the high heat of summer.
In this case, leave about a ¼ of an inch between the end of the siding panel and the trim. That will leave you with plenty enough room to cover the expansion.

Crooked Nails Cause Siding to Buckle
It’s always important to drive your nails in straight and level on any construction project. However, when you’re putting up siding, a nail that’s crooked will cause your siding to buckle and sag — especially if you leave room for extra expansion.
You’ll also want to make sure you space nails regularly, every twelve to sixteen inches. More or less space between nails could cause sagging or rippling, as well, as can irregularly-spaced nail patterns.
Don’t Face Nails to Avoid Problems Down the Line
Nails that are “faced” — meaning nailed directly on the surface of your siding — will be visible when you’re finished, which just doesn’t look all that nice. Plus, they can cause siding to buckle as well. Nails should be fixed squarely in the middle of the slots at the end of each panel. That way, they’ll be covered by the next panel’s overlap.
Ideally, nails should go in about 1/32 of an inch from each panel’s edge, although you should read the manufacturer’s guidelines for the proper measurements.
Keep your nails straight and give your vinyl siding a little room to breathe and you should be covered for the next 20 to 40 years — all for the price of a little elbow grease!
If you are ready to explore nailing vinyl siding but you want professional help, check out our database of experienced contractors in your area who are ready to take on the project.
Find the Right Contractor for Your Siding Project
Whether you’re ready to begin your project now or need some expert advice, our network of contractors are here to help. With a few simple questions, we’ll find the best local professionals for you
-
 cost and budgeting
Affordable Home Upgrades
We’ve all had that moment walking into a room thinking, “It’s fine, but…” Sometimes it’s dated hardware. Sometimes it’s lighting. Sometimes it’s just that nothing feels fresh anymore. Here’s the... -
 contractor selection
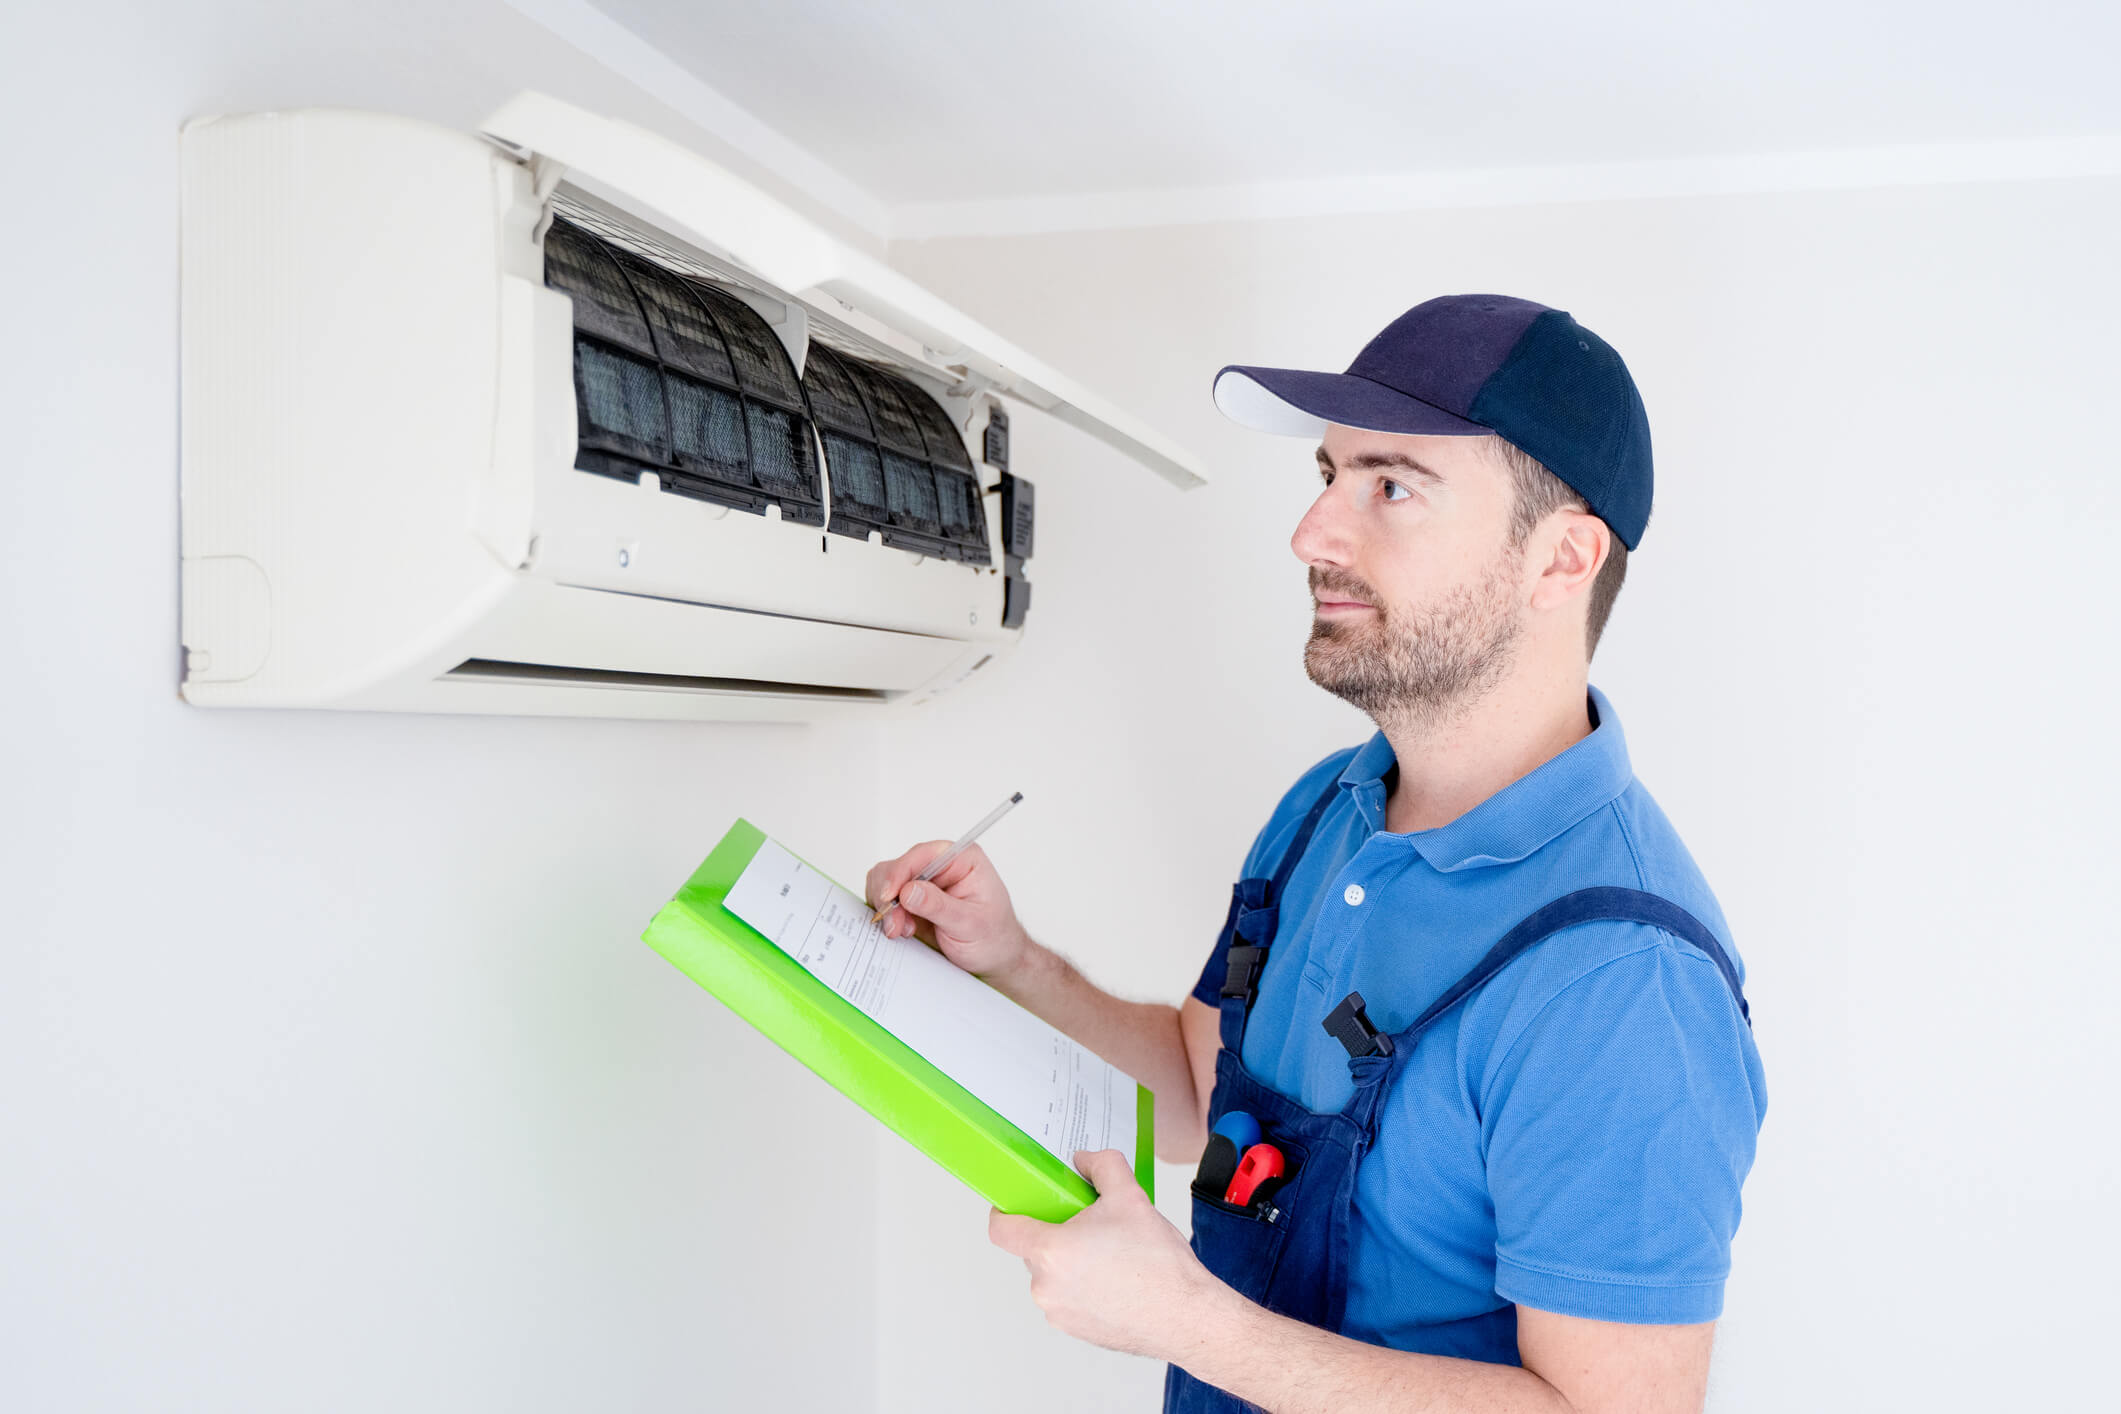
A Complete Manual J Guide
Manual J Load Calculations: The Essential Guide to Sizing a Home HVAC System Correctly When a homeowner needs a new HVAC system, one of the most important — yet least... -
 installation
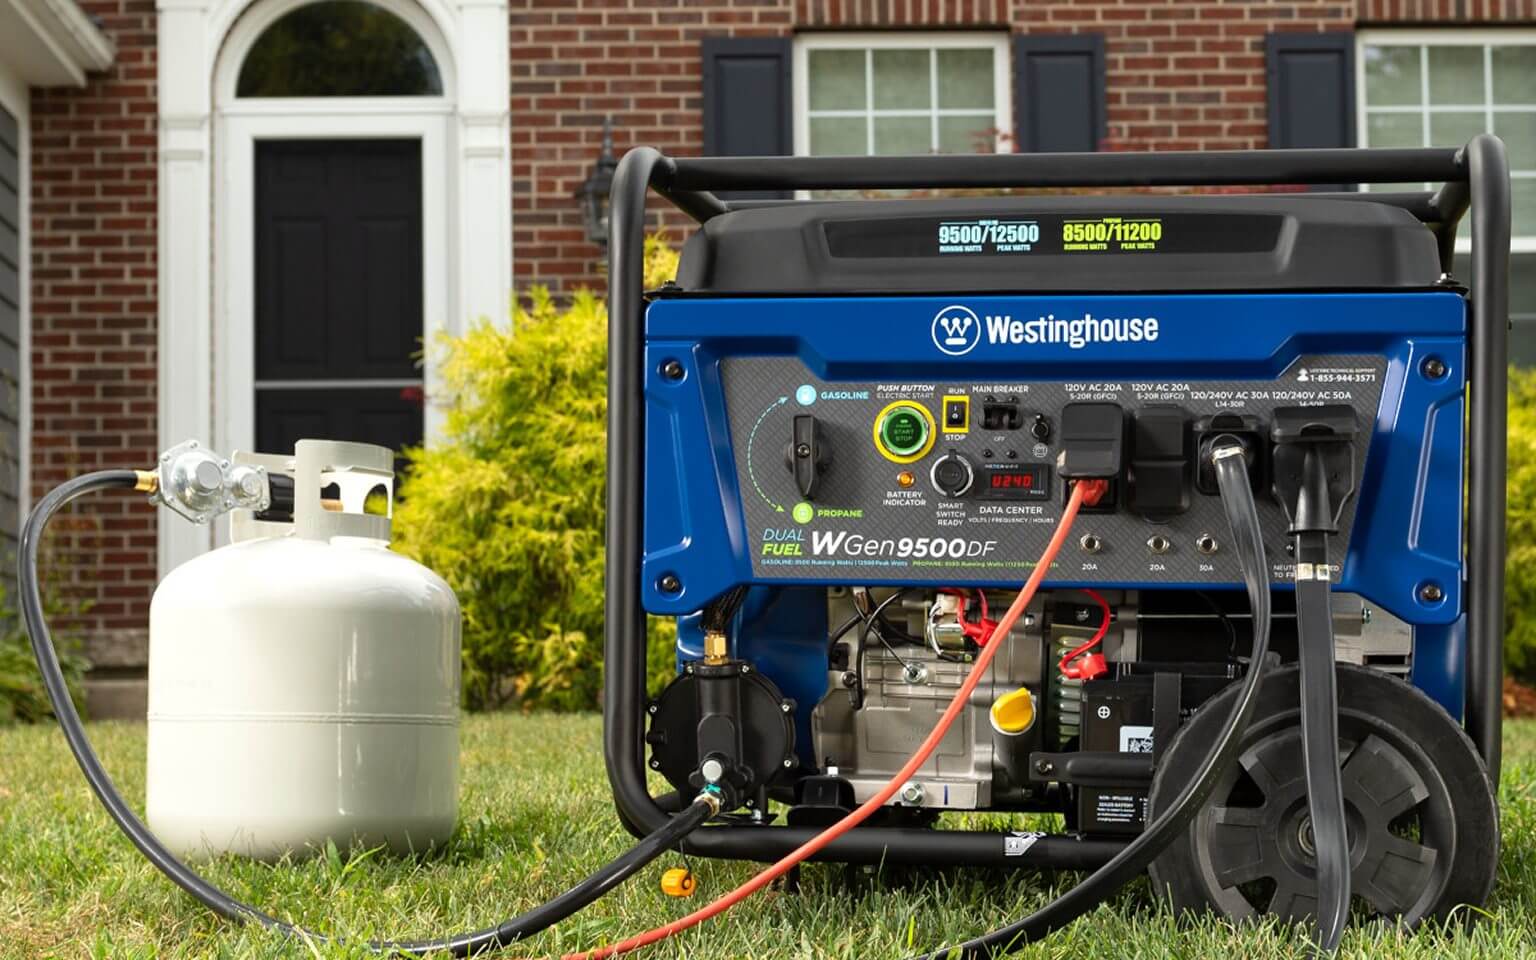
15 Practical Ways Homeowners Can Use a Generator
More Than Just Backup Power When people think about generators, they often picture them humming away during a blackout. While that is their most common role, generators are surprisingly versatile.... -
 cost and budgeting
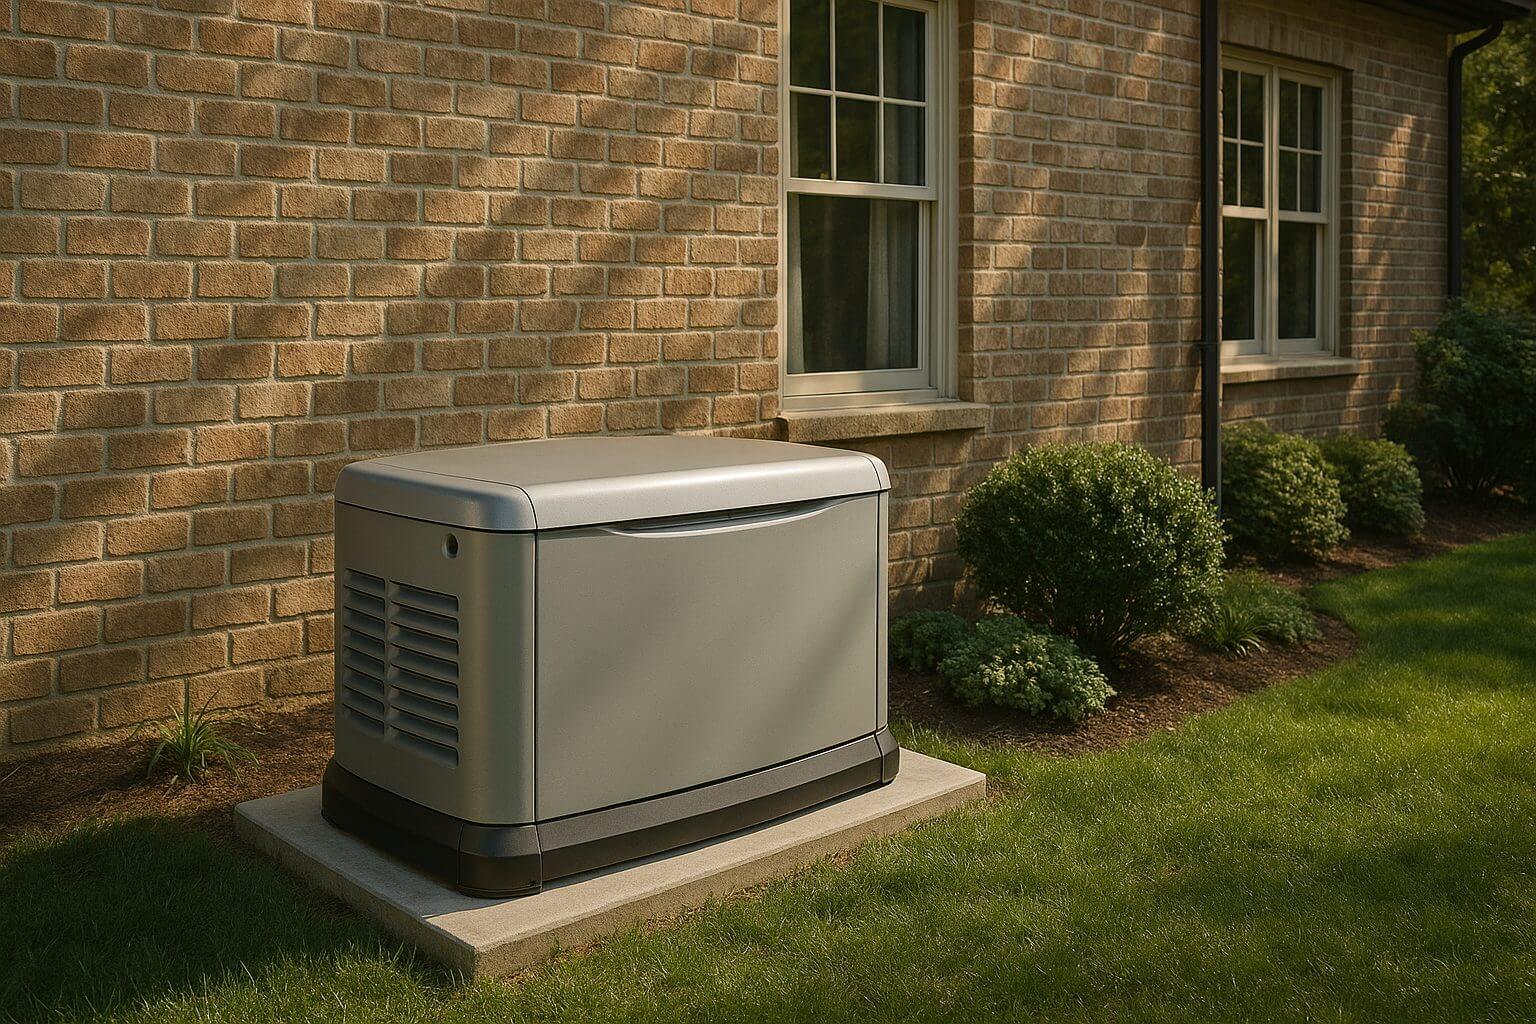
The Real Costs and Benefits of Installing a Whole-House Generator
Why Homeowners Consider Whole-House Generators A whole-house generator is more than just a convenience — for many homeowners, it’s peace of mind. Unlike portable units, these generators are permanently installed,...
Reviews from Real Homeowners
Welcome to Homeowner Resources! We are the Modernize blog. Modernize pairs more than 3 million homeowners a year with pre-vetted contractors in their area. This blog started because we believe homeowners should know everything about their homes, from how their HVAC works to which front door colors they might love. On Homeowner Resources, you can find information on every part of your home, right down to how you can negotiate with contractors to get the best price. Here's more about the blog.
Need a contractor? Learn more about how Modernize finds the right pro for you.