
Are you doing a bathroom remodel project?
Modernize can pair you with three to four pros in your area, so you can compare options and save time and money.
Learning how to caulk a shower or caulk a bathtub might seem daunting at first, but once you get the hang of it, you’ll understand why this is one of the most popular do-it-yourself projects for beginners.
| Skill Level | Estimated Hands-On Time | Estimated Total Time |
|---|---|---|
| Beginner | 30 - 45 min | One day |
However, keep in mind shower caulk must create an airtight seal to prevent water damage. So take your time in following each of the DIY steps in this guide. We’ll talk about how to remove shower caulk that has seen better days, choosing the right caulk, and the best ways to apply the caulk to ensure a solid seal and carefree use of your shower or tub.
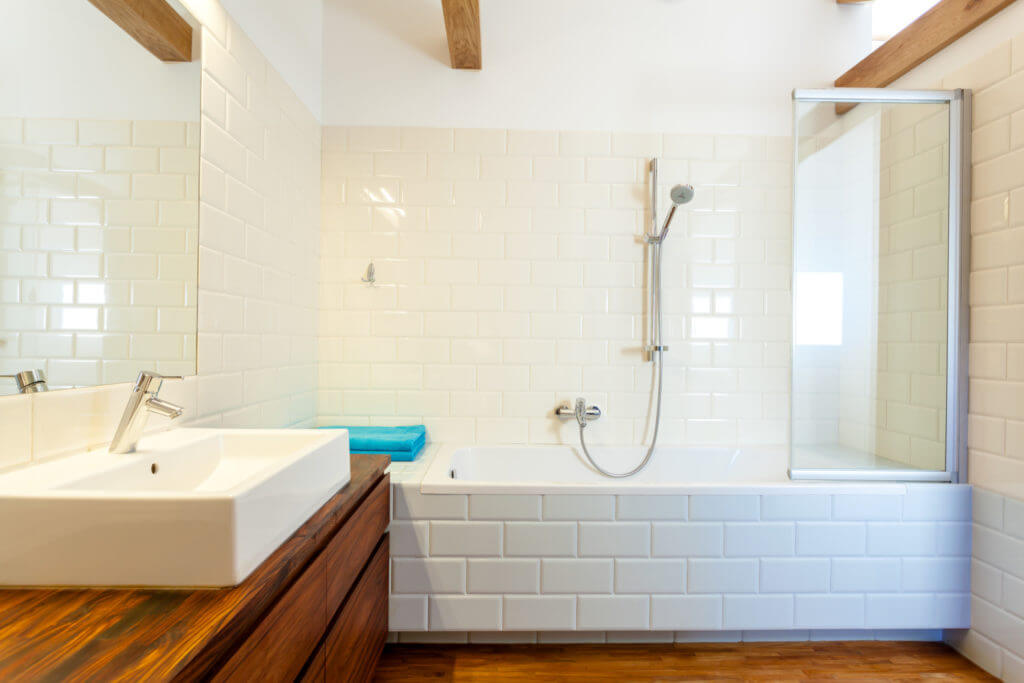
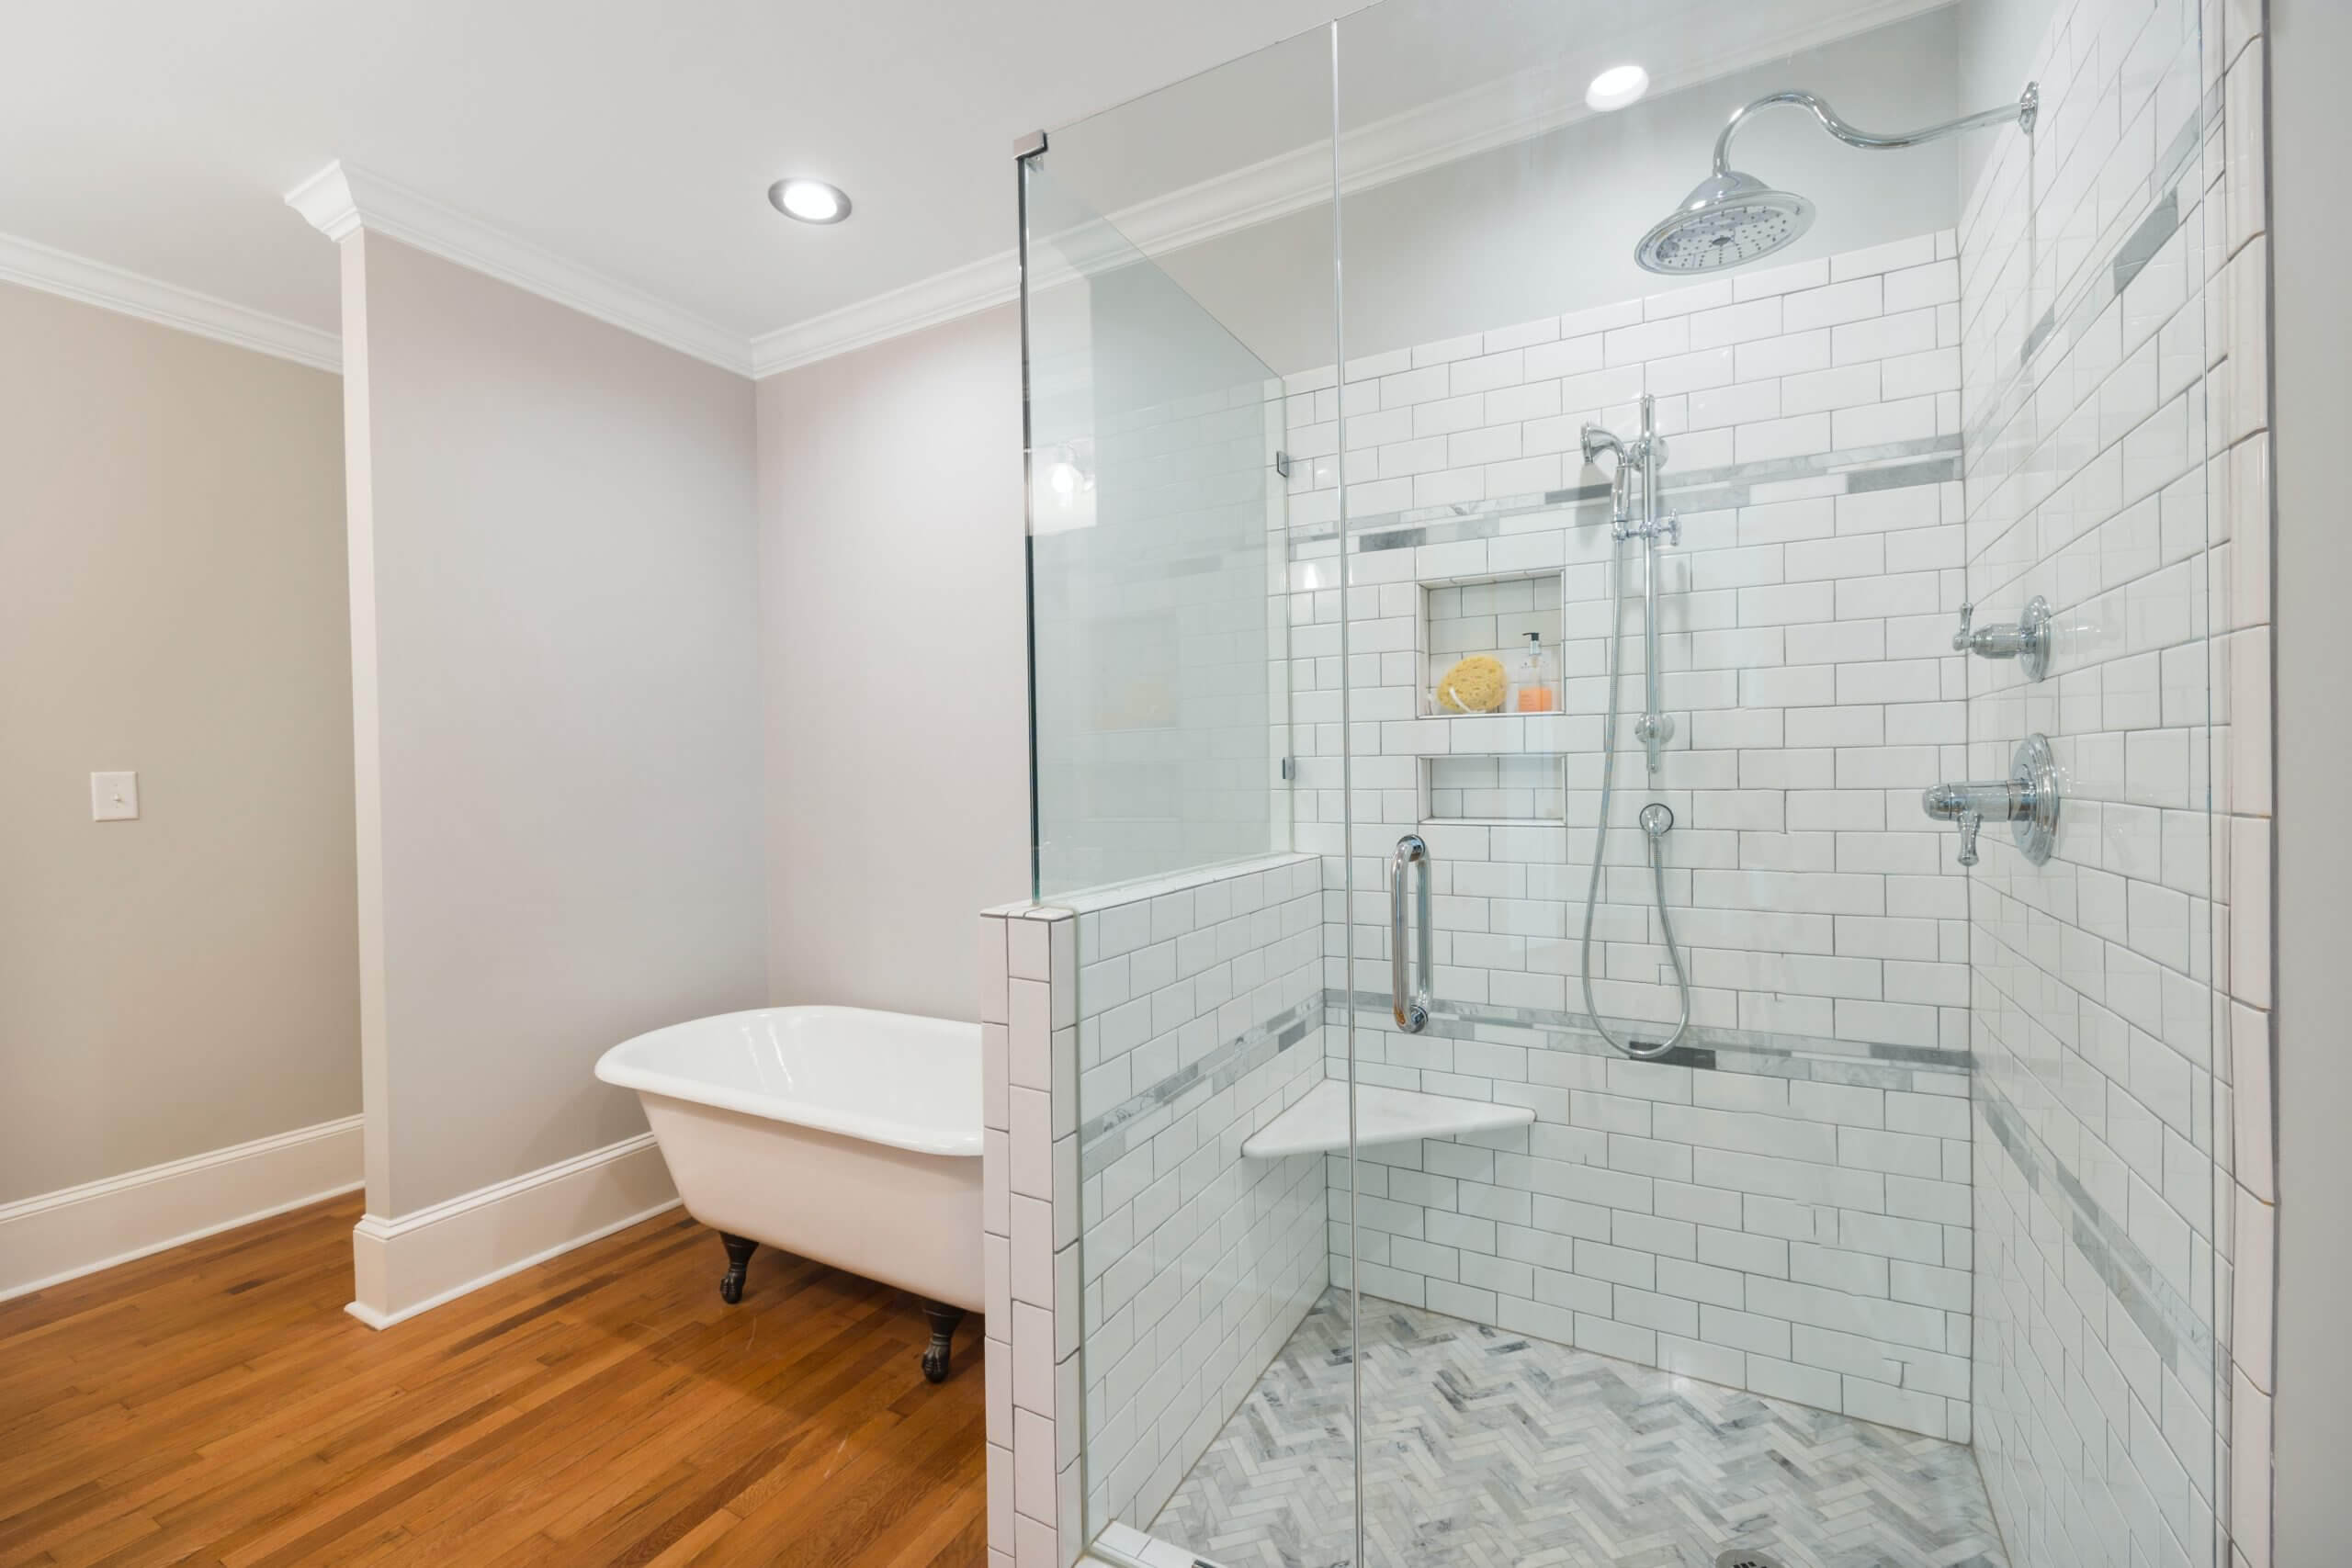
Does Your Shower Need Caulking?
In many cases, just looking at the caulking around your shower can be enough to make it clear you need to remove and replace the caulk. That’s especially true if the caulk is cracked, discolored, lifting away from the wall of the tub, or otherwise seems compromised. It’s always better to err on the side of caution here – if you think the caulk needs to be replaced, assume it does.
But if you want to be absolutely sure, turn to the spray test for shower caulking. This is very simple:
- Splash a bit of water on the caulk and watch closely.
- If the water drips away, the caulk is still holding a seal.
- If the water seems to vanish, however, it’s going behind the caulk.
- To be absolutely sure, dry the area on the outside, then press a paper towel to the seam. If the paper towel pulls up water, the caulk needs to be replaced.
How to Caulk a Shower
When it’s time to caulk your shower, there is a right way to do it that makes sure the job will last for years. Here’s how.
Step One: Remove the Old Caulk
Using a putty knife, work under the caulk and pry it up. If the caulk is in really bad shape, it will likely come right up. But it stands to reason that not all the caulk will be in such terrible condition; some caulk in areas that doesn’t take on much water can look like new, but it’s a good idea to replace it all at the same time.
For stubborn caulk, use a caulk remover. These small bottles of remover will break the chemical seal between the caulk and the surface and make it easier to pry it up with the putty knife.
Step Two: Choose the Best Caulk
The best shower caulk for this project will be 100% silicone. The label should specify that the caulk is designed for kitchens and bathrooms – that means it can stand up to water.
In addition to holding out water, silicone caulk will also hold trim pieces firmly against the wall.
However, latex caulk can be easier to spread and use for a beginner. Some caulks contain both silicone and latex; they are more expensive, but could be worth it if you are very unfamiliar with caulking and your bathroom gets heavy use.
A “mildewcide” in the caulk is a nice bonus, as it will help prevent discoloration of clear caulk (this doesn’t matter as much if you choose colored caulk).
Step Three: Clean the Surfaces
Make sure all the surfaces are as clean as possible. Use a strong bathroom cleaner to clean up the area, then rinse it well and dry it with a cloth rag. You can also opt to use rubbing alcohol to remove any small debris and help create a cleaner surface.
Find the Right Contractor for Your Bathroom Remodeling Project
Whether you’re ready to begin your project now or need some expert advice, our network of contractors are here to help. With a few simple questions, we’ll find the best local professionals for you
Allow it plenty of drying time to ensure the area has no moisture. Caulk adheres best to areas that are clean and perfectly dry.
Step Four: Learn to Use the Caulk Gun
The easiest way to ensure a professional-looking job is through the use of a caulk gun. These straightforward tools are usually a frame with a simple plunging mechanism that ensures a smooth, steady bead of caulk and allows you to stop the bead in an instant.
When loading the caulk gun, make sure that you cut only as much of the tip of the caulk tube as necessary. Most tubes have indentations or markings telling you where to cut for a certain size of bead. Start with the smallest one and test it out on cardboard to determine if you’ve chosen the right size.
In most cases, a ¼ inch bead of caulk is a good rule of thumb for shower caulking.
Step Five: Apply the Caulk in a Smooth Motion
Press the applicator tip against the surface at a 45-degree angle. Press the plunger steadily and watch the bead as it forms. Pull the caulking gun along the seam, taking care not to lift the gun away from the surface.
Caulk around:
- Any seams between the tub/shower and the wall
- Any seams where the tub/shower meets the floor
- Around the tub spout
- Around the faucet handle
- Around the shower valve escutcheons
- Around the bathtub drain overflow plate
- Around the showerhead trim. Though water infiltration around the showerhead is unlikely, it’s not guaranteed to stay dry, so better safe than sorry!
Step Six: Smooth the Caulk Bead
Immediately after creating a line of caulk, wet your finger with warm water and run it across the bead of caulk to smooth it out. (Use a disposable nitrile glove if you want to keep your hands clean.) You can also use a damp rag or a sponge if that works better for you.
You want to press down the bead so that it fully covers the gaps but still looks quite neat. Work with small sections at a time to prevent the caulk from having time to “set up” before you come back to it.
Step Seven: Allow the Caulk to Cure
Silicone caulk must dry for at least 24 hours before you can allow water contact.
Note that “at least” is the key here. If your bathroom has excellent ventilation, it will cure much faster than if your bathroom has limited airflow. If you are worried about airflow and how quickly caulk will truly dry in your bathroom, give it a few more days before using the shower or tub.
When Shower Caulk Calls for a Professional
Caulking a shower requires serious attention to detail and care in applying the caulk. Even the smallest area left open can allow water to infiltrate, and that can lead to mold, which can lead to an expensive remediation.
Though this is a great project for beginners, keep in mind that it absolutely must be done right, so take your time in making sure it is. If you don’t have that kind of time to spare, or you want a highly professional job with perfectly clean lines, it’s a good idea to call a local contractor to handle the work for you.
If this is part of a larger bathroom renovation, check out our cost calculator to help you figure out a good budget plan.
Find the Right Contractor for Your Bathroom Remodeling Project
Whether you’re ready to begin your project now or need some expert advice, our network of contractors are here to help. With a few simple questions, we’ll find the best local professionals for you
-
 cost and budgeting
Affordable Home Upgrades
We’ve all had that moment walking into a room thinking, “It’s fine, but…” Sometimes it’s dated hardware. Sometimes it’s lighting. Sometimes it’s just that nothing feels fresh anymore. Here’s the... -
 maintenance and care
Natural Gas Generators and Carbon Monoxide: What Homeowners Should Know
Understanding the Concern Natural gas generators are one of the most popular standby power options for homeowners. They connect directly to your home’s gas line, which means no hauling fuel... -
 installation
15 Practical Ways Homeowners Can Use a Generator
More Than Just Backup Power When people think about generators, they often picture them humming away during a blackout. While that is their most common role, generators are surprisingly versatile.... -
 maintenance and care
Diesel Generator Maintenance Made Simple: 10 Must-Know Steps
Why Regular Generator Care Matters A diesel generator can be a rock-solid backup power source, but like any engine, it needs consistent care to keep running reliably. Skipping maintenance can...
Reviews from Real Homeowners
Welcome to Homeowner Resources! We are the Modernize blog. Modernize pairs more than 3 million homeowners a year with pre-vetted contractors in their area. This blog started because we believe homeowners should know everything about their homes, from how their HVAC works to which front door colors they might love. On Homeowner Resources, you can find information on every part of your home, right down to how you can negotiate with contractors to get the best price. Here's more about the blog.
Need a contractor? Learn more about how Modernize finds the right pro for you.