Are you doing a bathroom remodel project?
Modernize can pair you with three to four pros in your area, so you can compare options and save time and money.
If your shower has low water pressure or if you notice faulty temperatures, there may be an easy way to improve your overall shower experience. A faulty shower valve may be the culprit. In that case, installing a replacement shower valve should bring bliss back to your shower routine.
Below is all you need to know about shower valve replacement. This includes signs of a faulty valve, replacement costs, and whether or not this is a job for a talented do-it-yourselfer or licensed professional plumber.
What Is a Shower Valve?
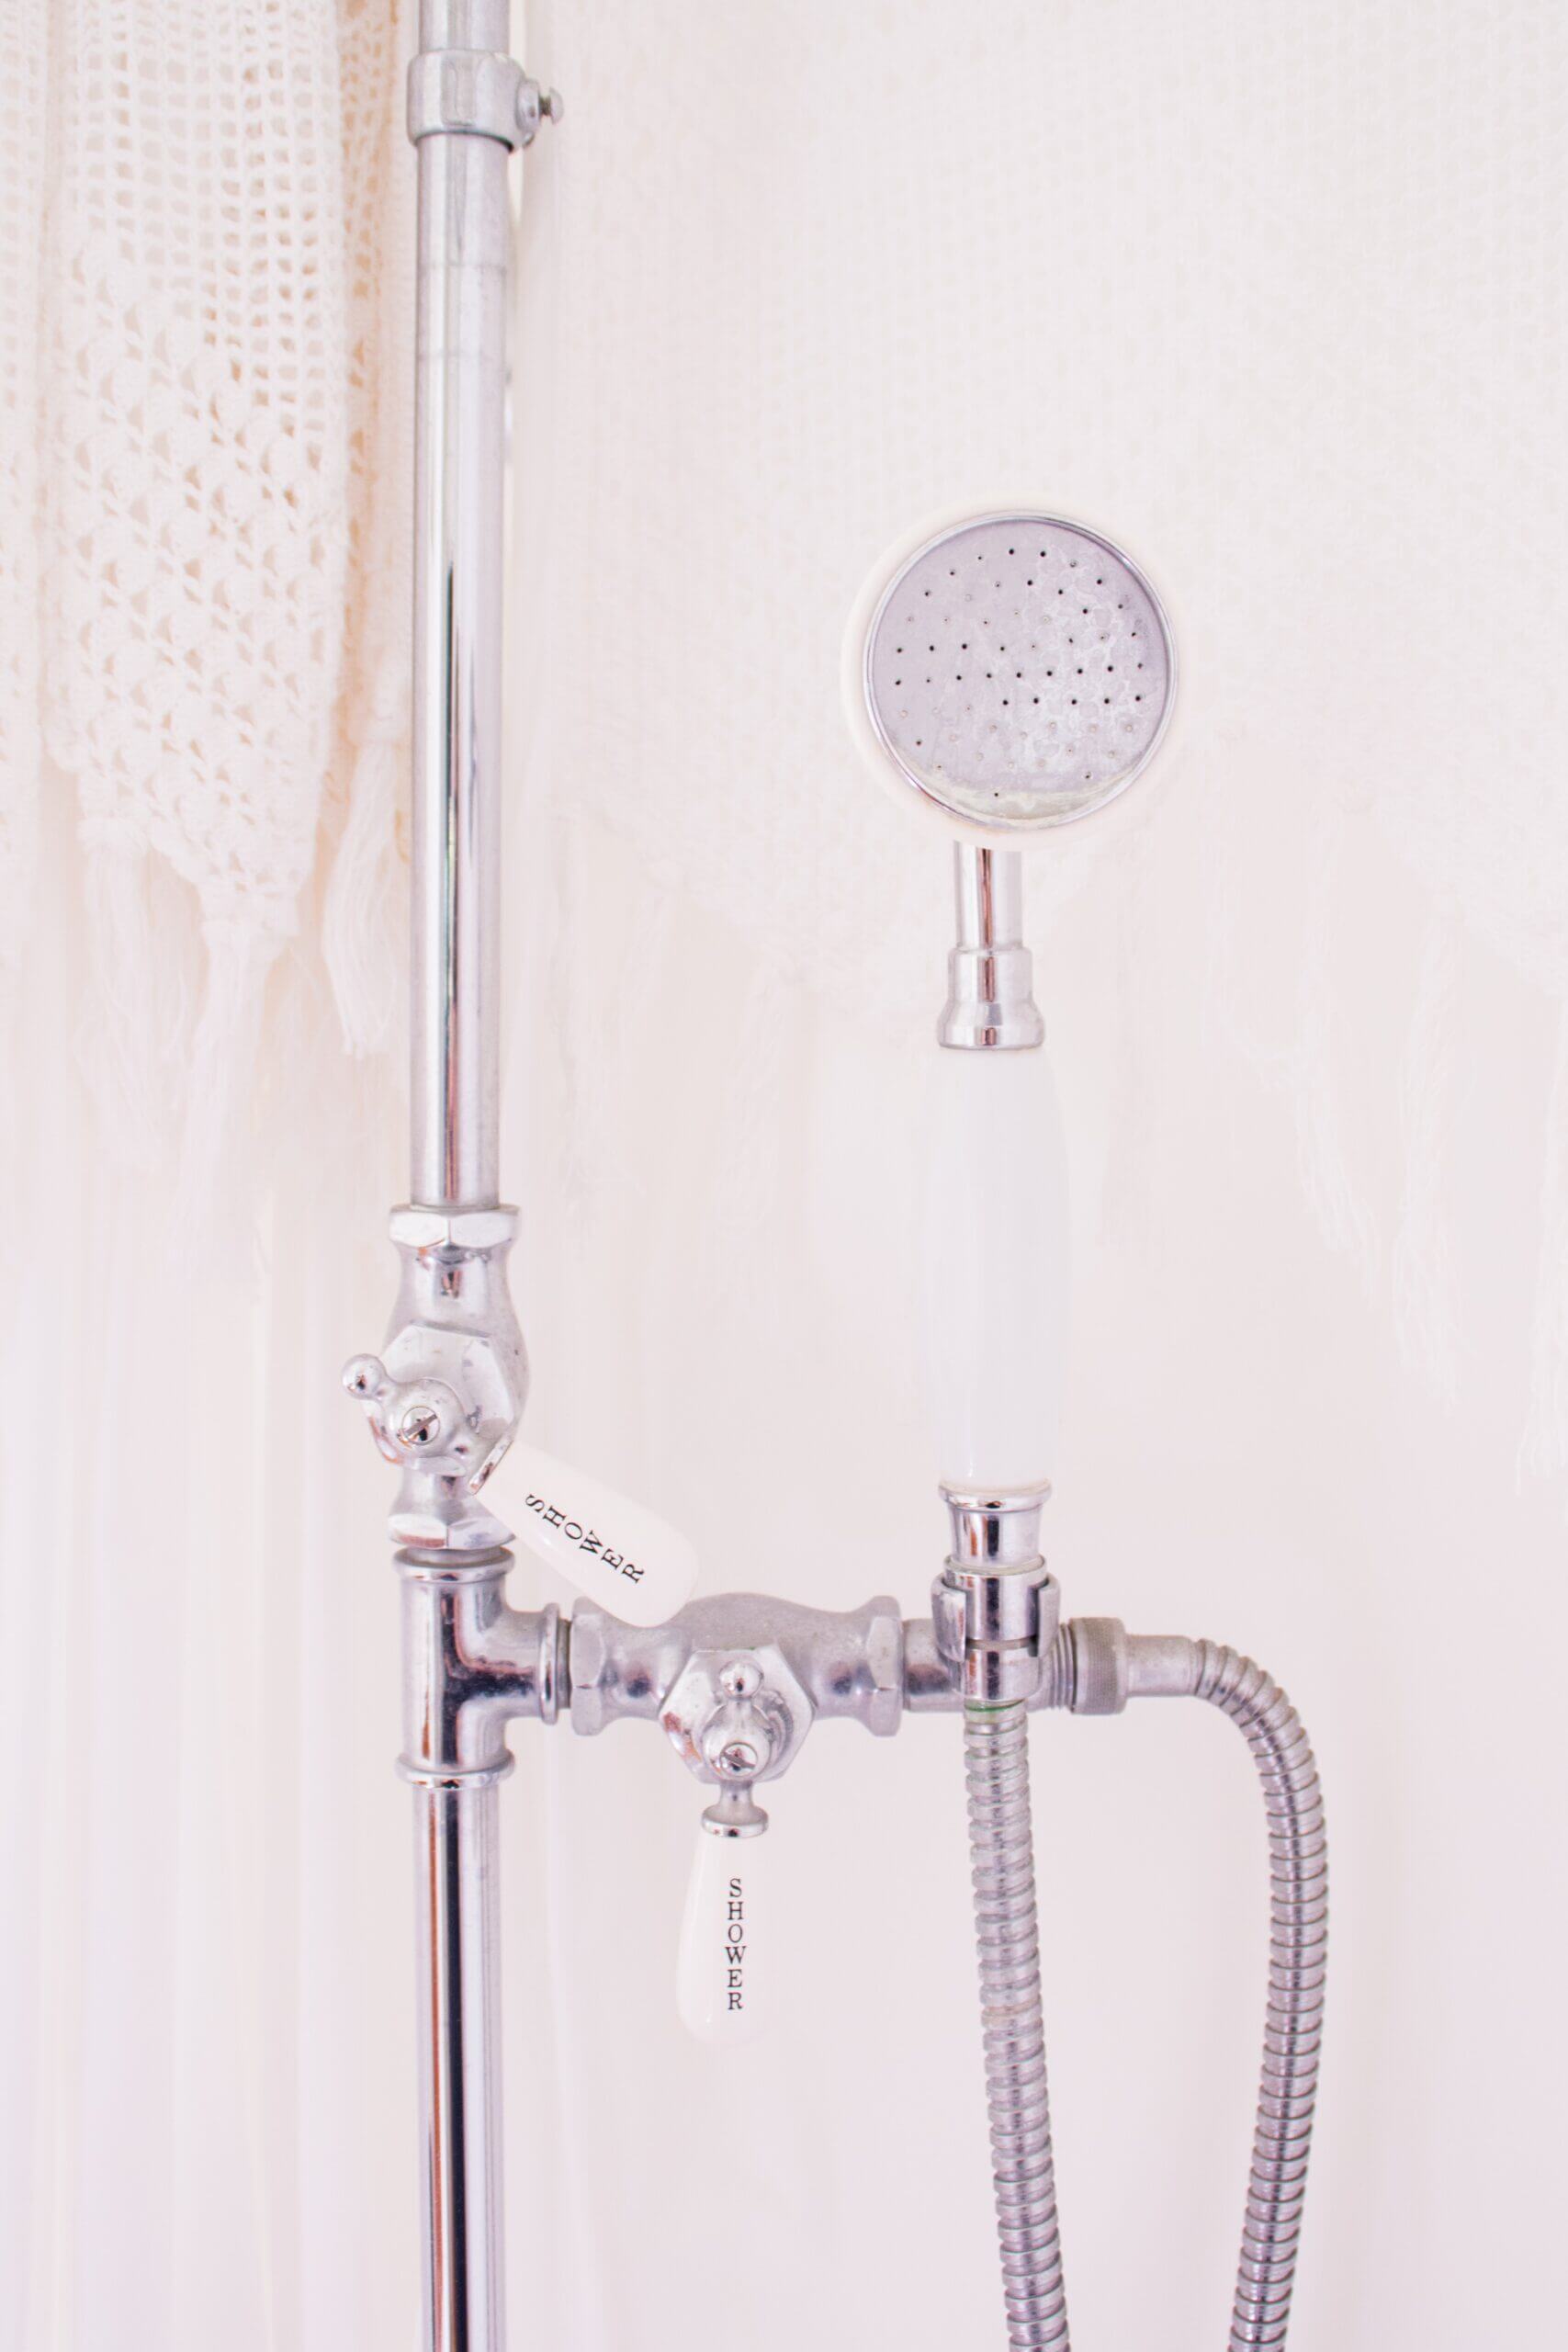
The shower valve is the heart of your shower’s plumbing. It is usually located inside the wall just behind the shower handle, and it is responsible for managing water temperatures.
When you turn the handle from its off position, the valve mixes a continuous ratio of cold and hot water in relation to the handle’s position. A tiny turn of the handle has no hot water, while a full turn to the end of the hot position has no cold water.
Signs It Is Time to Replace Your Shower Valve
Shower valves are often made from brass. Brass is durable and corrosion-resistant. But even brass shower valves are not immune to wear over time. Internal seals can leak, leading to drips from the showerhead. Bearings can also break down, leading to fluctuations in water temperature or pressure.
If you experience these issues in a shower that used to work well, it may be a sign that the shower valve is on the fritz. It needs to be replaced.
How to Replace a Shower Valve in Six Steps
Before You Start
If you know the make and model of your shower faucet, you can get replacement parts ahead of time. If not, you may have to take the old shower valve to a specialty plumbing supply shop to ensure you buy the right one.
Find the Right Contractor for Your Bathroom Remodeling Project
Whether you’re ready to begin your project now or need some expert advice, our network of contractors are here to help. With a few simple questions, we’ll find the best local professionals for you
You may also want to check on your shower’s caulk and see if it also needs to be replaced. That project is one of the other most common DIY bathtub/shower fixes, and you may find it easier to knock the work out all at once.
DIY Shower Valve Replacement
Place an old towel over the shower drain so you don’t lose any dropped screws or other small parts. With that done, here’s how to go about replacing a shower valve in six steps.
- Take off the handle. The first step in your shower valve replacement project is to remove the shower handle. Many handles are attached via a hidden Allen screw on the underside of the handle; others are attached at the front of the handle behind a small plastic trim plug.
- Remove the trim plate. Next, you’ll have to take off the trim plate, which should be attached to the shower valve with a couple of Phillips-head screws. The brass valve should now be fully exposed.
- Shut off the water. Removing the trim plate may expose water stops on either side of the shower valve – one each for hot and cold. If you don’t see these, instead turn off the water via the home’s main shutoff valve. Then, open the hot and cold valves on the bathroom sink to drain residual water.
- Pop off any retaining clips, or remove the screws securing the shower valve. You should have one or two retaining clips on the brass shower valve. These clips keep the valve from moving around when it’s in use. Remove them with needle-nose pliers. Don’t see retaining clips? Instead, remove any screws that secure the valve to its main housing.
- Remove the valve stem and pressure-mixing cartridge. These pieces are the guts of the shower valve. They should gently slide out of position, though water calcification or excessive corrosion could complicate the removal process.
- Repeat all five steps above in reverse. Insert the new mixing assembly and shower valve cartridge, and button up the job starting with step 4 and ending on step 1.
DIY or Hire a Pro: Weighing the Costs
How to Decide
Some homeowners might consider this a beginner’s project. They may even decide while they have all the pieces off to replace the exterior handle completely and match it to a new showerhead for a mini shower remodel. But others may feel it’s out of their comfort range and will want to hire a licensed plumbing contractor.
There’s an easy way to decide if you can handle the work yourself. When you read the steps outline above, did it all make sense? Or was it like reading a foreign language?
The answer will determine if you are headed to your local plumbing supply shop or picking up the phone to call a plumber or licensed handyman.
Shower Valve Replacement Cost
Of course, costs vary with either approach. If you do it yourself, expect to pay between $50 and $100 for parts or a replacement kit, along with an hour or two of your time. If you hire someone, you may pay around $300, less for a straightforward job and perhaps more if there are any issues that prevent a simple swap out for the new parts.
Once your new valve is installed, you should be back in action and enjoying the comfort of reliable hot morning showers for years to come.
Find the Right Contractor for Your Bathroom Remodeling Project
Whether you’re ready to begin your project now or need some expert advice, our network of contractors are here to help. With a few simple questions, we’ll find the best local professionals for you
-
 cost and budgeting
Affordable Home Upgrades
We’ve all had that moment walking into a room thinking, “It’s fine, but…” Sometimes it’s dated hardware. Sometimes it’s lighting. Sometimes it’s just that nothing feels fresh anymore. Here’s the... -
 maintenance and care
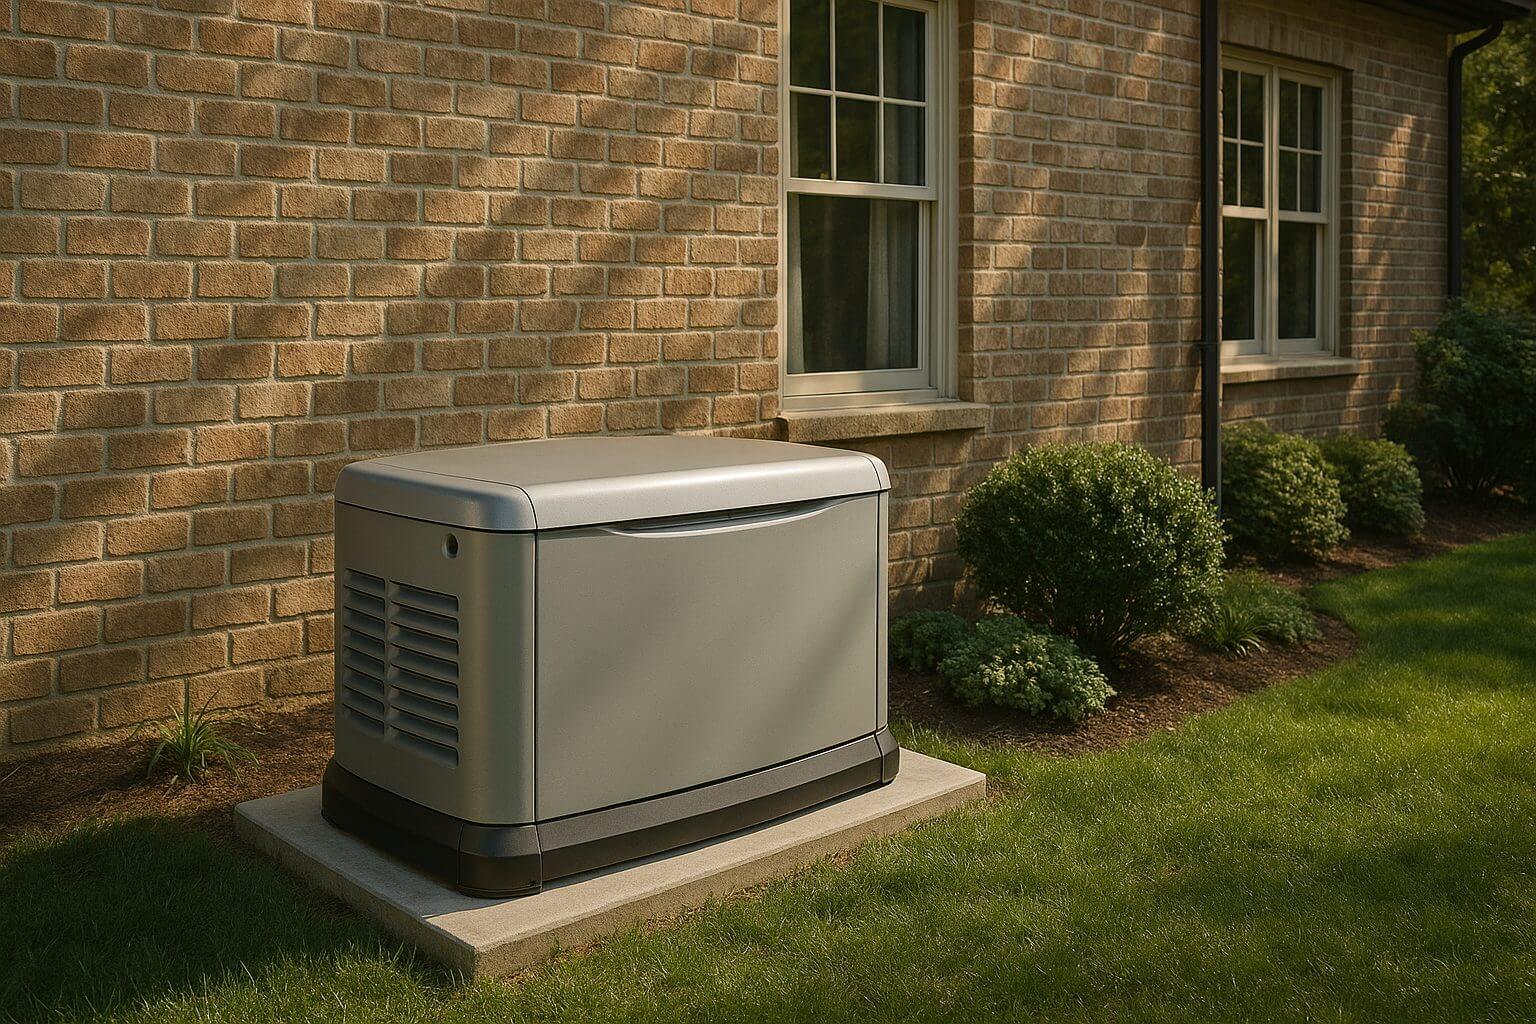
Natural Gas Generators and Carbon Monoxide: What Homeowners Should Know
Understanding the Concern Natural gas generators are one of the most popular standby power options for homeowners. They connect directly to your home’s gas line, which means no hauling fuel... -
 installation
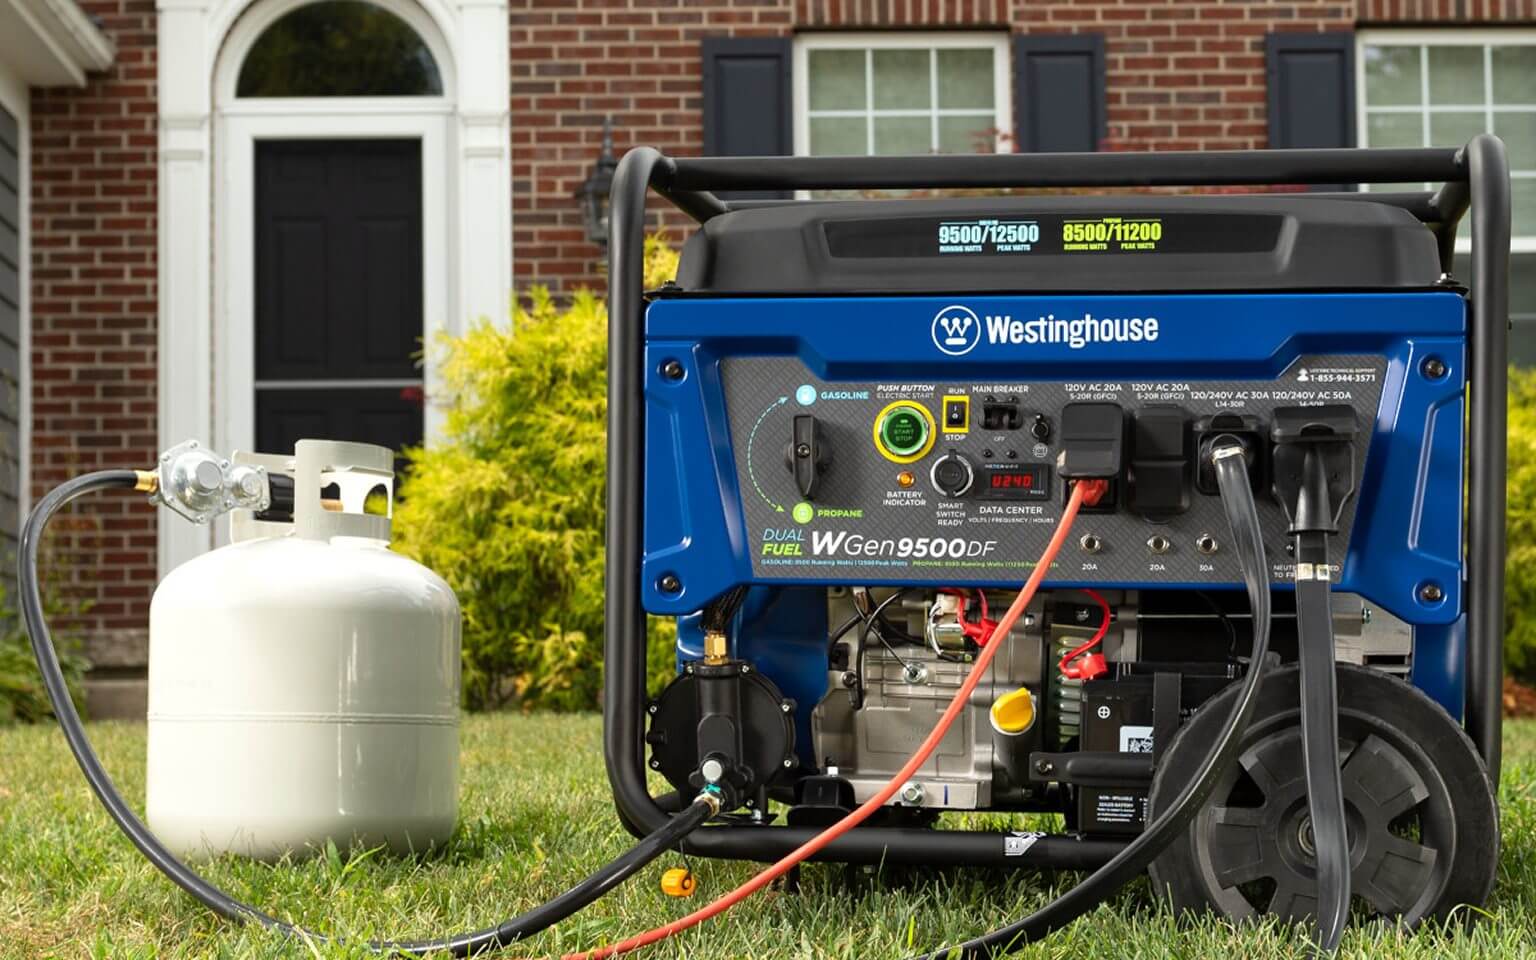
15 Practical Ways Homeowners Can Use a Generator
More Than Just Backup Power When people think about generators, they often picture them humming away during a blackout. While that is their most common role, generators are surprisingly versatile.... -
 maintenance and care
Diesel Generator Maintenance Made Simple: 10 Must-Know Steps
Why Regular Generator Care Matters A diesel generator can be a rock-solid backup power source, but like any engine, it needs consistent care to keep running reliably. Skipping maintenance can...
Reviews from Real Homeowners
Welcome to Homeowner Resources! We are the Modernize blog. Modernize pairs more than 3 million homeowners a year with pre-vetted contractors in their area. This blog started because we believe homeowners should know everything about their homes, from how their HVAC works to which front door colors they might love. On Homeowner Resources, you can find information on every part of your home, right down to how you can negotiate with contractors to get the best price. Here's more about the blog.
Need a contractor? Learn more about how Modernize finds the right pro for you.