Are you doing a gutters project?
Modernize can pair you with three to four pros in your area, so you can compare options and save time and money.
How Hard Is DIY Gutter Installation?
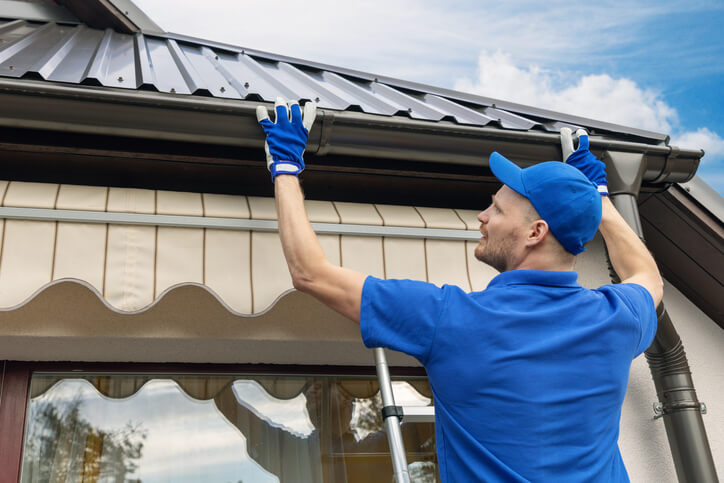
DIY gutter installation can be manageable for experienced homeowners, but it’s not beginner-friendly. You’ll need to measure accurately, cut and lift long gutter sections, and work safely at height. The job becomes more challenging on tall homes, two-story residences, and rooflines with multiple corners or steep pitches.
Tools and Safety Gear for DIY Gutter Installation
Before you start, gather these common DIY gutter installation tools:
- One or more extension ladders
- Tape measure, chalk line, and a 4- or 6-foot level
- Caulking gun
- Tin snips, hacksaw, and/or a miter saw with a metal-cutting blade
- Cordless drill or impact driver
Safety note: Wear safety glasses, gloves, and sturdy shoes. Use ladder stabilizers and avoid working in wet or windy conditions.
Planning and Preparation for DIY Gutters
A successful DIY gutter installation starts with choosing the right materials, sizing, and an accurate plan for downspouts and fittings.
Choosing the Right Type and Style of Gutter
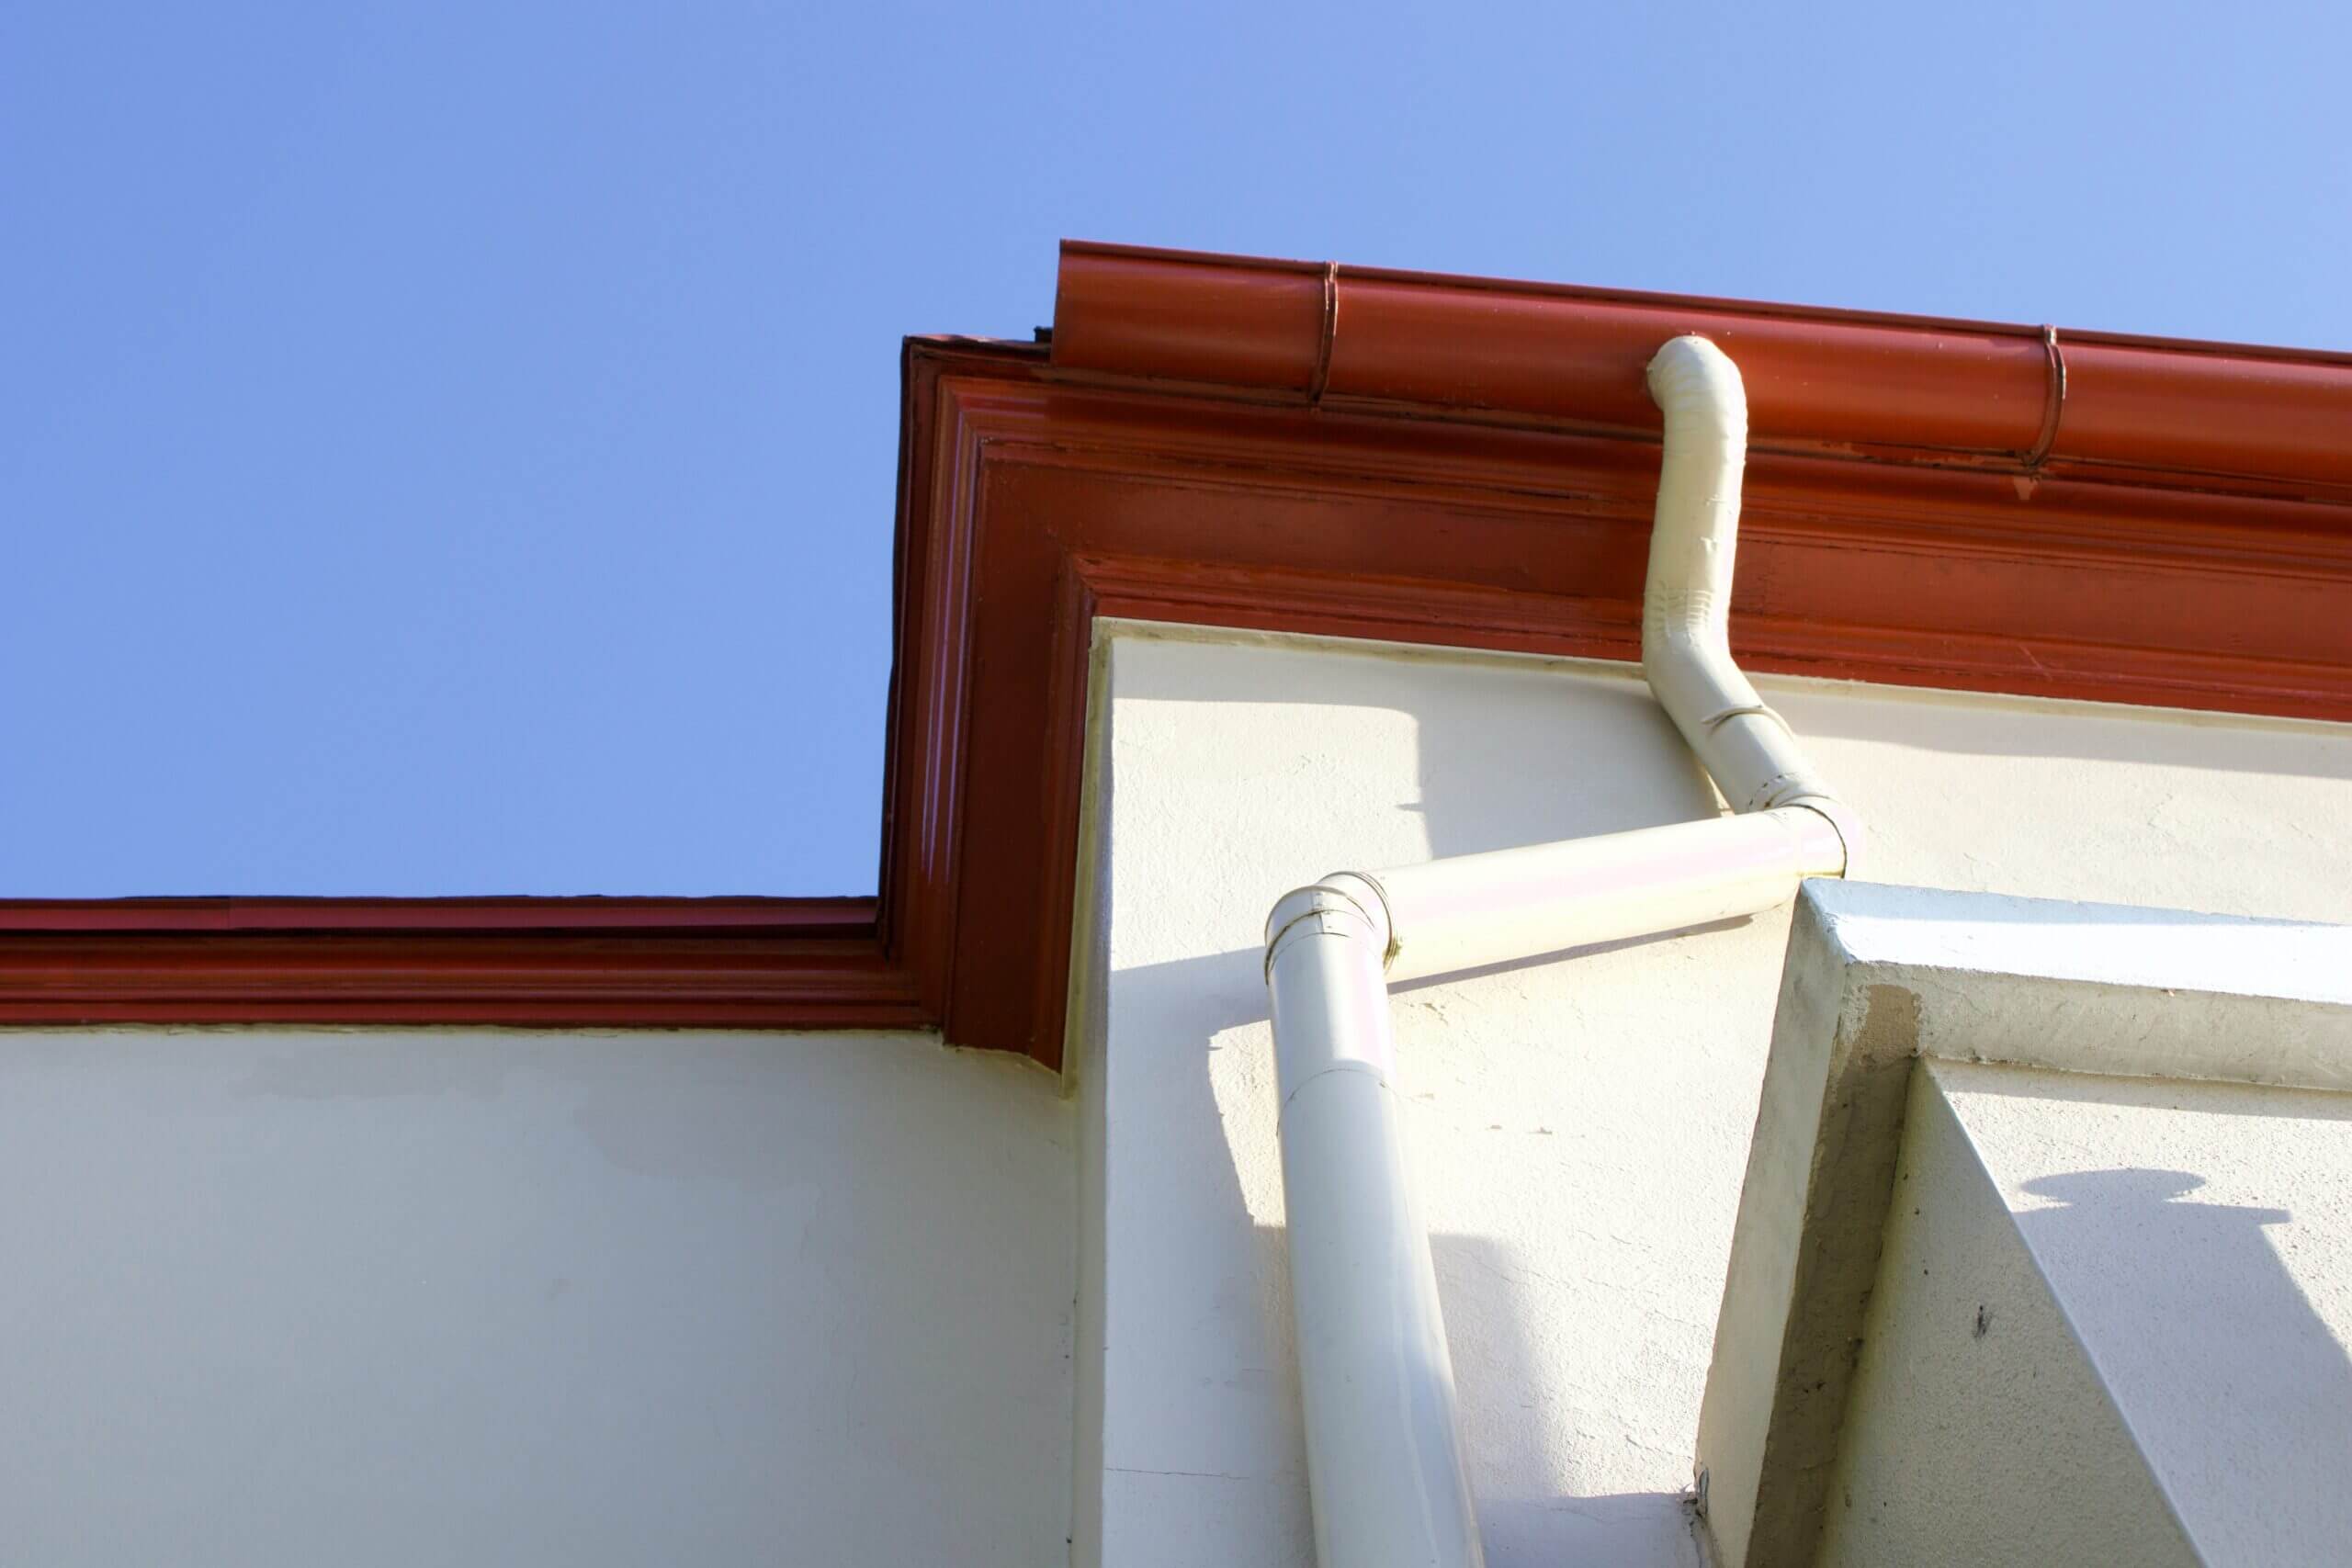
Professional installers often use seamless aluminum gutters formed on-site, but most homeowners will use sectional gutters that come in pre-manufactured lengths. For DIY gutter installation, the most popular materials are aluminum and vinyl. Stainless steel gutters are heavier and harder to work with, while copper gutters are expensive and usually best left to pros.
You’ll also want to choose a gutter style. K-style gutters and half-round gutters are the most common. For replacements, matching your existing style is usually the easiest path. As a general guideline, K-style gutters often fit contemporary homes, while half-round gutters are common on older or historic styles.
Choosing the Right Size of Gutter
The most common gutter sizes are 5-inch and 6-inch. If your area gets frequent heavy rain or your roof has a large surface area, a 6-inch gutter may handle runoff better.
Measuring and Planning Your Gutter Layout
Accurate roofline measurements help you order the right amount of materials and reduce waste. Gutters should attach to the flat sections of the fascia (never the angled parts).
Find the Right Contractor for Your Gutters Project
Whether you’re ready to begin your project now or need some expert advice, our network of contractors are here to help. With a few simple questions, we’ll find the best local professionals for you
- Measure each gutter run along the fascia. You can often measure from the ground by hooking a tape measure at a corner and spanning the run in sections.
- Add the measurements to calculate the total linear feet of gutters needed. Sectional gutters and downspouts commonly come in 10-foot lengths and require overlap at joints.
- Plan downspouts early. A common rule of thumb is one downspout every 30 to 40 feet, with placement near ends and long runs.
- Don’t forget fittings: end caps, drop outlets, elbows, inside/outside corners, sealant, and fascia brackets/hangers.
How to Attach Gutters: Step-by-Step DIY Installation
Once you’ve purchased your materials, follow these steps to attach gutters to your fascia and ensure proper drainage.
1. Mark the Slope and Layout on the Fascia
Start by marking where each gutter section will sit on the fascia board. Gutters should slope toward the downspout to prevent standing water. A common guideline is 1/4 inch of drop for every 10 feet. Snap a chalk line so your hanger layout follows the correct slope.
2. Install Fascia Brackets or Hangers
Install brackets/hangers into solid framing (often at rafter tails). A typical approach is spacing hangers about every 24 to 48 inches, using closer spacing in areas with heavy rain or snow loads. Make sure fasteners are secure and aligned to your chalk line.
3. Measure, Cut, and Pre-Assemble Gutter Sections
Even if you estimate from the ground, confirm exact lengths at the fascia using a ladder. Cut gutter sections as needed and pre-assemble longer runs on the ground when possible (corners, end caps, and drop outlets). Seal joints according to the manufacturer’s directions.
Pro Tip: Use the buddy system for lifting and hanging long gutter runs — it’s safer and helps keep the slope consistent.
How Much Do DIY Gutters Cost?
DIY gutter costs depend on gutter material, gutter style, and the total linear feet you need, plus accessories like downspouts, elbows, hangers, and sealant.
- Aluminum gutters: $5 to $10 per linear foot
- Vinyl gutters: $4 to $7 per linear foot
Accessories are usually priced per piece and vary by supplier and material. As a rough example, 100 linear feet of aluminum gutters may cost $500 to $1,000, plus additional costs for downspouts and fittings. Professional gutter installation averages around $2,350, so DIY can offer meaningful savings if you can do the work safely and correctly.
DIY Gutter Installation: Final Takeaway
DIY gutter installation can save money compared to hiring a pro, but it requires careful planning and comfort working at height. If your roofline is tall, steep, or complex — or if you’re unsure about safe ladder work — consider getting quotes from a local gutter professional instead.
Frequently Asked Questions About DIY Gutter Installation
Find the Right Contractor for Your Gutters Project
Whether you’re ready to begin your project now or need some expert advice, our network of contractors are here to help. With a few simple questions, we’ll find the best local professionals for you
Reviews from Real Homeowners
Welcome to Homeowner Resources! We are the Modernize blog. Modernize pairs more than 3 million homeowners a year with pre-vetted contractors in their area. This blog started because we believe homeowners should know everything about their homes, from how their HVAC works to which front door colors they might love. On Homeowner Resources, you can find information on every part of your home, right down to how you can negotiate with contractors to get the best price. Here's more about the blog.
Need a contractor? Learn more about how Modernize finds the right pro for you.
