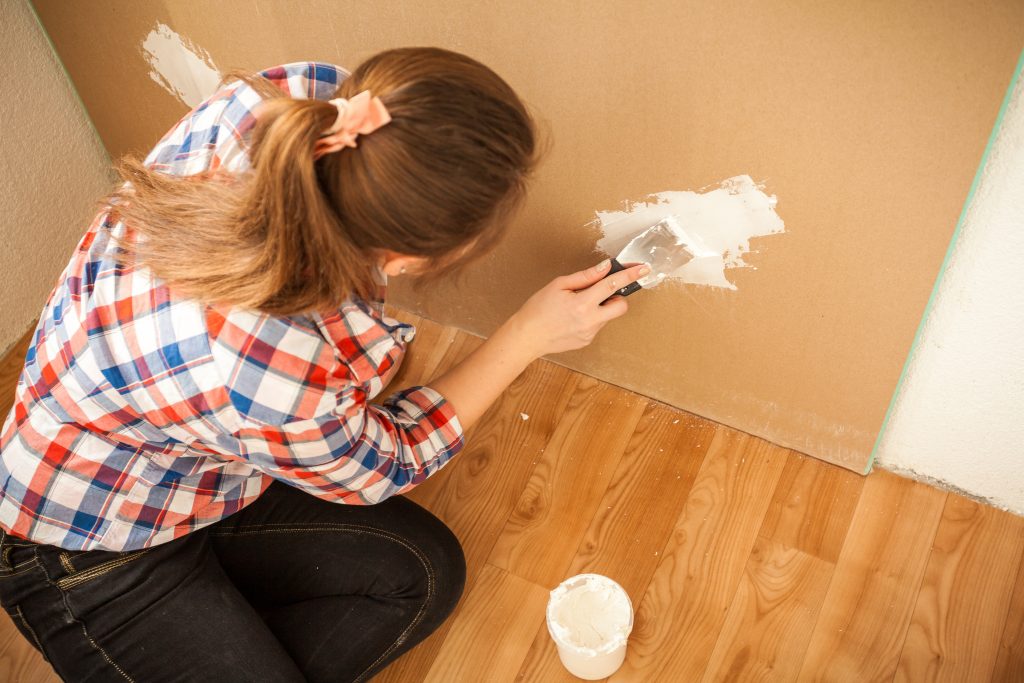
Patching a drywall hole is a skill that intimidates a lot of people—I know because I used to be one of them. But don’t worry, because patching a hole in your drywall seems tougher than it actually is. No matter what your experience level is with home repair, this is something almost everyone can do. It’s a great skill to know, whether you rent an apartment or own your home. Holes happen: Doors swing open too wide, parties get a little too rambunctious, or you may simply have moved a light fixture. Below are step-by-step instructions to patching a medium sized hole. For smaller holes—like those caused by a doorknob or a furniture move gone wrong—a drywall patch kit will save the day, but we’ll cover what you need to do for those as well!
Supplies You Will Need
- Drywall patch (choose the same thickness for the patch as the drywall you’ll be patching)
- Drywall paint
- Drywall saw
- Drywall screen (Window screen can also work)
- Joint compound
- Masking tape
- Paint and paintbrush
- Pencil
- Small Trowel
- Wood Brace
Patching a Medium to Large Drywall Hole
Step 1: Cut Drywall Patch
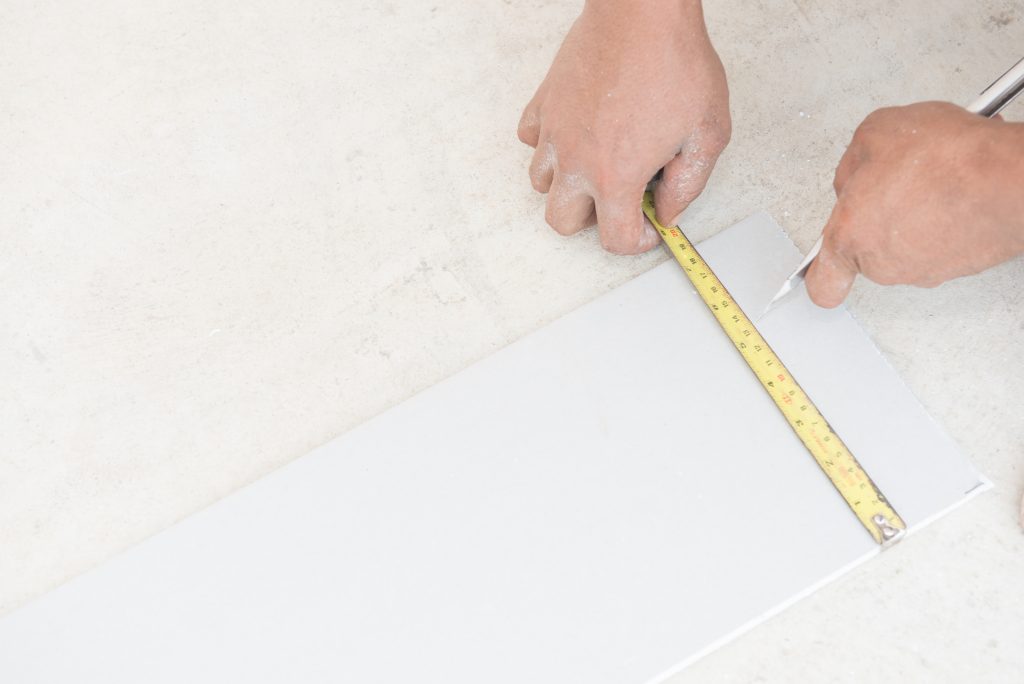
Cut out a patch of drywall larger than the hole you will be covering. Trace the shape of the patch over the drywall and make a note to yourself of which side is up for the patch. This will make Step 4 easier. Look to see if there are any wires or pipes behind the hole and take care to avoid cutting them in the following steps. Put the patch aside for a moment.
Step 2: Prepare the Area
Starting from the hole in the drywall, use your drywall saw to cut a line from the hole toward each corner of the shape you traced in Step 1. Unless it’s a very large hole, you will most likely have four lines to cut. If it’s a very large hole, you may want to cut a line to each corner, and then an extra line in the middle of each side. After you’ve made the cuts, score the outline of the square or rectangle with your drywall saw. You don’t need to cut completely through, unless that’s easier for you. When the outline has been scored, snap the drywall back and use your saw to remove any pieces that don’t come off easily. You should now have a clean square or rectangle.
Step 3: Attach Bracing
For medium to large drywall holes, it is strongly considered that you add a wooden brace before patching the hole. Cut a 1 x 3 inch piece of wood 6 inches longer than the hole. Cover the top and bottom of one side of the brace with a strong adhesive and carefully maneuver the piece of wood into the drywall hole. With the brace firmly held in place against the wall, use screws to attach the brace to the wall with a screw at the top of the hole and one at the base of it. Take care to drive the screws in so that they are flush with the wall.
Step 4: Patch the Drywall
With the patch you cut in Step 1, orient it so that it is even with the hole you traced. It should fit like the missing piece of a puzzle. With the same-size screws used in Step 3, attach the drywall patch to the brace, still taking care to drive the screws in flush with the patch.
Step 5: Cover the Patch
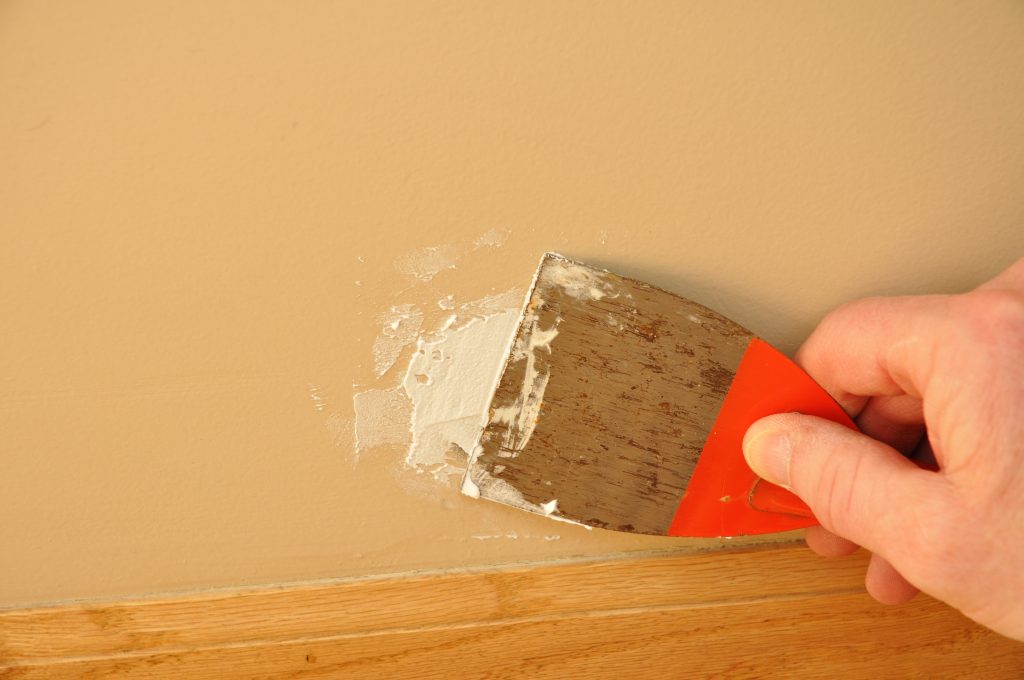
Using the trowel, add a thin layer of joint compound over the entire area you just repaired. Be sure to cover the screws and seams of the patch. I’ve found it’s better to cover a wide area because it makes it easier to spread the joint compound for a seamless repair. For an extra smooth finish, cut a piece of drywall screen a little larger than size of the hole and press it gently— yet firmly— to the joint compound. Cover the screen with another layer of joint compound and smooth out the edges. It’s easier if you start from the center of the screen and work your way to the outside.
Let that dry for one day and then go over it with another thin coat, extending just past the edges of your work from the previous day. Let that dry completely.
Step 6: Sand and Paint
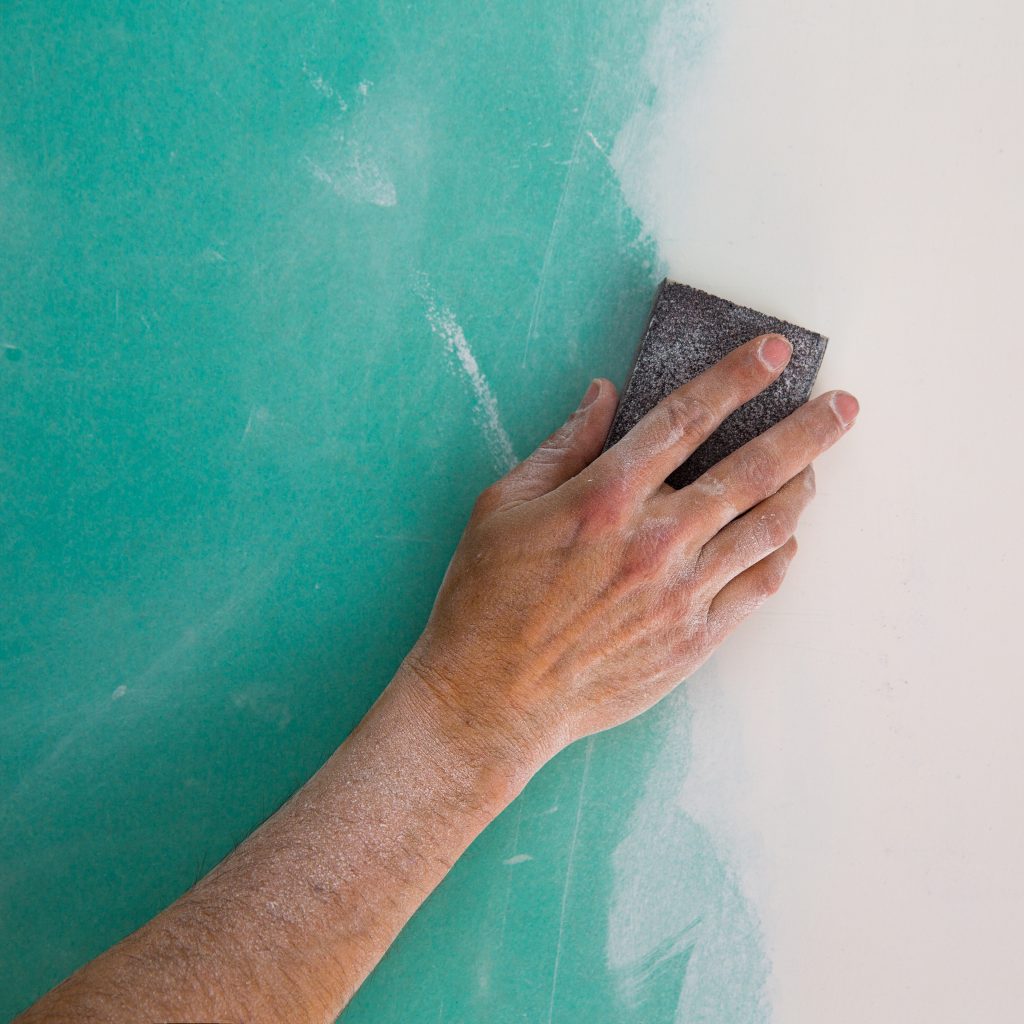
With a very fine grain of sandpaper, smooth the joint compound, making sure you don’t uncover the screen. Dust off the area and add your first layer of paint. Allow it to dry before adding the second layer.
Patching Small Holes in Drywall
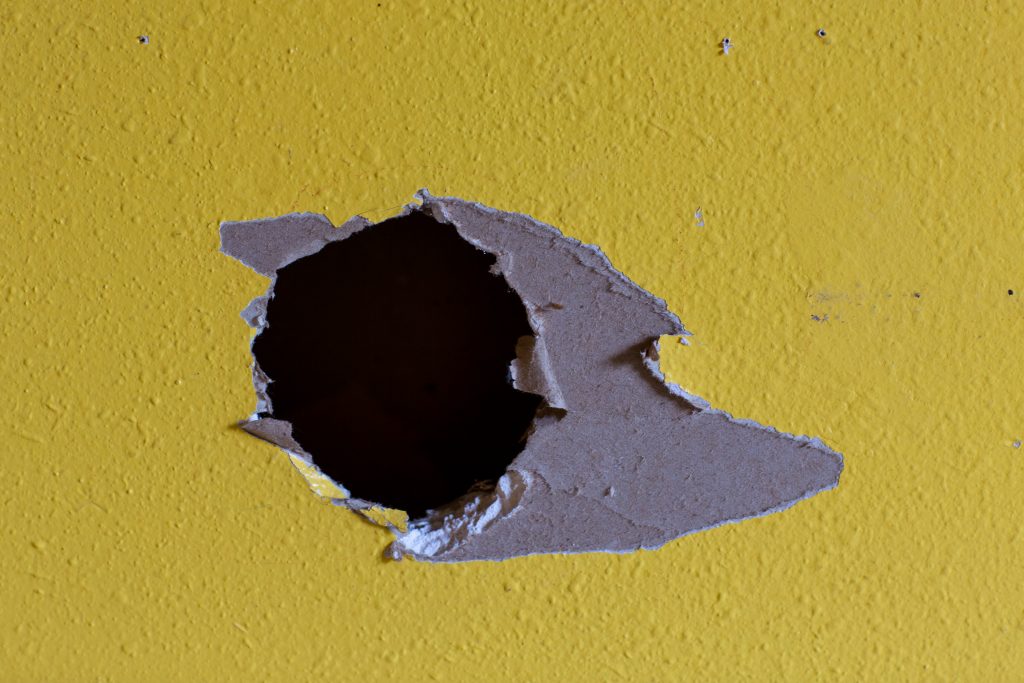
If you have a smaller hole caused by a doorknob or rogue golf ball— hey, it happens!— you can pick up a drywall patch kit at your local home improvement store. The kit will include:
- Self-adhesive drywall screen
- Joint compound
- A trowel, or compound applicator,
- Fine sanding pads
Attach the drywall screen to the wall over the hole. Press the edges down to make sure it’s secure. Next, start adding a thin layer of joint compound over the screen and past the edges of it. For smaller projects like this, it helps to crisscross the joint compound instead of starting from the center and working your way out, as you would for medium sized holes. Let the first layer dry and add a second layer if necessary. Sand it down with the sanding pads before dusting off the patched wall and painting.
Find the Right Contractor for Your Home Improvement Project
Whether you’re ready to begin your project now or need some expert advice, our network of contractors are here to help. With a few simple questions, we’ll find the best local professionals for you