
Are you doing a roofing project?
Modernize can pair you with three to four pros in your area, so you can compare options and save time and money.
Love decorating? Why focus all your attention on your home’s interiors? A cupola adds a classic and unique twist to exterior surfaces, making it a loving update that really shows the world just how much you care about your home. Plus, it’s easy enough for a moderately experienced carpenter to install one, too. Read on for the full details below.
A Note on Decorative Cupolas
Before you start shopping around for a cupola and planning your installation, you should know that there are actually two types of cupolas: the decorative ones, which add a note of architectural interest, and functional cupolas, which actually act as a separate roof vent. The vent kind is a lot more complicated to install, since it means cutting into the surface of your roof. Doing it wrong could cause all kinds of havoc: leaks, mold—you name it. Attic ventilation is a delicate balancing act, and too much could leave you much more vulnerable to weather, particularly in extreme conditions like hurricanes.
So how can you tell the difference between the two? A functional cupola will typically have louvers—slats that resemble the air vents in your home’s interior. Decorative cupolas are more likely to have solid walls or windows.
Sizing a cupola can be tricky, too. Architects recommend that you measure the ridge length before you start shopping—if you go off the view from the ground, you could potentially wind up with a model that looks too small once it’s actually on the roof. As a general rule of thumb, allow 1 ¼ to 1 ½ an inch of cupola base width for every foot your roof ridge measures. If you can’t find anything that perfectly fits that guideline, it’s better to size up a little, rather than rounding down.
First, Decide Where the Cupola Will Go
For the most part, cupolas get placed squarely in the center of a roof ridge, although that’s definitely not a hard-and-fast rule. It’s not uncommon to see it placed in an asymmetrical arrangement, either, particularly if you have a door to one side of your home. Additionally, some homeowners will even go for two or three cupolas—although they’ll need to be properly proportioned across the roof.
Once you figure it out, it’s time to climb up on the roof. A word of caution here: it sounds totally obvious, but you should never get up on a roof that’s wet or icy. You can walk on your roof, but take it slowly, and use your hands to help keep your balance if you need to.
Run a tape measurer (or two, if necessary) across the length of the ridge and make a mark in the center, or at whatever point you’ve decided to the cupola. Divide your cupola’s base width in half, and measure that distance out both in front and in back of your first mark. Mark each of these spots.
Carefully remove the ridge shingles in this area with a utility knife. Make sure not to cut into the sheathing below.
Find the Right Contractor for Your Roofing Project
Whether you’re ready to begin your project now or need some expert advice, our network of contractors are here to help. With a few simple questions, we’ll find the best local professionals for you

Then, Find Your Roof’s Pitch
For this next part, you’ll need to create a hinge tool to measure the angle of your roof’s pitch—and to help you get it right when you cut your cupola’s base to fit. To do this, screw two 24-inch boards together at their ends, keeping the screw loose enough that the boards can be worked back and forth.
Lay the hinge tool across your roof ridge and adjust the boards until it fits snugly. Screw the two boards together tightly and bring your hinge tool down with you off the roof. You’ll use this to find the angle when you cut out your cupola base.
Cut the Cupola Base to Match Your Roof’s Pitch
The base of your cupola comes square. Since roofs have all different pitch angles, the manufacturer leaves it up to the installer—that’s you—to cut it down to size.
Use an angle finder to measure the pitch of your hinge tool, then position it against the cupola base. Trace over this line, and then do the same thing on the other side of the cupola. Use a saw to cut a piece out on each side.
Install Mounting Boards On Your Roof
The cupola won’t sit flush against your roof—instead, you’ll screw it into two mounting boards that you position over the ridge. Get two 2 by 4 inch blocks, and apply silicone to one side of each.
Then screw the blocks into the roof so that they form an angle over the roof ridge, silicone-side down, and so that they’ll fit inside the cupola when it’s installed. Do the same thing for the other side.
And Finally, Attach and Seal Your Cupola
Screw the cupola wall against the outside edge of each mounting board. Once it’s firmly in place, apply silicone sealant against each seam—this will prevent moisture infiltration in your roof. Then, head down off the roof and take in the beauty of your home’s new accent piece from the ground!
Find the Right Contractor for Your Roofing Project
Whether you’re ready to begin your project now or need some expert advice, our network of contractors are here to help. With a few simple questions, we’ll find the best local professionals for you
-
 cost and budgeting
Affordable Home Upgrades
We’ve all had that moment walking into a room thinking, “It’s fine, but…” Sometimes it’s dated hardware. Sometimes it’s lighting. Sometimes it’s just that nothing feels fresh anymore. Here’s the... -
 contractor selection
A Complete Manual J Guide
Manual J Load Calculations: The Essential Guide to Sizing a Home HVAC System Correctly When a homeowner needs a new HVAC system, one of the most important — yet least... -
 installation
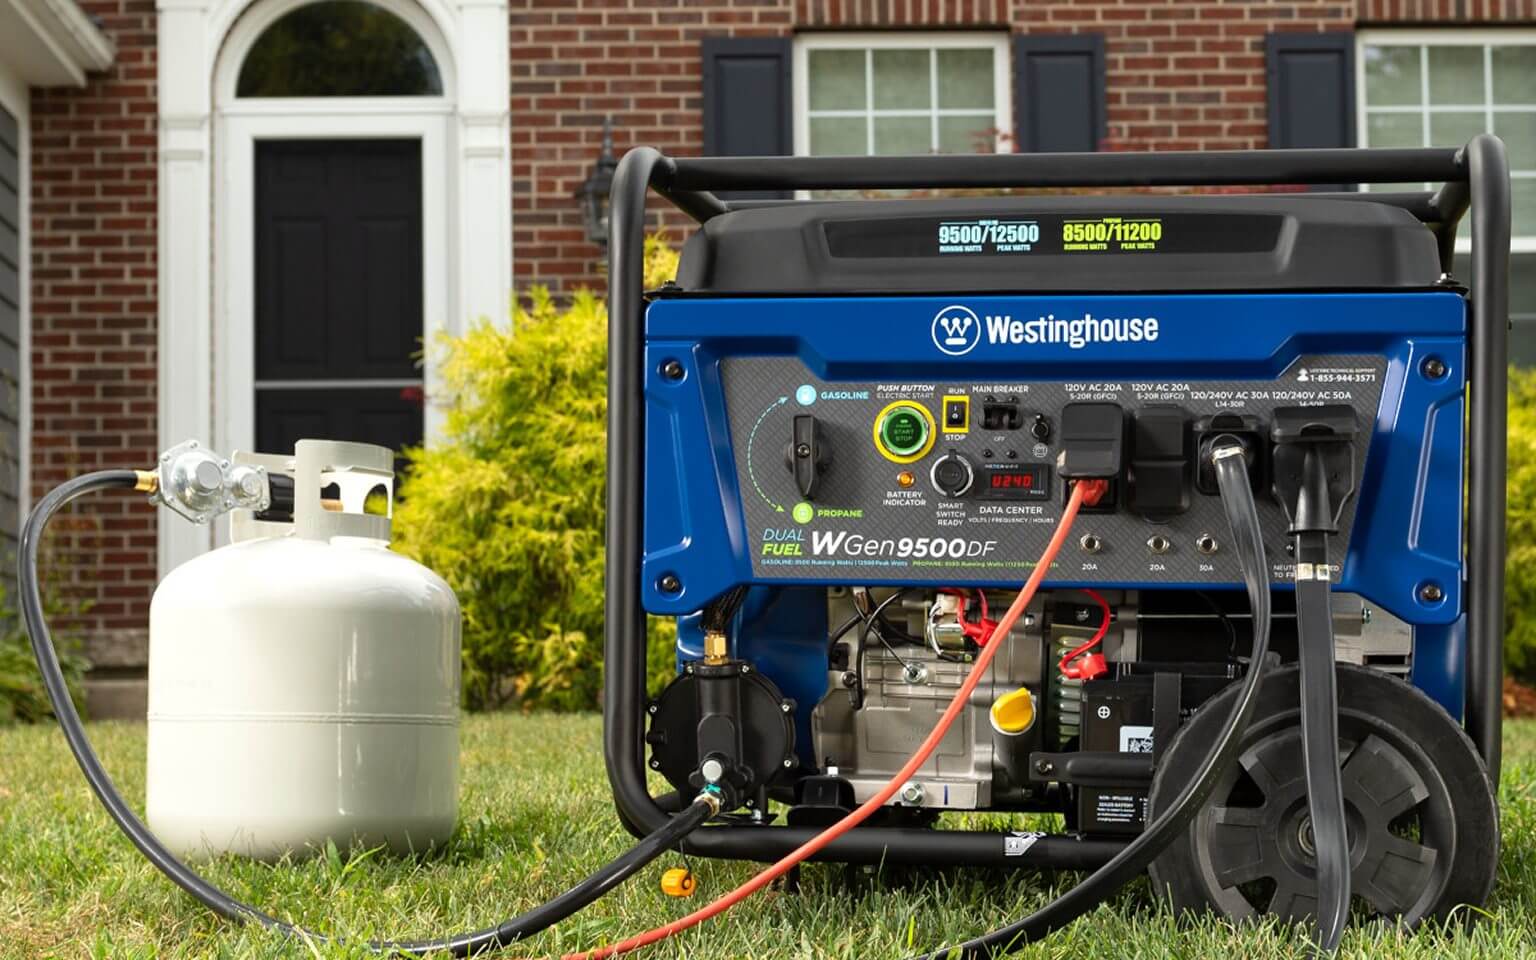
15 Practical Ways Homeowners Can Use a Generator
More Than Just Backup Power When people think about generators, they often picture them humming away during a blackout. While that is their most common role, generators are surprisingly versatile.... -
 maintenance and care
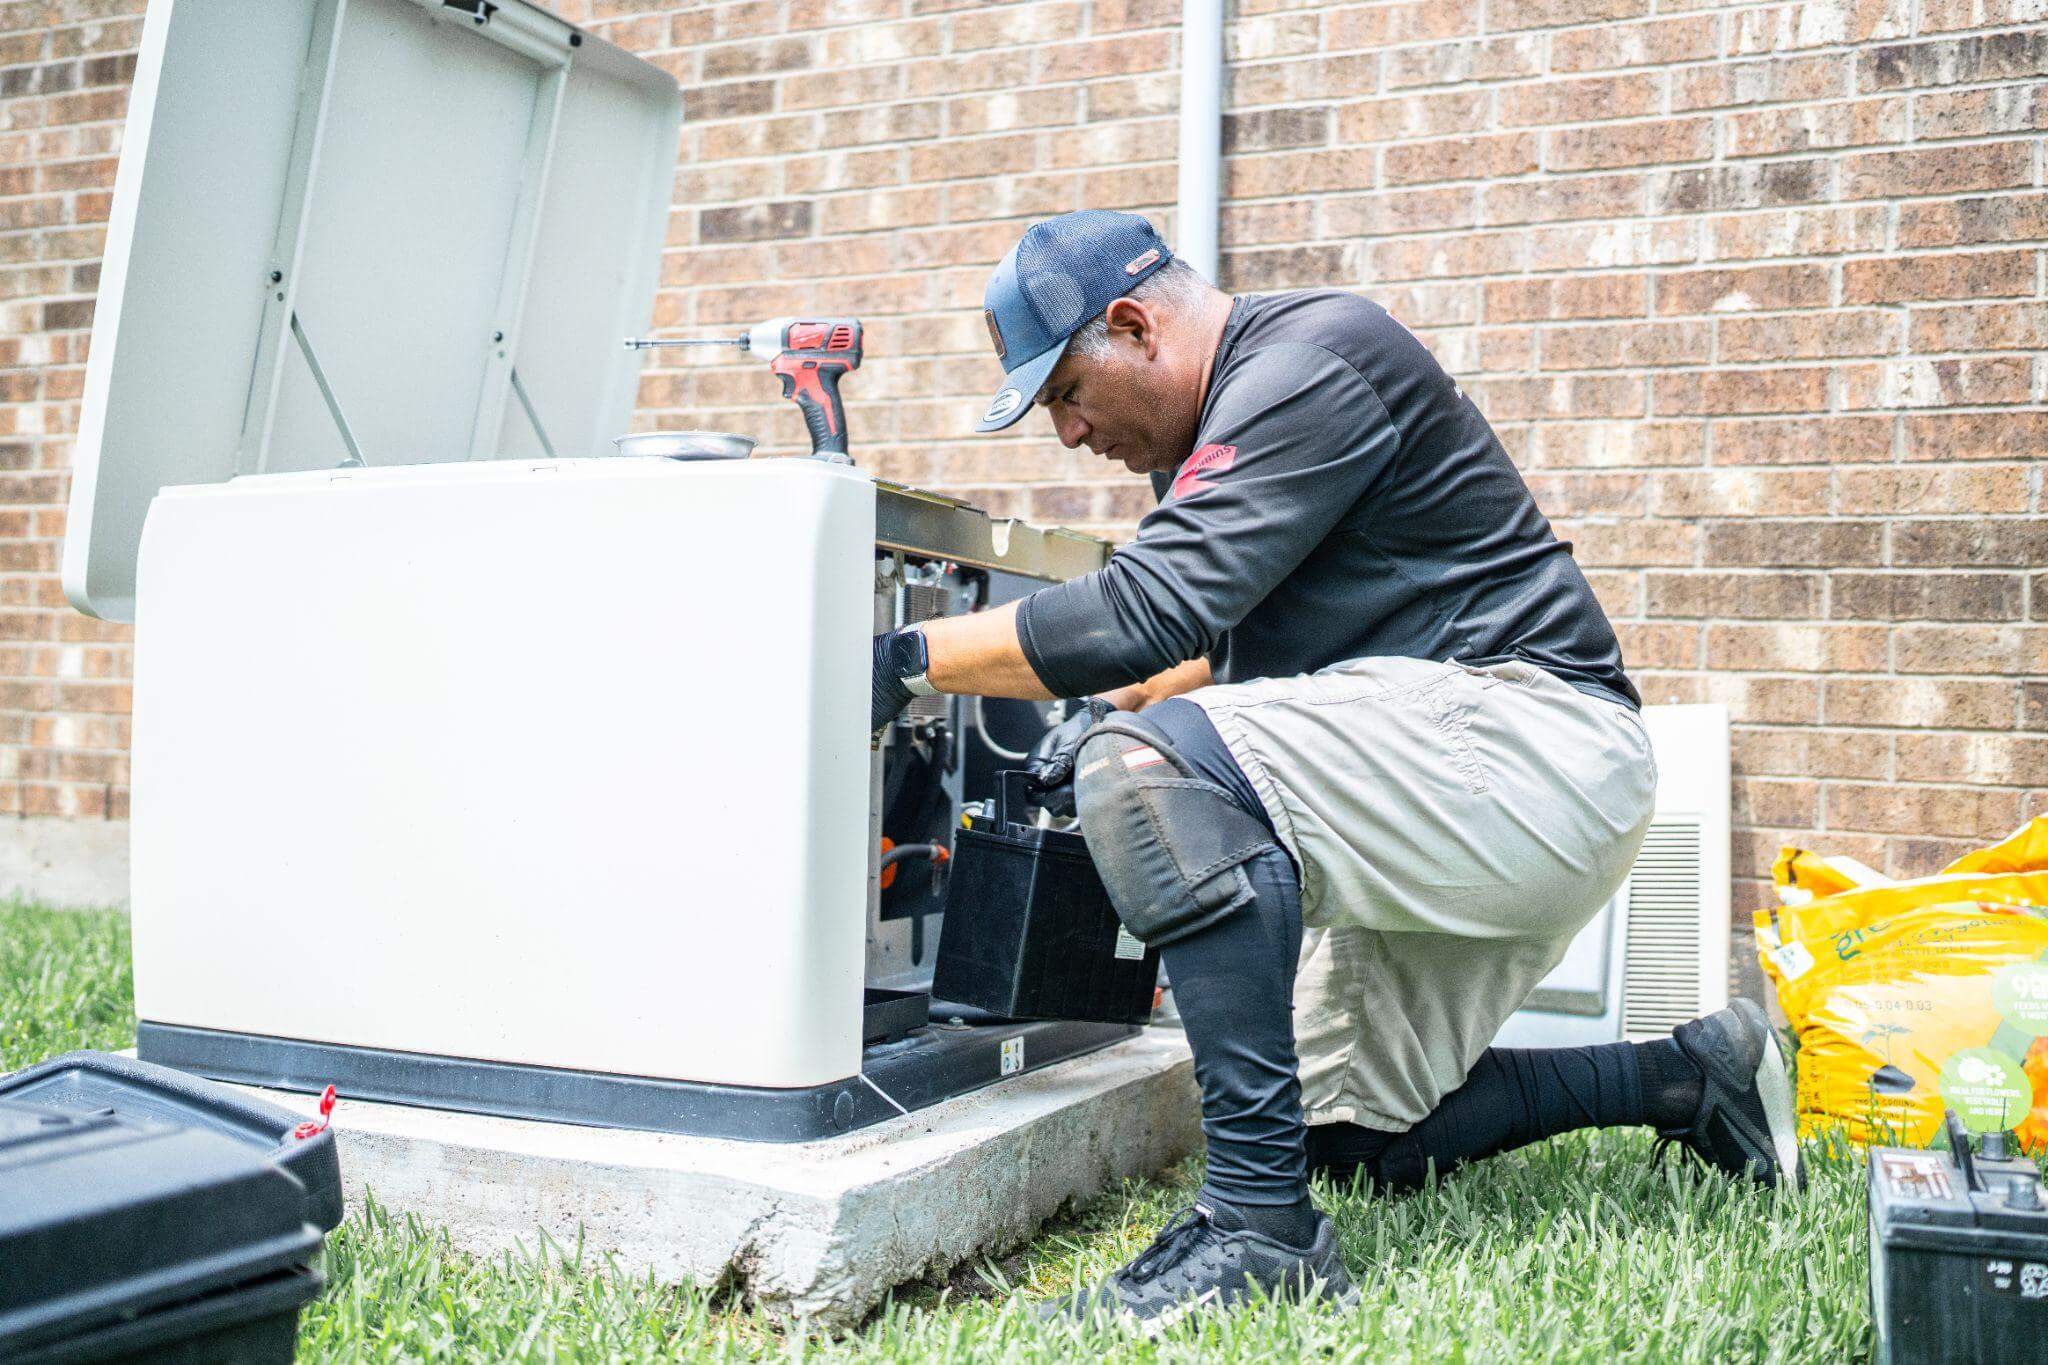
Diesel Generator Maintenance Made Simple: 10 Must-Know Steps
Why Regular Generator Care Matters A diesel generator can be a rock-solid backup power source, but like any engine, it needs consistent care to keep running reliably. Skipping maintenance can...
Reviews from Real Homeowners
Welcome to Homeowner Resources! We are the Modernize blog. Modernize pairs more than 3 million homeowners a year with pre-vetted contractors in their area. This blog started because we believe homeowners should know everything about their homes, from how their HVAC works to which front door colors they might love. On Homeowner Resources, you can find information on every part of your home, right down to how you can negotiate with contractors to get the best price. Here's more about the blog.
Need a contractor? Learn more about how Modernize finds the right pro for you.