When you think about it, the walls of our homes put up with a lot. They keep us dry and protected all year long, they hold up to the elements, and they do their best to look nice, too. So isn’t it time we did something nice for them? If you really want to reward your walls, how about giving them a hip, retro makeover by adding an orange peel drywall texture?
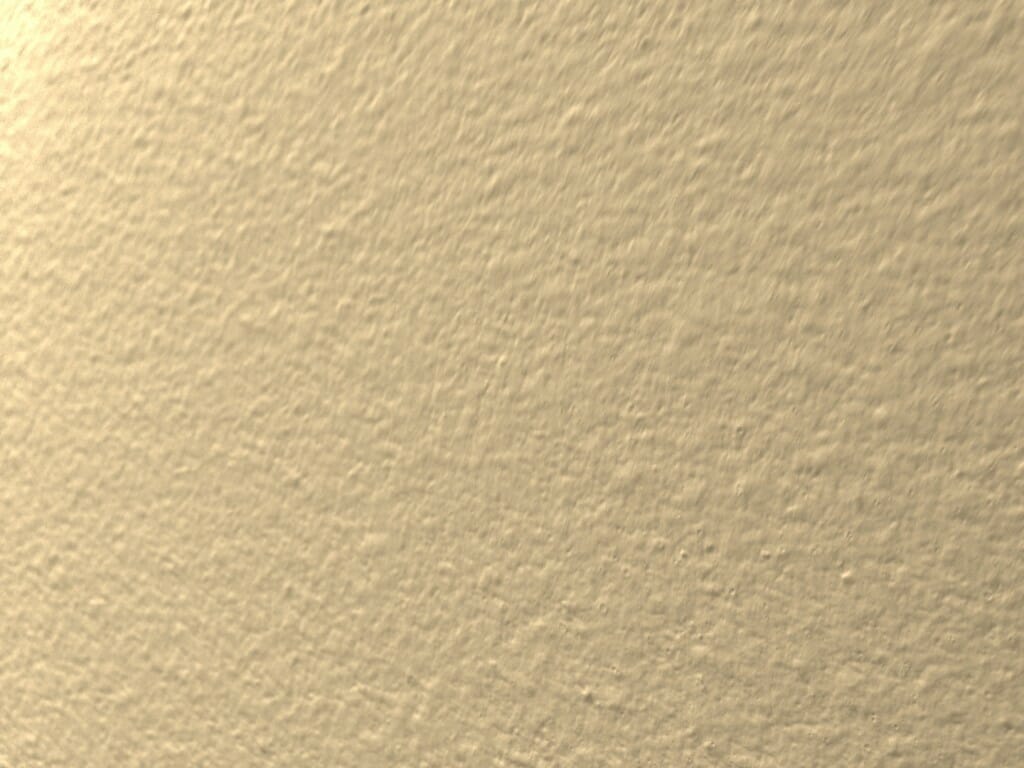
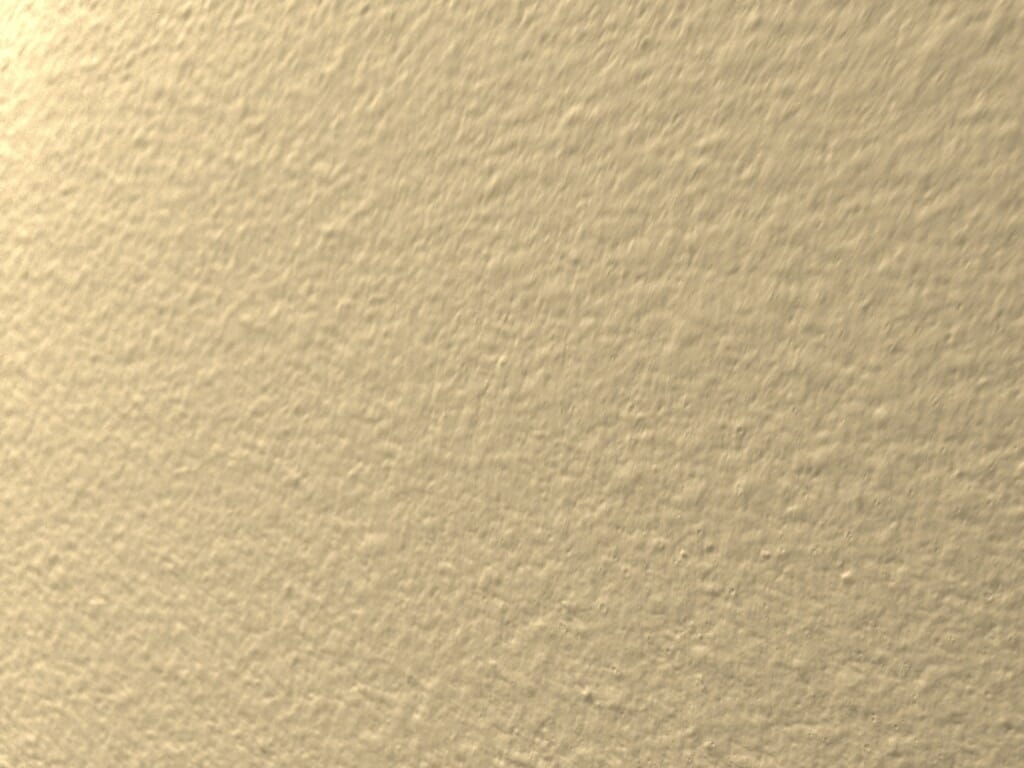
You’re probably most familiar with textured drywall in its popcorn form—that ubiquitous and sharp white wall surface that is the standard calling card of any basic one-bedroom, and which you learned pretty fast would rub your knuckles raw if you leaned against it the wrong way. Orange peel has all the textural excitement of popcorn without any of the pain. In fact, it looks exactly like its name: a dimpled surface that is textured, yet smoother to the touch, much like an orange.
Orange peel is a great choice if you’re looking to enhance the durability of your walls—that extra layer of plaster does a lot to protect them from dings and cracks. Among textured drywall’s other benefits is also that it hides those nicks and imperfections that are so painfully obvious on flat surfaces, meaning you won’t have to touch up your paint as often.
Prepping Drywall for Orange Peel Texture
You can’t just jump right in and apply your texture on virgin drywall—it needs to be sanded, cleaned, and primed in order to get the texture to stick in a way that’s smooth and free of grimy flecks of dirt beneath.
Once you’ve hung and taped your drywall, use a sanding pole to make sure it’s even and uniform—especially at any joints or corners. When you’re pretty sure your drywall is sanded to perfection, clean away any leftover grime and dust. Some contractors may tell you that leftover dust makes the paint bond better with the wall, but when you’re applying a texture, it’s very important to have a clean surface—you don’t want the grit and grime to affect the texture.
After the walls are all clean and clear, it’s prime time! Contractors are at odds about whether or not priming works best before or after texturing and painting. The only consensus seems to be that you really can do it at either point in the process, but most of our texturing experts say before is better, so we’re going to recommend you do it first. Make sure to use a high-build primer, which will hide any imperfections or small accidents from your hanging and taping.
Mixing and Filling the Hopper
Orange peel is a “splatter” type texture that involves spraying plaster in a pattern over your readied walls. This means that you’re going to need a gun and air compressor to get a good spray going. Technically, you can do it by hand, too, but this method is best left to the pros.
If you don’t just have a hopper gun and air compressor lying around next to the cereal bowls, don’t worry. You can rent one from a home repair store, or if you feel like it, you can purchase one for a couple hundred bucks. Just make sure that the hopper gun you get has an air adjustable valve. Also, you don’t have to go crazy with your air compressor size—a smallish one will do the job, as long as it can manage about 100 pounds of pressure.
Your next step is to get mixing! About one bucket of mud per room is the ratio here—mix it up using a drill with a paddle attachment or a mud masher until it’s about the consistency of pancake batter.
Fill your hopper up about half to three-quarters of the way full, and set the nozzle on your air compressor to 100 pounds. Take a deep breath. You’re ready to get shooting.
Spraying the Walls
Here’s where you put the Y in DIY. Spraying the walls in a way that’s uniform and neat can be tricky, so you don’t want to go into it cold. If you’re not a seasoned pro with years of drywall experience under your belt, you’re going to need to spend a little time with the gun first.
The best way to test your skill is to set up a piece of scrap drywall or cardboard to practice on. As you test, if you feel like you’re not getting the right texture, adjust the air valve. The idea is to basically shoot tiny splatters of mud onto the walls to create the texture, so you don’t have to worry about completely covering it. A bit of the primed drywall should be visible between splatters. Play around with it until you like the results. You can mix it up, trying heavy splatters or lighter splatters. It all depends on what you want in your room. Once you feel like you’ve got the hang of it, you’re ready for the real thing.
But if you feel like you just don’t have the skill or patience to learn to use the sprayer, don’t worry. You can always call in the pros. A contractor with experience in drywall texturing will be happy to do the job for you. And if you prefer a smooth wall but have textured walls, we’ve got you covered with this DIY on how to smooth orange peel textured walls with a skim coat.
Find the Right Contractor for Your Home Improvement Project
Whether you’re ready to begin your project now or need some expert advice, our network of contractors are here to help. With a few simple questions, we’ll find the best local professionals for you