
Are you doing a home improvement project?
Modernize can pair you with three to four pros in your area, so you can compare options and save time and money.
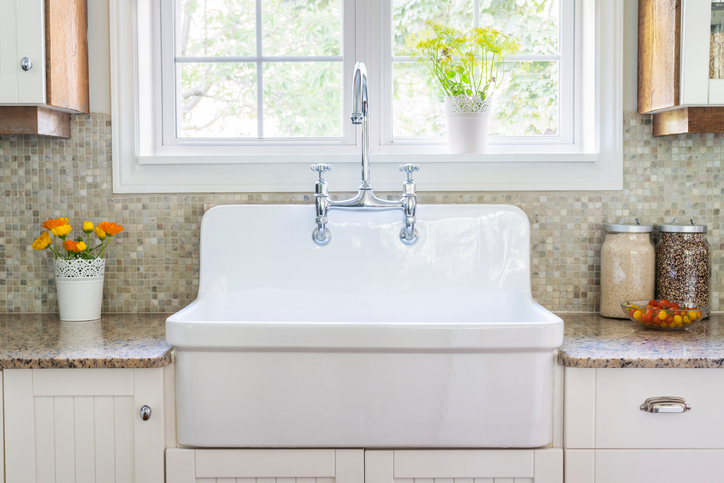
Adding a backsplash in your kitchen is one of the best ways to personalize your space. It’s also one of the easiest ways to give your kitchen a refreshing update without doing a major remodel. Installing a tile backsplash will take some planning and precision on your part, but the results are well worth it. Not only will you have a new eye-catching feature, but you’ll be able to say you did the job yourself!
Depending on the size of the wall you’ll be tiling, plan on this taking a few days—a weekend for most backsplashes, or a long weekend for a larger space. Because this process requires some detailed planning—especially when it comes to planning the tile layout and actually installing it—take breaks when you feel yourself starting to rush. Stretch your legs or eat a snack before getting back to work, so that you can avoid any sloppy mistakes.
Materials Needed:
- Tape measure
- Level
- Tile cutter, if necessary
- Tile
- Tile spacers
- Grout
- Flexible caulk
- Tile adhesive
- Drywall trowel
- Narrow piece of lumber to be used as a ledger board
- Rubber float
Preparing Your Workspace
Before you start the tiling, you’ll need to remove everything from the counters like appliances and utensils. Wipe down your counters, but don’t worry about doing a deep clean since it will be your workspace. Remove outlet covers on any electrical outlets or light switches on the walls you’ll be tiling. Finally, tape off the area—around outlets, and along cabinets and countertops. It’s best to place a drop cloth on your countertops so they don’t get scratched or unnecessarily dirty in the process.
Preparing Your Walls
Start with clean, level drywall. If there are any holes in your drywall, you will need to patch them first before adding the backsplash. If you see any small dents or ripples or anything other than a flat surface, fill with joint compound and let the area dry overnight. Do that first and then return to this project.
Clean the walls with a mixture of trisodium phosphate (TSP) and water to remove any grease or dirt from the area. If you’re installing a backsplash over a painted wall, sand any glossy surfaces first with a fine-grain sandpaper.
If your backsplash will extend beyond your counters, attach a ledger board to the wall where you want the bottom edge of your tile to be. Use your level to make sure it’s in a straight line, and attach it to wall studs. The ledger board adds an extra level of support to the finished backsplash, and it also supports the tile while the adhesive dries and cures. If your backsplash won’t extend beyond your counter space, attach the ledger board just above the edge of the counter, so it supports the tile.
Planning Your Tile Backsplash
Find the centerline of the wall you’ll be tiling and then use a pencil to mark a vertical line. Consider what will be the focal point of your backsplash, and take items such as your faucet or stove into consideration when planning. Your tile patterns will also play a large part in the design of your backsplash, unless you’re opting for a classic subway tile.
Laying the tiles out in the same pattern they will be placed on the backsplash is a best practice for a couple of reasons. First, you’ll get a preview of how the finished product will look, and if you’re not crazy about it, you can redesign it. Second, it lets you know that you have enough tiles to cover the area, so you don’t run out mid-way through your project.
If there are any outlets or light switches on the wall you’re planning, trace the shape of the outlet and place it on the tiles, so you can see where you’ll need to cut the tiles to fit.
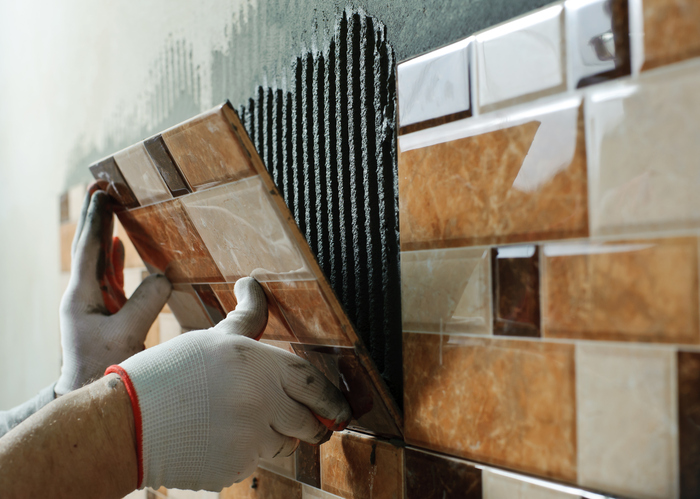
Attaching the Tile
Step 1
Mix the tile adhesive, such as thinset, according to the instructions on the package. If you’re using glass tiles, use a white adhesive. Spread it on a small section of the wall with a drywall trowel. It’s really important to work in small sections so the tile adhesive doesn’t dry before you place the tile. Comb over the adhesive with a notched trowel to help even it out.
Step 2
Starting at the bottom of your pattern, attach the first piece of tile to the wall by pressing it into the adhesive securely. Leave a ⅛-inch gap between the countertop and the bottom edge of the tile. Press against the tile with a rubber float to set it well into the adhesive. Repeat with another piece of tile, using spacers between each tile to ensure spacing is even, until adhesive is covered.
Find the Right Contractor for Your Project
Whether you’re ready to begin your project now or need some expert advice, our network of contractors are here to help. With a few simple questions, we’ll find the best local professionals for you
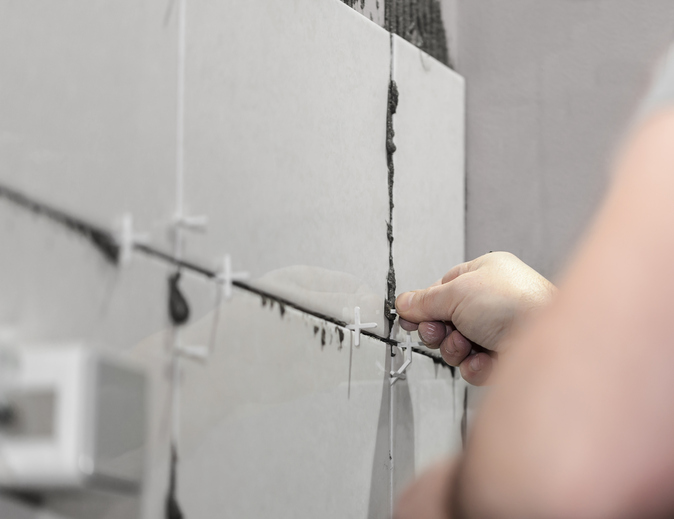
Step 3
Repeat steps one and two until the wall is covered. Remember to take breaks when you need them, but only when a section of adhesive is covered. Let adhesive dry for 24 hours.
Step 4
Mix grout according to the directions on the package. Professionals recommend unsanded grout for gaps measuring less than ⅛-inch, and sanded grout for larger gaps.
Working diagonally, apply the grout across the tiles. Use the rubber float for this, and press the grout into the joints between the tiles. Leave the grout alone for ten minutes and then wipe away the excess with a sponge—and make sure to work in a diagonal motion for this as well, to avoid wiping grout out of the joints. Rinse your sponge after each wipe, so you’re not just spreading grout around.
Allow the grout to dry according to the instructions—typically 24 hours for a complete cure. Apply a grout sealer for best results.
Note: You will probably see a haze over your tiles, but this can be removed with a haze remover when the grout has dried.
Step 5
Fill the expansion gaps with caulk or another sealant of your choice. Use a firm and consistent pressure for even caulking lines.
Step 6
Make outlets and light switches even with the tile backsplash by adding box extenders. Then replace outlet covers.
Step 7
Step back and enjoy your handiwork!
Find the Right Contractor for Your Project
Whether you’re ready to begin your project now or need some expert advice, our network of contractors are here to help. With a few simple questions, we’ll find the best local professionals for you
-
 contractor selection
A Complete Manual J Guide
Manual J Load Calculations: The Essential Guide to Sizing a Home HVAC System Correctly When a homeowner needs a new HVAC system, one of the most important — yet least... -
 installation
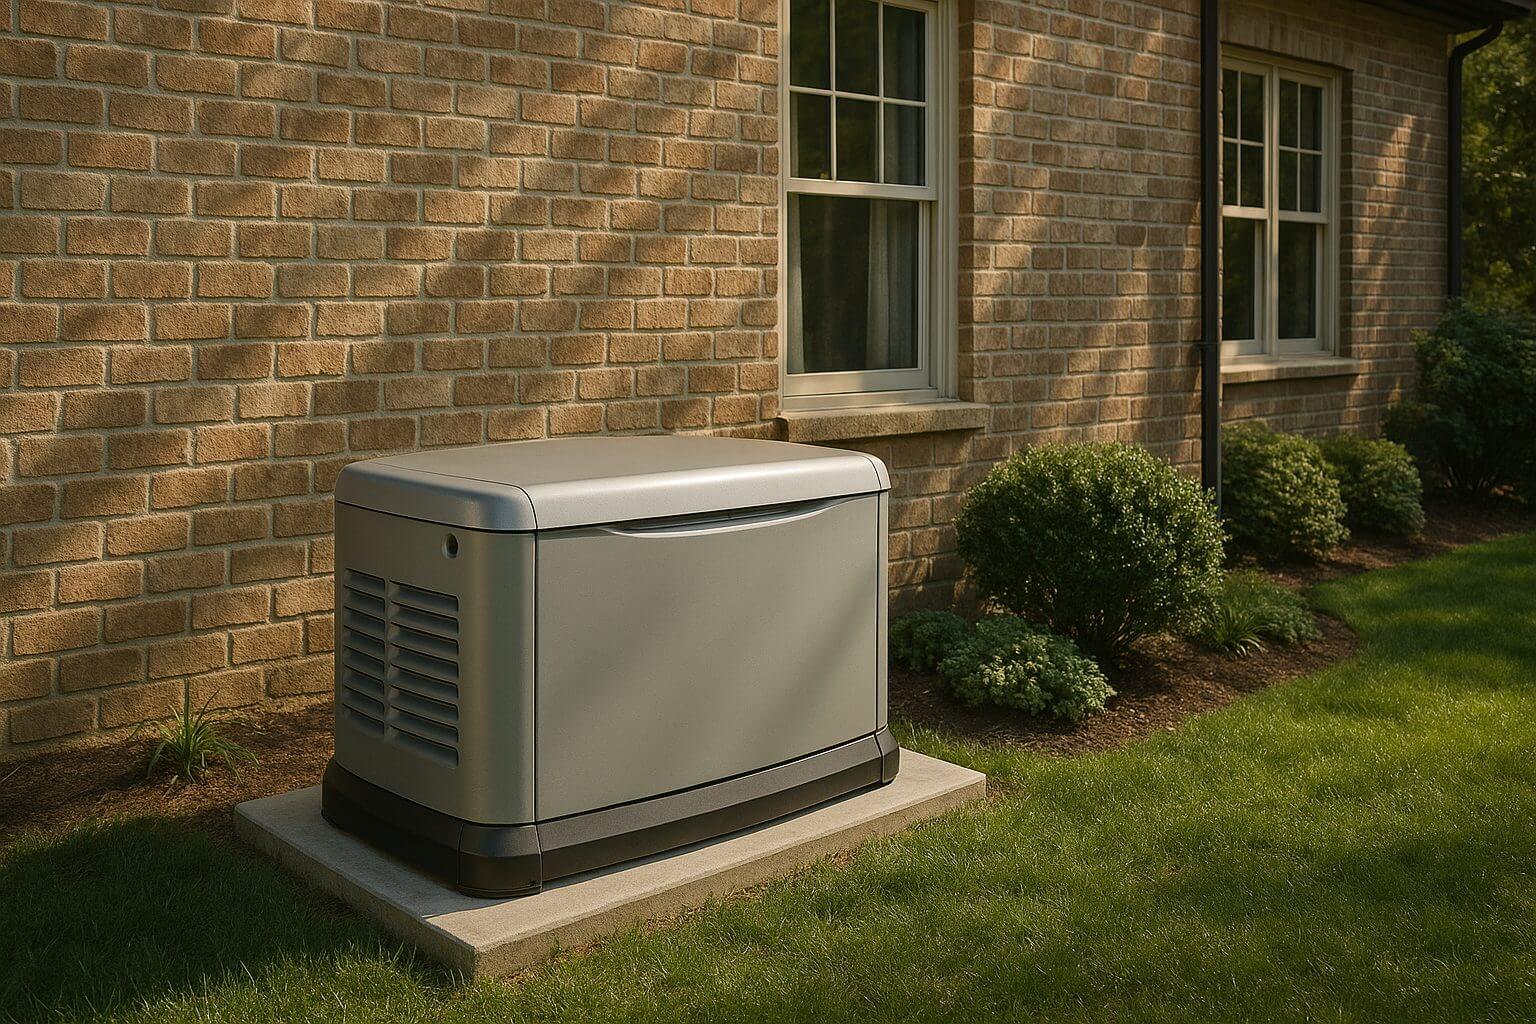
15 Practical Ways Homeowners Can Use a Generator
More Than Just Backup Power When people think about generators, they often picture them humming away during a blackout. While that is their most common role, generators are surprisingly versatile.... -
 cost and budgeting
The Real Costs and Benefits of Installing a Whole-House Generator
Why Homeowners Consider Whole-House Generators A whole-house generator is more than just a convenience — for many homeowners, it’s peace of mind. Unlike portable units, these generators are permanently installed,... -
 maintenance and care
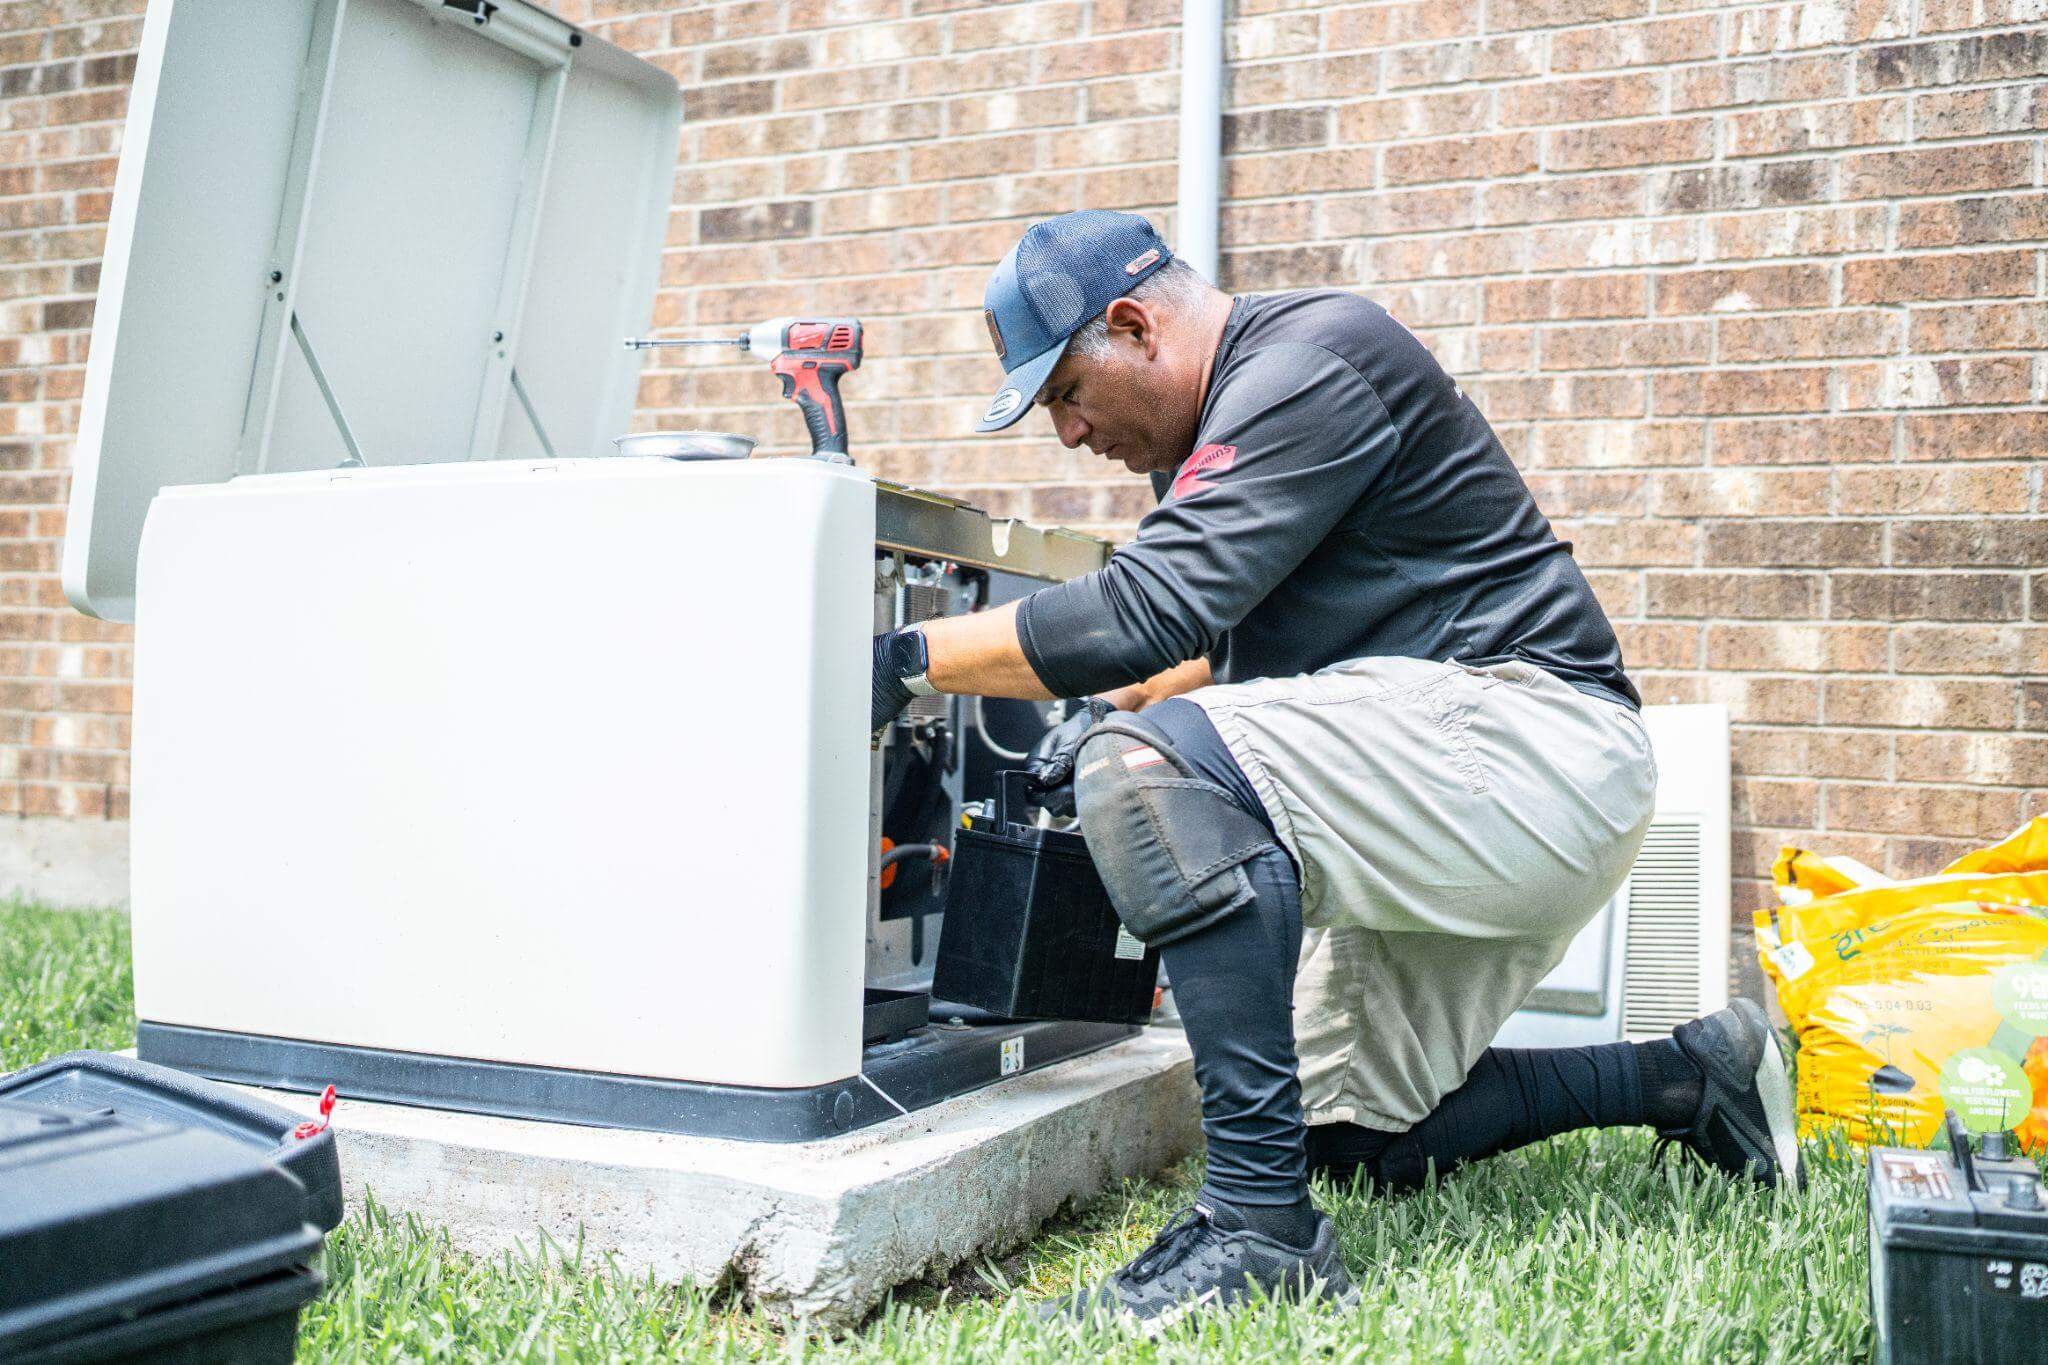
Diesel Generator Maintenance Made Simple: 10 Must-Know Steps
Why Regular Generator Care Matters A diesel generator can be a rock-solid backup power source, but like any engine, it needs consistent care to keep running reliably. Skipping maintenance can...
Reviews from Real Homeowners
Welcome to Homeowner Resources! We are the Modernize blog. Modernize pairs more than 3 million homeowners a year with pre-vetted contractors in their area. This blog started because we believe homeowners should know everything about their homes, from how their HVAC works to which front door colors they might love. On Homeowner Resources, you can find information on every part of your home, right down to how you can negotiate with contractors to get the best price. Here's more about the blog.
Need a contractor? Learn more about how Modernize finds the right pro for you.