Are you doing an HVAC project?
Modernize can pair you with three to four pros in your area, so you can compare options and save time and money.
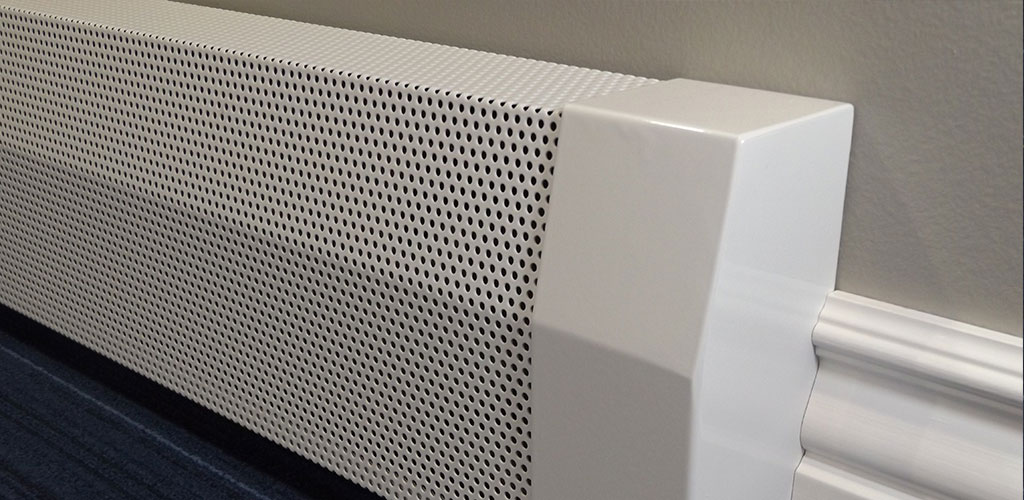
A quick DIY way to update your home’s decor is to replace the baseboard heater cover with a new, unblemished model — and it’s easy enough for most homeowners to do by themselves. Replacing the cover gives you a chance to clean the unit inside, so you may see better performance, too.
Positioned low to the ground, baseboard heaters see a lot of wear and tear. A home’s everyday traffic can cause dents or scratches — but a ratty, rusted, or outdated baseboard heater can be a real eyesore. Here’s how you can give your heater a stylish update in less than a few hours by replacing your baseboard heater cover.
Purchasing a New Cover
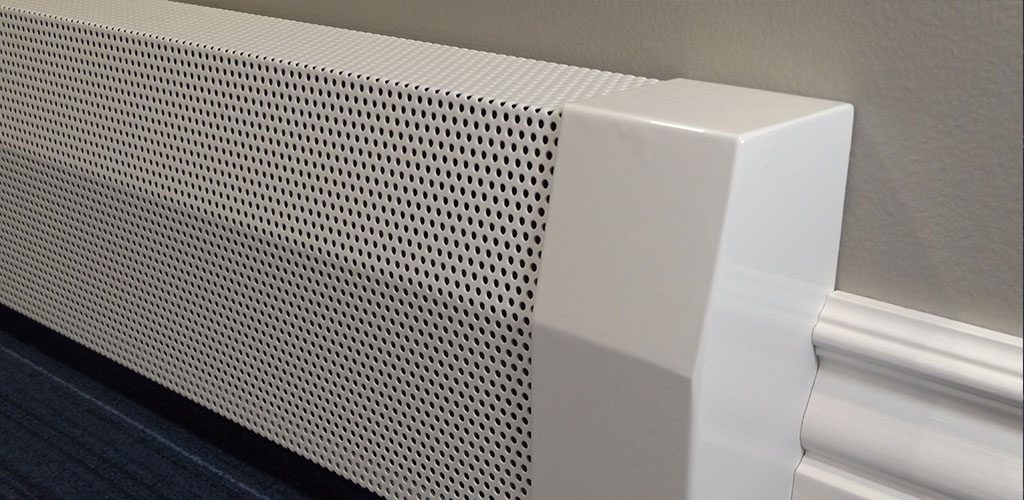
To successfully install a baseboard heater cover, you first need to know two things: the heater’s measurements, and whether it’s hydronic or electric. Heater covers come in various sizes and types, so they aren’t necessarily interchangeable.
Measurements include both the heater depth (the width from edge of the heater cover to the wall) and the length (how long the heater extends across the wall). To get the precise width, measure from the edge of the wall to the aluminum tabs under the cover.
If your unit comes in a nonstandard size, you may also need to confirm that the cover you’re purchasing will work with your model. You might also have to purchase new end caps separately.
Some newer heaters have adopted a simpler process for removal and simply snap into place over the heating element. In this case, you won’t need to go through the trouble of cutting the heater loose and installing a new cover — you can just remove and replace. Only follow the set of instructions below if you have an older-style unit that must have the cover screwed to the wall. Read the packaging accompanying the cover if you’re not sure.
Removing the Heater Cover from the Wall
First remove the front of the cover from the unit. Next, you’ll need to cut the heater cover free from the back of the wall by using a reciprocating saw. To do so, prop a narrow wood shim between the wall and the back of the heater cover, and run the saw over the screws attaching the heater. The heater cover should snap free from the wall once you’ve sawed through all of the screws.
Removing the Adjustable Damper
Before you can pry the heater cover loose from behind the heating element, you need to remove the adjustable damper that runs along the top of the cover’s back half. This piece, which lets you adjust the airflow into your home, looks like a long, narrow slat, and it sits on top of the heater’s hangers. Remove it with your hands by pulling straight up and lifting it free from the hangers.
Find the Right Contractor for Your HVAC Project
Whether you’re ready to begin your project now or need some expert advice, our network of contractors are here to help. With a few simple questions, we’ll find the best local professionals for you
Prying the Hanger from the Back Plate
Once the screws are off the unit, you should be able to wiggle the cover around behind the heating element. Push it away from the wall, and then take a slotted screwdriver to the bottom of the hanger plates, prying them free from the metal cover. Pop the top of the hanger out from underneath the lip on the metal cover.

Removing and Discarding the Back Plate
Once you have all the hangers free, carefully slip the back plate of the cover — the big metal piece behind the heating element — up and over the heater. Work carefully and use gloves if you need to, since the edges of the back plate may be sharp. Once you have it free, take a vacuum attachment to the heating element to get rid of any dust and dirt that may have built up there over time. Toss the back plate in the trash.
Attaching the New Hangers
Now that the heater plate is gone, it’s time to start installing the new cover. First, slip new hangers behind the heating element so that the carrier — the part of the hanger that looks like an upward-turned bracket — is propping up the heating element. You can move the heater around if you need to to get the hangers in place.
Putting the New Back Plate into Place
Now, if you don’t know where the studs are on the wall, use a stud finder to locate them. You’ll need to make sure you screw the plate into the studs so the heater doesn’t pull away or damage your wall. Take the new back plate — careful, it’s sharp! — and slip it into place behind the heating element.
Push the top of the hangers into the top edge of the back plate. Then snap the bottom of the hanger into place as well. Using 1 ¼ inch sheet rock screws, attach the plate to the wall at your stud markers.
Finishing Up
Snap the damper back into place over the top edge of the back plate and then push the end caps into place. Put on the new front cover and enjoy your fresh, unblemished heating unit!
Find the Right Contractor for Your HVAC Project
Whether you’re ready to begin your project now or need some expert advice, our network of contractors are here to help. With a few simple questions, we’ll find the best local professionals for you
-
 cost and budgeting
Affordable Home Upgrades
We’ve all had that moment walking into a room thinking, “It’s fine, but…” Sometimes it’s dated hardware. Sometimes it’s lighting. Sometimes it’s just that nothing feels fresh anymore. Here’s the... -
 contractor selection
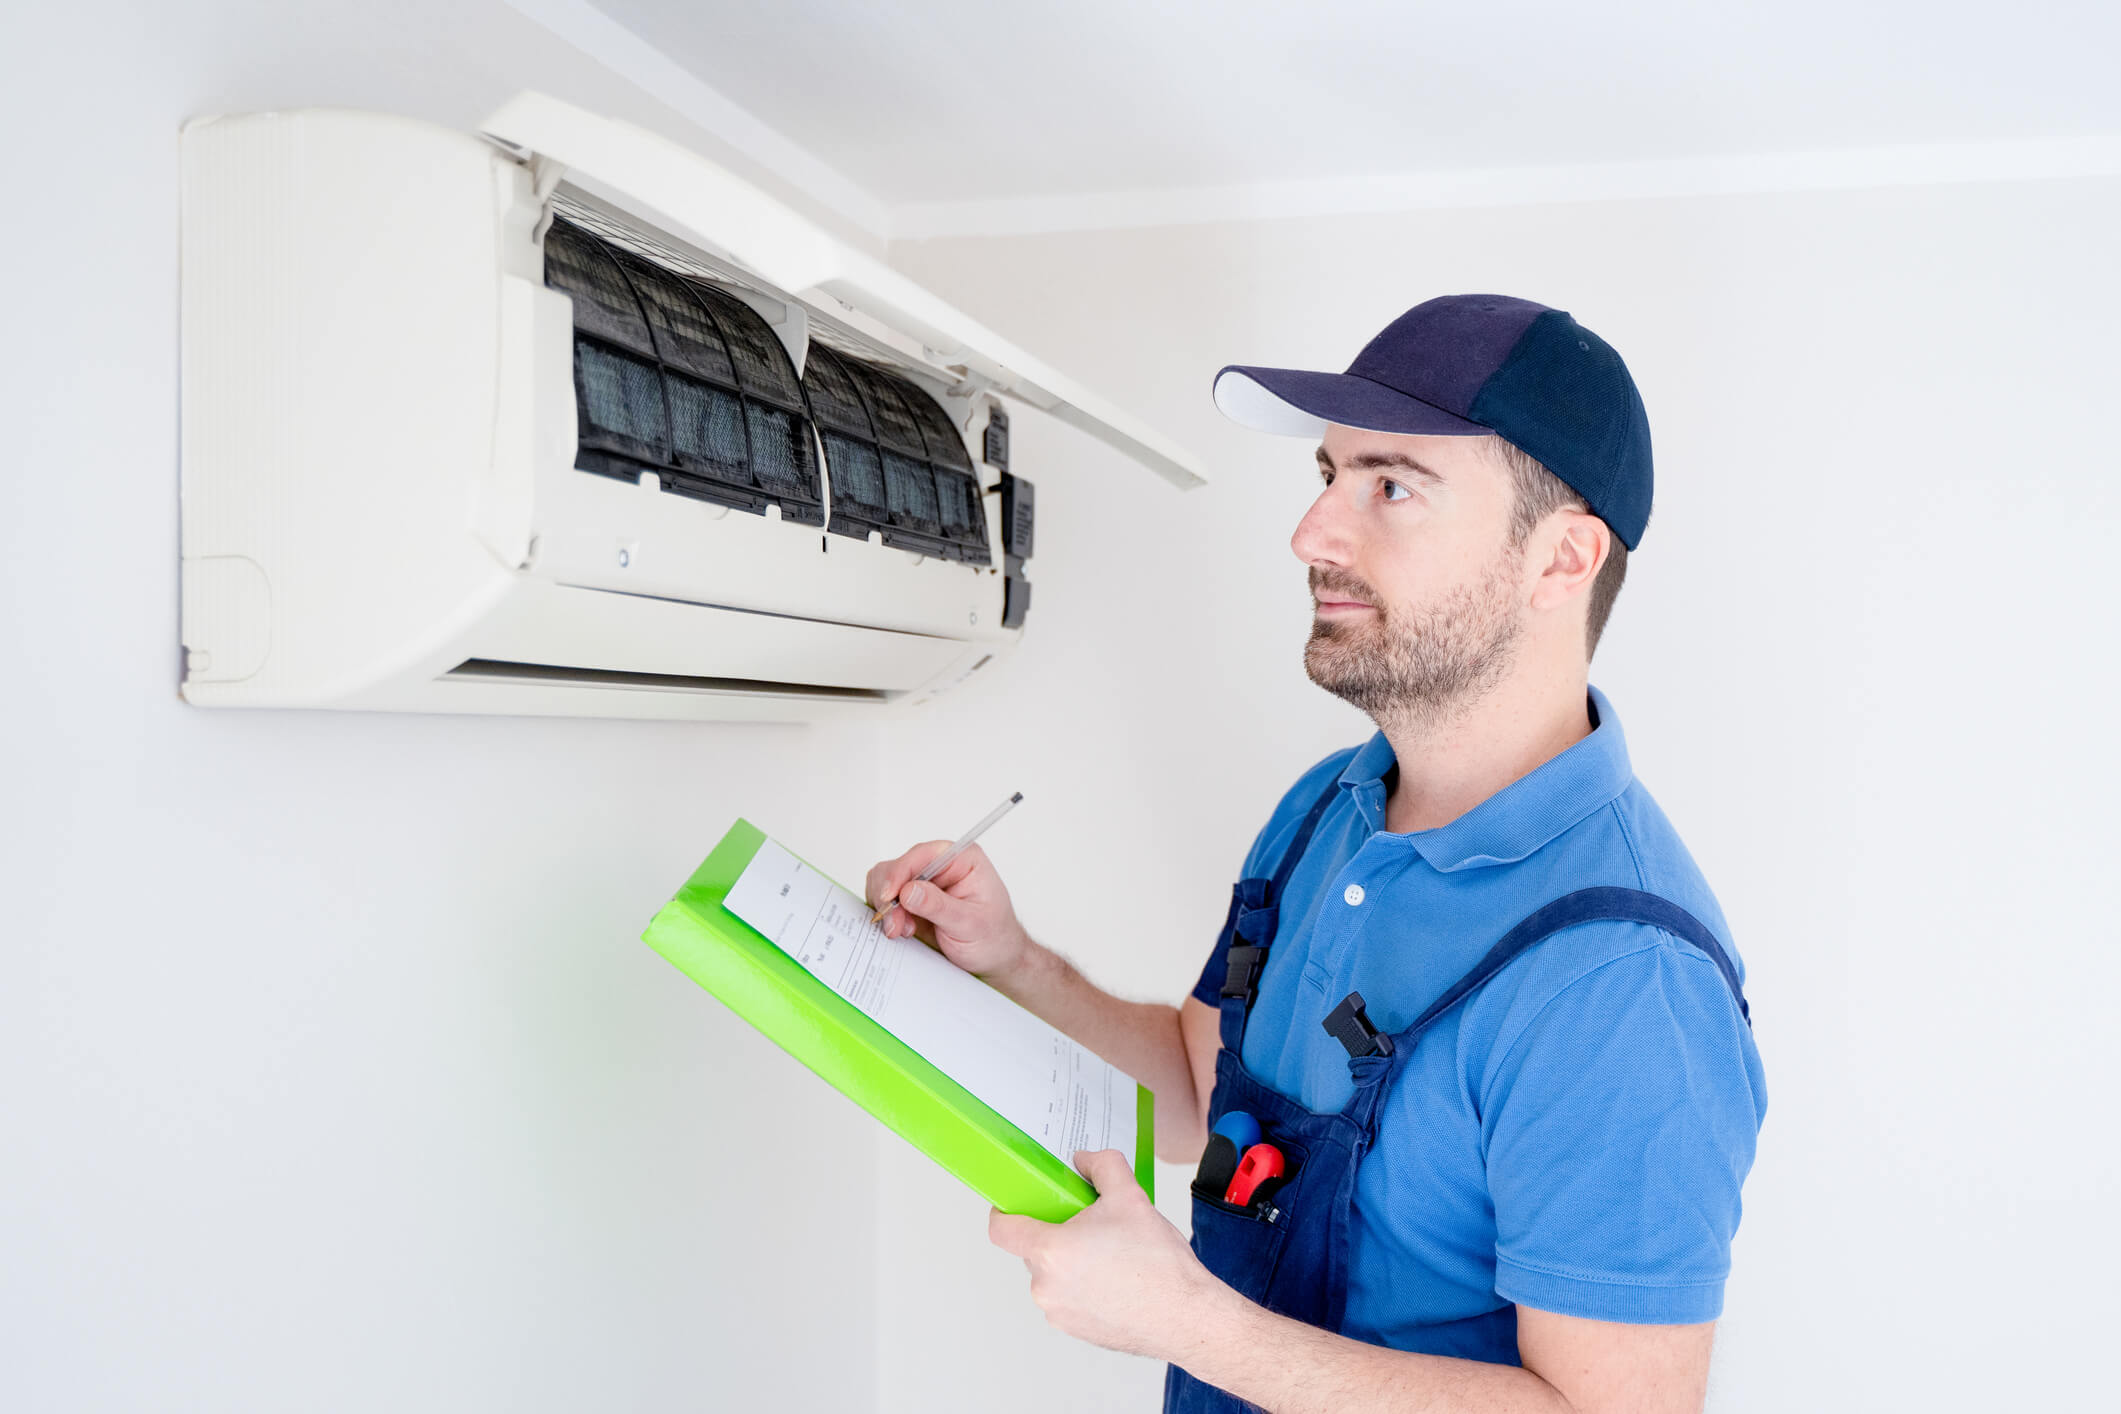
A Complete Manual J Guide
Manual J Load Calculations: The Essential Guide to Sizing a Home HVAC System Correctly When a homeowner needs a new HVAC system, one of the most important — yet least... -
 maintenance and care
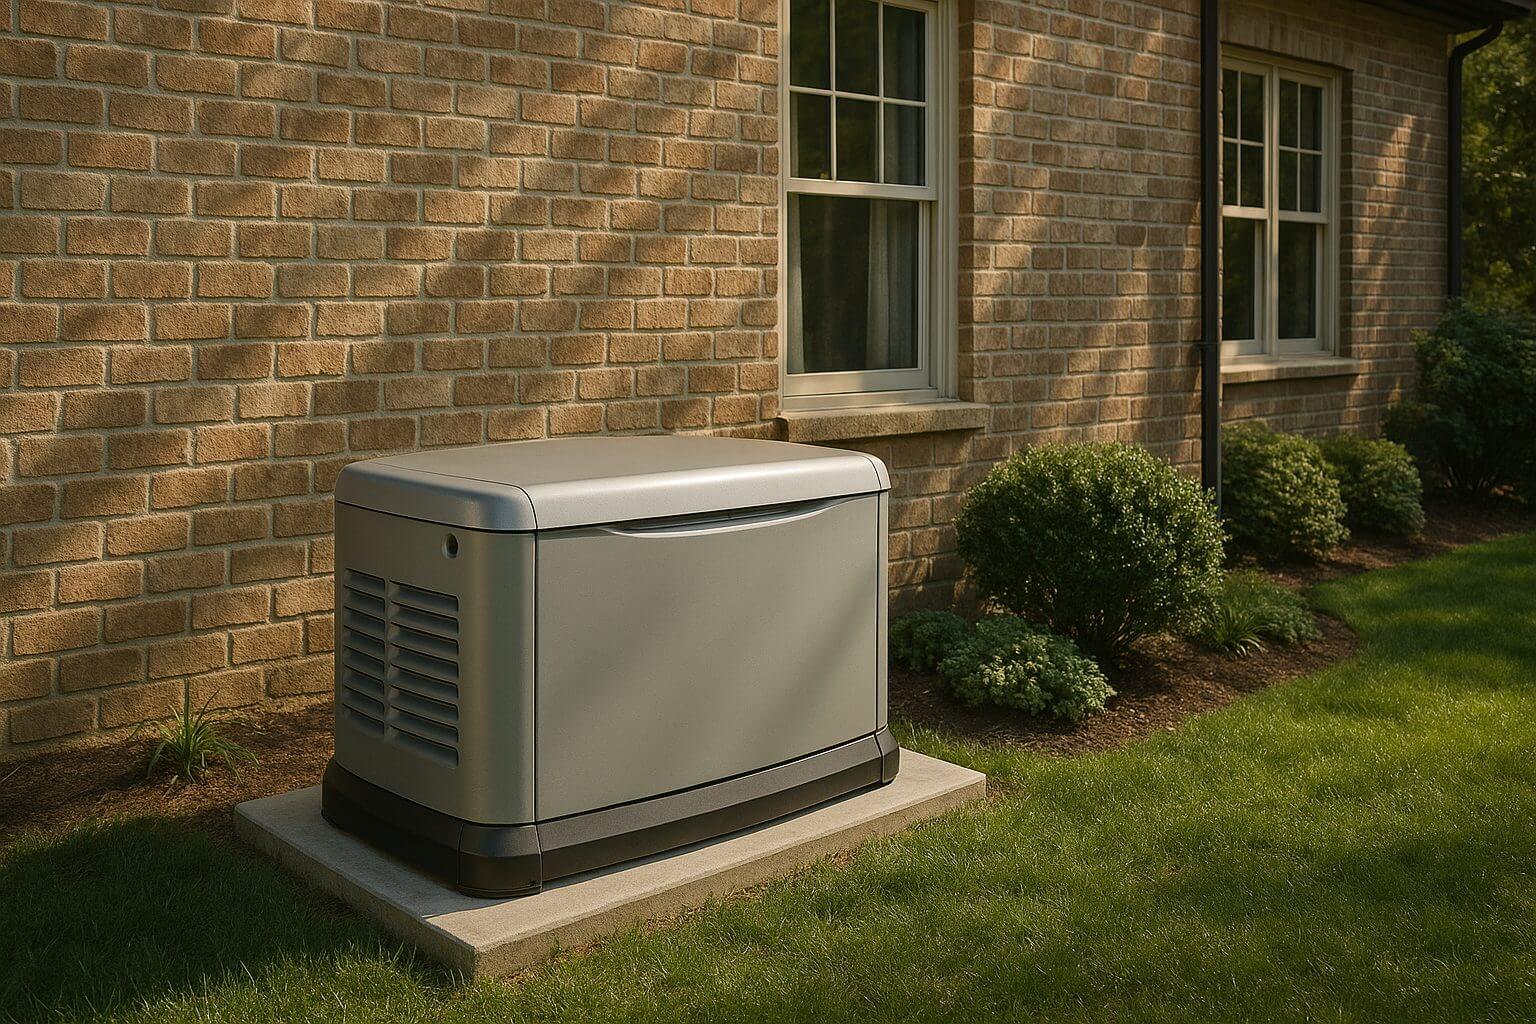
Natural Gas Generators and Carbon Monoxide: What Homeowners Should Know
Understanding the Concern Natural gas generators are one of the most popular standby power options for homeowners. They connect directly to your home’s gas line, which means no hauling fuel... -
 installation
15 Practical Ways Homeowners Can Use a Generator
More Than Just Backup Power When people think about generators, they often picture them humming away during a blackout. While that is their most common role, generators are surprisingly versatile....
Reviews from Real Homeowners
Welcome to Homeowner Resources! We are the Modernize blog. Modernize pairs more than 3 million homeowners a year with pre-vetted contractors in their area. This blog started because we believe homeowners should know everything about their homes, from how their HVAC works to which front door colors they might love. On Homeowner Resources, you can find information on every part of your home, right down to how you can negotiate with contractors to get the best price. Here's more about the blog.
Need a contractor? Learn more about how Modernize finds the right pro for you.