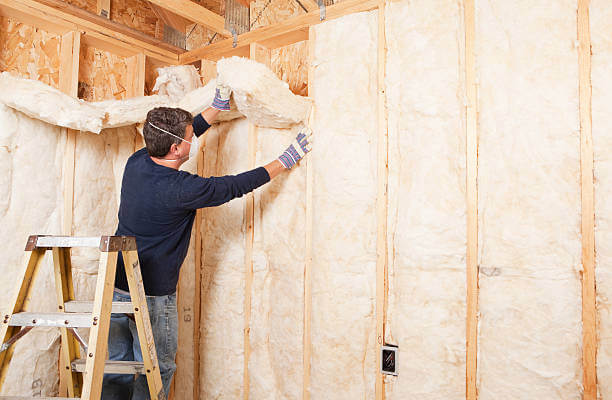
What Is Insulation Removal?
Insulation removal is just what it sounds like — the process of removing old or damaged insulation from a building, most often from the attic. While the definition is straightforward, the process is not as easy as it might seem.
Insulation removal begins with a thorough assessment of the existing insulation. During that assessment, a contractor will look for damage such as moisture, mold, or pests that have chosen to set up their home in the insulation. Even if there is no damage, you might choose to remove the insulation if it is 15 to 20 years old, as it may no longer be as energy-efficient as it should be.
Removal can include the use of vacuums or blowers, as well as other specialized equipment, to remove the insulation safely and protect the contractor in the process. The insulation is then disposed of according to safety regulations.
When Should You Remove Insulation?
Most insulation will require replacement every 15 to 20 years or so. At that point, it may no longer be energy-efficient, and you might notice uneven temperatures throughout the home, an increase in drafts, and higher energy bills.
But there are other signs you should remove and replace insulation:
- Pest Infestations: As insulation breaks down, wild critters might find it the perfect place to create their home. This can lead to serious damage to both the insulation and other parts of your home, such as wiring.
- Water Damage: Even the smallest roof leak can lead to serious water damage, which can soak the insulation and cause mold to form.
- Mold: Water infiltration leaves insulation damp and creates a perfect environment for mold growth. The only way to stop this is to remove the insulation and the mold completely.
- Age of the Building: If your home is more than 20 years old, the insulation likely isn’t performing at its peak — and that can drive up your energy bills.
Safety Precautions and Preparation
When working with potentially hazardous materials such as fiberglass insulation, hiring a professional is highly recommended. If you choose to do the work yourself, take the following precautions.
Assess for Hazards
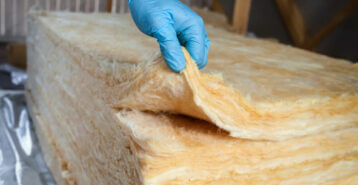
To begin, determine what type of insulation you have. In most cases, it will be fiberglass, which consists of very fine glass fibers. The dust that forms when those fibers are disturbed can easily irritate your skin and eyes and cause serious health problems if inhaled. Even a small breath of fiberglass dust can be harmful, so safety is essential.
Before you start, inspect the area for potential contaminants that could affect your health or spread through your home. If you see signs of mold or pest contamination, such as droppings or nests, take additional safety precautions.
If the insulation contains asbestos, do not attempt to remove it yourself. Specialized equipment and techniques are required to prevent contamination and health risks. Contact a certified asbestos removal contractor instead.
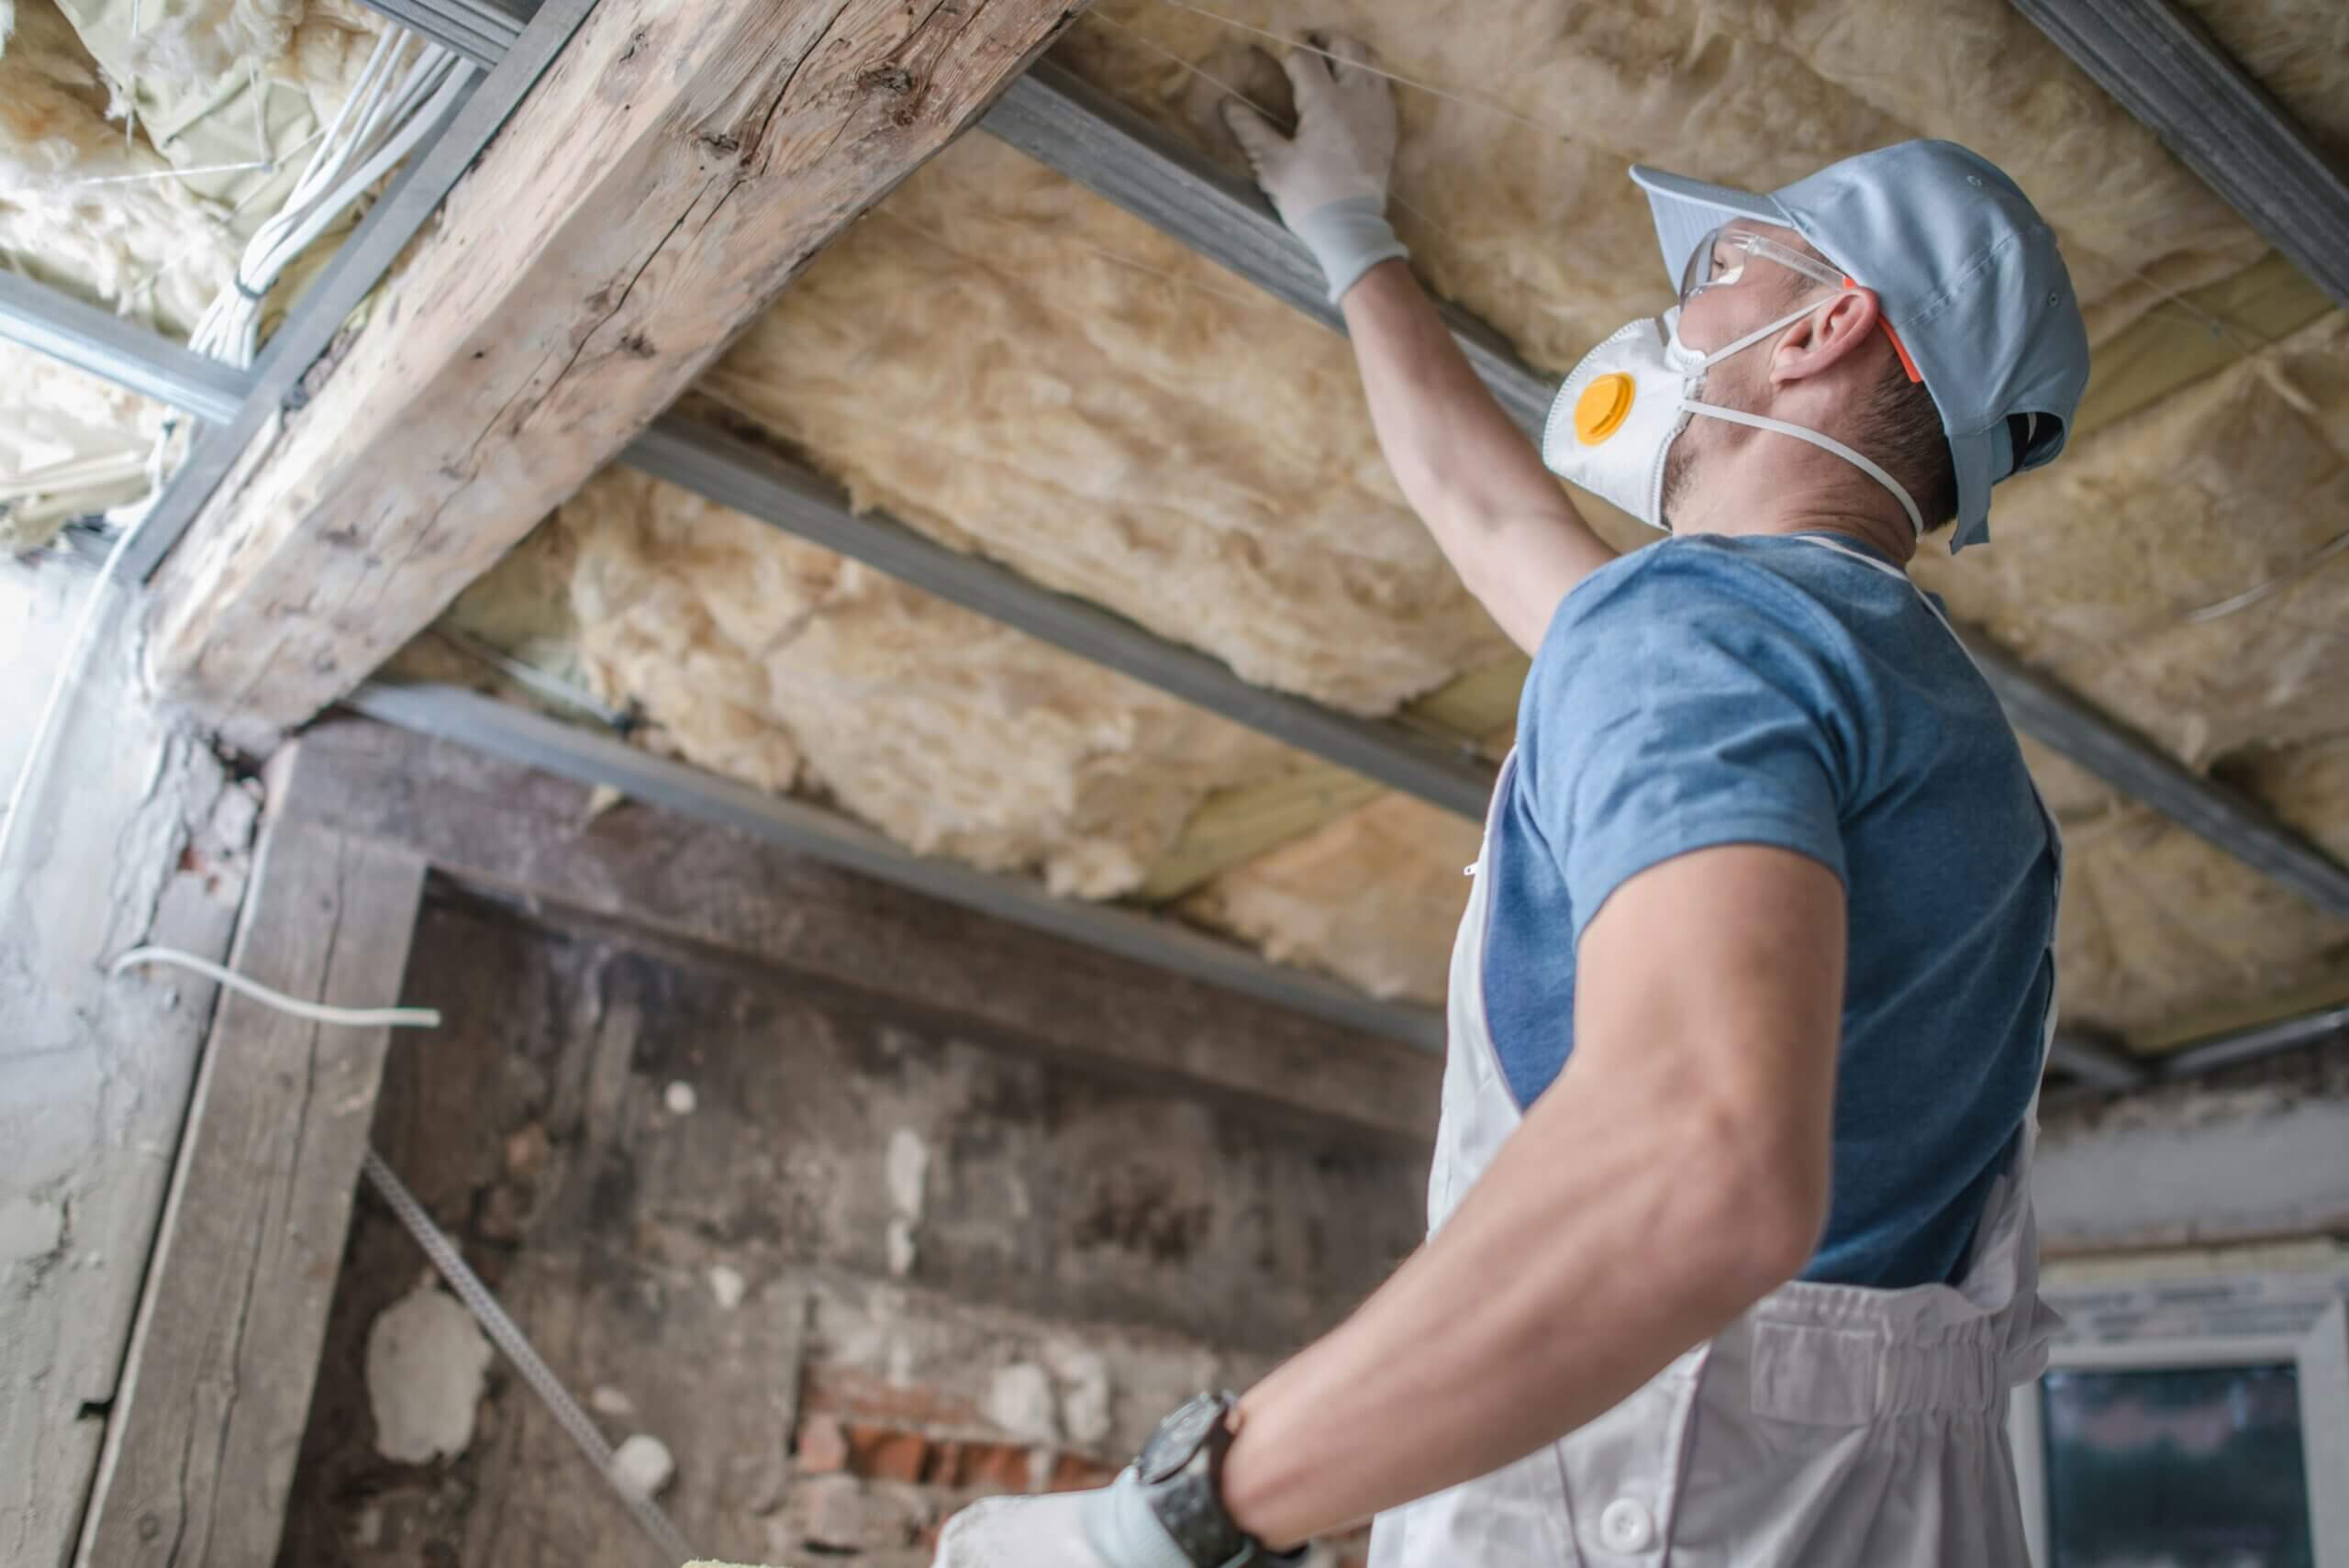
Gear and Equipment You’ll Need
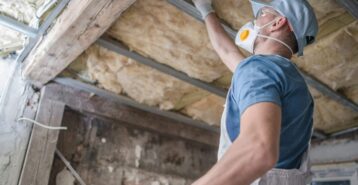
Gather the tools you will need for insulation removal, including personal protective equipment such as gloves, safety glasses, and respirator masks. Use duct tape to seal areas of clothing that could allow fiberglass intrusion. Tarps or plastic sheeting can help seal off the workspace. A HEPA-rated vacuum designed for insulation dust and heavy-duty contractor bags is also essential.
- Wear safety glasses with side shields.
- Make sure to wear gloves at all times.
- Wear long sleeves and long pants.
- Seal openings between clothing using duct tape to block fiberglass intrusion.
- Button shirts to the top or wear a turtleneck for added protection.
- Wear a properly fitted respirator mask.
- Ensure the area is well ventilated.
- Turn off electrical appliances or anything that might spark, such as HVAC systems.
- Take frequent breaks — insulation removal is hot, physical work.
If you have underlying medical conditions, especially involving the lungs, it’s best to let a professional handle the work.
Connect with local insulation pros today.
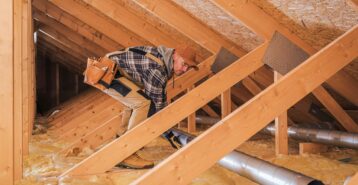
Step-by-Step Removal Process
Allow plenty of time to prepare the space before beginning insulation removal. Follow these steps to get started.
Area Preparation
Remove all furniture and personal items from the work area. If you can’t move certain items, cover them securely with plastic sheeting and tape it in place to keep dust off surfaces.
Use tarps or plastic sheeting to prevent insulation and dust from spreading to other parts of the home. A zippered plastic sheet can make moving around easier.
For blown-in insulation, use a vacuum designed specifically for insulation removal. For batt or roll insulation, use a long-handled flathead screwdriver to remove staples holding it in place.
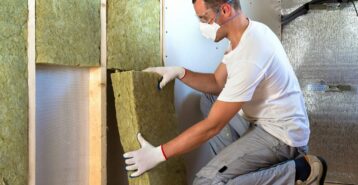
Removal Techniques
To remove fiberglass batts, use a screwdriver to gently lift staples securing them. Once removed, roll each section from the farthest corner of the room, fold it, and place it in large garbage bags. Contact your local waste management service for proper disposal guidelines.
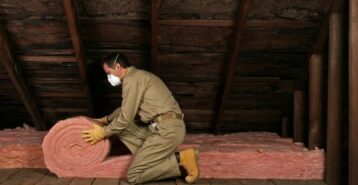
For blown-in insulation, use a shovel or rake to loosen it carefully. Avoid pulling or dragging material toward you to reduce dust. A vacuum specifically designed for loose-fill insulation is highly recommended. Move the hose in overlapping strokes, paying attention to corners and crevices.
If suction decreases, check the vacuum’s filter and clean or replace it as needed. Once the collection bag is full, detach and dispose of it properly. Ensure all areas are free from leftover insulation and dust.
Inspection and Cleanup
Vacuum all surfaces and remaining dust particles. You can even hold the vacuum nozzle in the air to capture fiberglass particles. Wipe surfaces with a damp cloth and dispose of it properly afterward.
Inspect removed insulation for signs of pests, mold, or moisture damage. If the material is clear of contamination, you’re ready to proceed with installing new insulation.
How Much Does It Cost to Remove Insulation?
The average cost of insulation removal is about $900 for a typical 1,500-square-foot home. Most homeowners will spend between $600 and $1,200. If there are additional problems, such as pest infestations, those issues must be addressed before insulation removal begins.
Here are the main factors that affect cost:
- Space Size: Larger spaces typically cost more.
- Insulation Type: Batt insulation is easier to remove, while spray foam or blown-in insulation requires more time and effort.
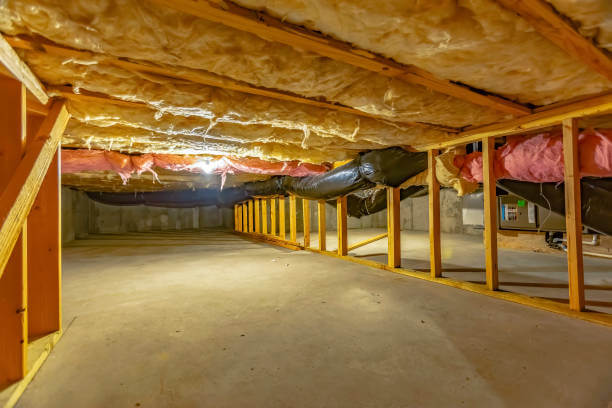
- Accessibility: Easily accessible areas like basements cost less than tight spaces or attics with limited entry.
- Removal Method: Rolling batts into disposal bags is simple, while vacuuming blown-in insulation is more labor-intensive and costly.
- Local Labor Rates: Prices vary by region, so get several quotes to compare costs.
- Replacement Insulation: Most removal projects include installing new insulation, which affects total cost depending on the type chosen.
- Unexpected Issues: Hidden problems such as pests, mold, or moisture can increase costs for remediation.
DIY vs. Professional Insulation Removal
DIY insulation removal is possible but not recommended due to health and safety risks. Here’s a closer look at the pros and cons.
Pros and Cons of DIY
Pros
- Cost Savings: Removing insulation yourself can save money initially. Equipment rental may cost $200 to $300 per day, so efficiency is key.
- Budget Control: You can work at your own pace, though delays may increase utility costs due to reduced energy efficiency.
- Flexible Timing: You can schedule work around your availability, but rental fees may accumulate until the job is complete.
Cons
- Intensive Labor: Removing insulation is physically demanding, especially in confined spaces.
- Health Risks: Insulation may contain asbestos, fiberglass shards, pest waste, or airborne mold — all of which can be hazardous.
- Equipment Needs: Proper protective gear and specialized equipment can be costly, sometimes exceeding the price of hiring a pro.
Hiring a Professional
Hiring a professional ensures safety, efficiency, and compliance with local regulations. Professionals bring specialized tools and expertise to manage potential hazards such as fiberglass dust or asbestos. They also handle proper disposal and can complete the job within a day or two.
Many contractors offer bundled services — removing old insulation and installing new insulation — which can save you money overall.
If you need help finding a professional, Modernize can connect you with vetted, experienced local contractors who are ready to help with your insulation removal project.
Disposal and Next Steps After Insulation Removal
After insulation removal, proper disposal is essential — especially if the material contains hazardous substances like asbestos, mold, or fiberglass. Follow local safety and waste regulations, or hire a certified disposal service if necessary.
Once the old insulation is cleared, inspect the exposed areas for air leaks, moisture, or structural damage. Seal gaps, repair any damage, and install vapor barriers if needed. This is also a great opportunity to upgrade to higher-performing, eco-friendly insulation that meets current energy codes.
These steps help ensure your new insulation performs efficiently, improves indoor comfort, and lowers utility costs — saving time and money in the long run.
Connect with local insulation pros today.
-
10 Types of Insulation: Which Is Right for Your Home?
What Are the Most Common Types of Insulation? Choosing the right insulation is key to improving your home’s energy efficiency, comfort, and protection against the elements. With various types of... -
How Much Does Attic Insulation Cost?
Understanding Attic Insulation Costs: A Complete Guide Attic insulation cost is an important factor when it comes to staying cooler in the summer and warmer in the winter. This upgrade... -
How Much Does Insulation Cost?
Understanding Insulation Costs When you choose to invest in your home, learning what it will cost – and your return on investment – is paramount. Understanding the costs of insulation,... -
Attic Insulation Guide
Attic Insulation Installation: An Essential Home Upgrade Attic insulation plays a critical role in maintaining the comfort of your home while improving energy efficiency. Without proper insulation, heat escapes from... -
How Much Insulation Does Your Home Need?
Understanding Your Home’s Insulation Needs When it comes to optimizing your home’s energy efficiency and comfort, one of the most important factors is installing insulation. Insulation plays a critical role... -
Crawl Space Insulation Guide
What Is a Crawl Space? A crawl space is a shallow area beneath a home that allows access to your home’s plumbing, wiring, and HVAC systems. Different from a basement,...