
What Is Pipe Insulation?
Pipe insulation is a protective material wrapped around plumbing or HVAC pipes. It creates a barrier that helps regulate temperature, control condensation, and safeguard pipes against freezing or heat loss — depending on the season.
Homeowners often use pipe insulation in basements, crawl spaces, attics, and anywhere pipes are exposed to extreme temperatures — such as garages or outdoor hose connections. Beyond protection, insulation also improves comfort and efficiency by helping water retain its temperature, delivering hot or cold water faster and with less waste.
How Does Pipe Insulation Work?
Pipe insulation works by slowing heat transfer between your pipes and the surrounding air. Depending on the material, it helps in several ways:
- Maintain water temperature by reducing heat loss in hot water pipes.
- Prevent freezing by keeping water above 32°F in colder climates.
- Reduce condensation on cold-water lines, minimizing moisture and mold risk.
There are several types of insulation available depending on your needs and budget.
Types of Pipe Insulation (Foam, Fiberglass & More)
There are four main types of insulation to choose from, each with unique advantages:
- Foam: Lightweight, affordable, and easy to install — ideal for DIYers insulating accessible indoor pipes.
- Fiberglass: Durable and heat-resistant, great for hot water and heating systems.
- Rubber: Flexible, moisture-resistant, and suitable for both indoor and outdoor use.
- Mineral Wool: More expensive and harder to install, but highly durable and fire-resistant.
Do You Need Pipe Insulation in Your Home?
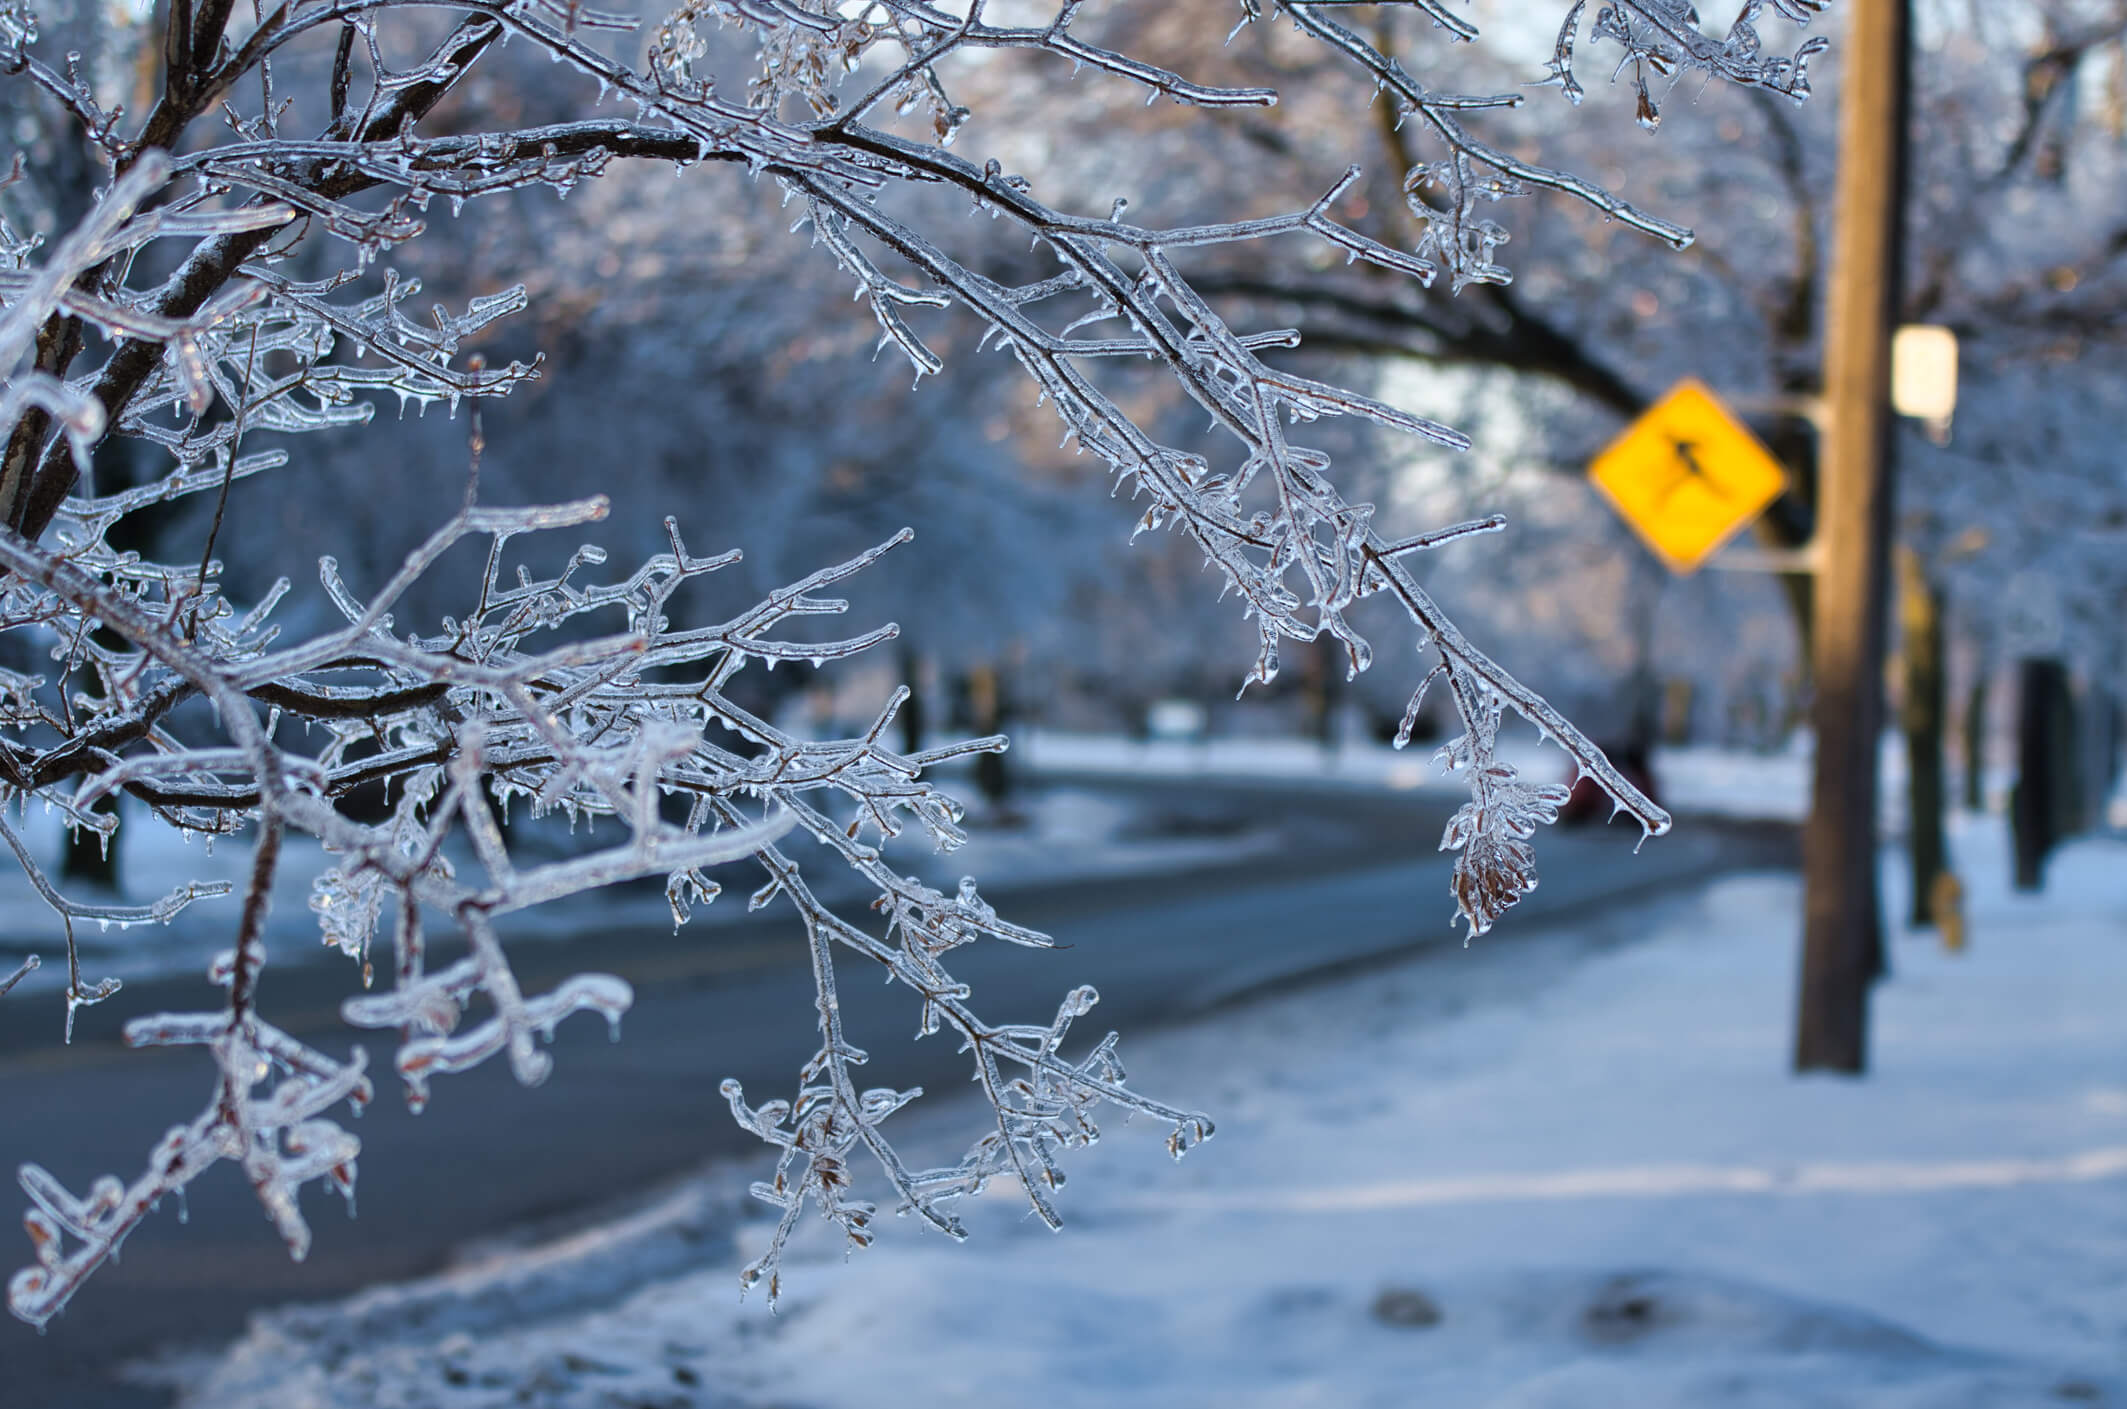
Not all pipes require insulation, but it’s often a smart investment for long-term plumbing protection — especially in extreme climates.
You should insulate pipes if any of the following apply:
- You’re living in a cold climate where pipes may freeze or crack.
- You have exposed plumbing in basements, crawl spaces, or exterior walls prone to condensation.
- You want to improve energy efficiency and lower heating costs.
Where Should You Insulate Pipes?
Pipe insulation is most effective in areas where pipes are exposed to temperature extremes or moisture. Homeowners should prioritize insulating pipes in the following locations:
- Basements and crawl spaces: These areas are often unheated and prone to cold air, increasing the risk of frozen or sweating pipes.
- Attics and exterior walls: Pipes near outside walls are more exposed to seasonal temperature swings, especially in winter.
- Garages and utility rooms: Attached garages and utility spaces can drop below freezing and often contain exposed plumbing.
- Outdoor hose bibs and exposed pipes: Exterior plumbing is highly vulnerable to freezing and cracking without insulation.
- Near water heaters and HVAC systems: Insulating hot water pipes near appliances helps reduce heat loss and improves energy efficiency.
Focusing on these areas first can help prevent damage, improve system performance, and maximize the return on your insulation investment.
How Much Does Pipe Insulation Cost?
Most homeowners spend between $200 and $1,000 to insulate pipes professionally, or as little as $25 to $100 for DIY foam insulation. The cost to insulate your pipes varies by material, pipe size, and whether you DIY or hire a professional. The estimates below give you a general idea:
Average Costs:
- National Average: $1.50 to $5.00 per linear foot installed
- DIY Foam Insulation: $0.25 to $1.00 per linear foot
- Professional Installation: $200 to $1,000 total, depending on system size and accessibility
Foam is generally the most affordable, while fiberglass and mineral wool cost more but last longer.
Not sure which insulation is right for your home? A local plumber can help you choose and install the right solution.
Benefits of Pipe Insulation
There are many benefits to insulating your home’s pipes:
- Freeze Prevention. Pipe insulation helps prevent costly repairs caused when water freezes in pipes and bursts them.
- Cost Savings. Insulated pipes are more energy efficient, which reduces your utility bills by limiting heat loss.
- Condensation Control. Condensation can lead to water damage, such as mold and mildew, but insulation prevents this — especially with exposed basement pipes.
- Longevity. Pipe insulation can extend the life of your plumbing and HVAC systems, saving you money in the long term.
- Improved Comfort. Pipes have better temperature control when insulated, leading to an improved experience for homeowners.
Considerations and Limitations
Before insulating your pipes, keep these points in mind:
- Homes in mild climates may see limited benefit.
- Foam is affordable but less durable than other materials.
- Always check local building codes before installation.
Best Types of Pipe Insulation
Below is a breakdown of the most common insulation materials, including pros, cons, and cost ranges.
Foam Pipe Insulation
- Pros: Affordable, easy to install
- Cons: Limited outdoor durability
- Cost: $0.25 to $1.50 per linear foot
- Best For: Indoor hot and cold water pipes
Fiberglass Pipe Insulation
- Pros: High heat tolerance
- Cons: Requires protective covering
- Cost: $0.25 to $3 per linear foot
- Best For: Hot water systems and HVAC ducts
Rubber Pipe Insulation
- Pros: Flexible, durable, moisture-resistant
- Cons: Slightly higher cost
- Cost: $1 to $1.50 per linear foot
- Best For: Indoor and outdoor pipes

How to Install Pipe Insulation (DIY Guide)
If you choose to insulate your pipes yourself, follow these simple steps for a successful result:
- Measure the length and diameter of your pipes before purchasing insulation.
- Select the correct insulation material for your climate and pipe type, ensuring it’s properly sized to fit.
- Cut the insulation to length using scissors or a utility knife.
- Wrap or snap the insulation around your pipes.
- Seal joints where insulation sections meet with tape or adhesive to prevent gaps.
Most DIY installations can be completed in a few hours with only basic tools.
Maintenance Tips
Proper maintenance ensures your pipe insulation lasts for years and continues to perform effectively. Here are some key steps to follow:
- Inspect regularly. Look for cracks, gaps, or signs of moisture at least once a year.
- Replace damaged sections. Repair or replace any worn insulation promptly, either yourself or through a professional.
- Monitor lifespan. Foam insulation typically lasts 5 to 10 years, while rubber and fiberglass options can last 20+ years.
- Check the plumbing itself. Occasionally remove sections of insulation to inspect the pipes beneath for wear or corrosion.
- Use smart technology. Consider leak detection or smart water monitoring systems to identify issues early.
- Watch your water bill. A sudden spike in usage may signal hidden leaks.
- Prepare for winter: In colder climates, shut off and drain outdoor plumbing like garden hoses or water features to prevent freezing and cracking.
With regular checks, your plumbing and insulation will stay efficient for decades.
DIY vs. Hiring a Pro
When it comes to insulation projects, deciding between a DIY approach and hiring a professional depends on your home’s layout and your comfort level with tools.
For DIY installation: Foam insulation is especially simple to work with and comes in pre-made rolls that can be cut to length and snapped over pipes. It’s extremely affordable and ideal for visible, easily accessible plumbing — like in basements, utility rooms, or garages.
When to hire a professional: If your pipes are hidden behind walls, ceilings, or other structures, a licensed plumber or HVAC specialist can safely access those areas without causing damage. Pros are also the best choice for large-scale projects or systems connected to heating and cooling units.
Benefits of hiring a pro include:
- Ensuring the right materials and R-values for your region.
- Compliance with local building codes and energy efficiency standards.
- Proper sealing and installation to prevent air or moisture leaks.
- Peace of mind knowing your home’s plumbing system is fully protected.
You can easily find a local plumber or HVAC specialist through trusted directories such as Modernize.
Get no-obligation quotes from local plumbing pros today.
Bottom Line: Is Pipe Insulation Worth It?
Yes — pipe insulation is a cost-effective home upgrade that improves efficiency, prevents damage, and extends your plumbing’s lifespan. It’s especially worthwhile for colder climates or homes with exposed pipes.
FAQs About Pipe Insulation
-
Toilet Repair Cost
Toilet Repair Costs: What Homeowners Should Expect A broken or malfunctioning toilet is more than an inconvenience — especially if it’s your only bathroom. Common toilet problems like leaks, clogs,... -
Plumbing Permits
What Is a Plumbing Permit? A plumbing permit is an official approval from your local city or county that allows you to install, repair, or modify plumbing systems in compliance... -
Dishwasher Installation Cost
Dishwasher Installation Cost Installing a dishwasher can be a quick swap—or a bigger plumbing and electrical project—depending on whether you’re replacing an existing unit or adding a dishwasher for the... -

Burst Pipe Repair Cost
How Much Does It Cost to Repair a Burst Pipe? A burst pipe can cost between $200 and $1,000 for a simple fix. These lower-end jobs include minor and accessible... -
Frozen Pipe Repair Cost
Frozen Pipe Repair and Replacement Costs If you live in an area with cold winters, frozen pipes are a common — and potentially expensive — problem. When water freezes inside...