What Is Roofing Underlayment?
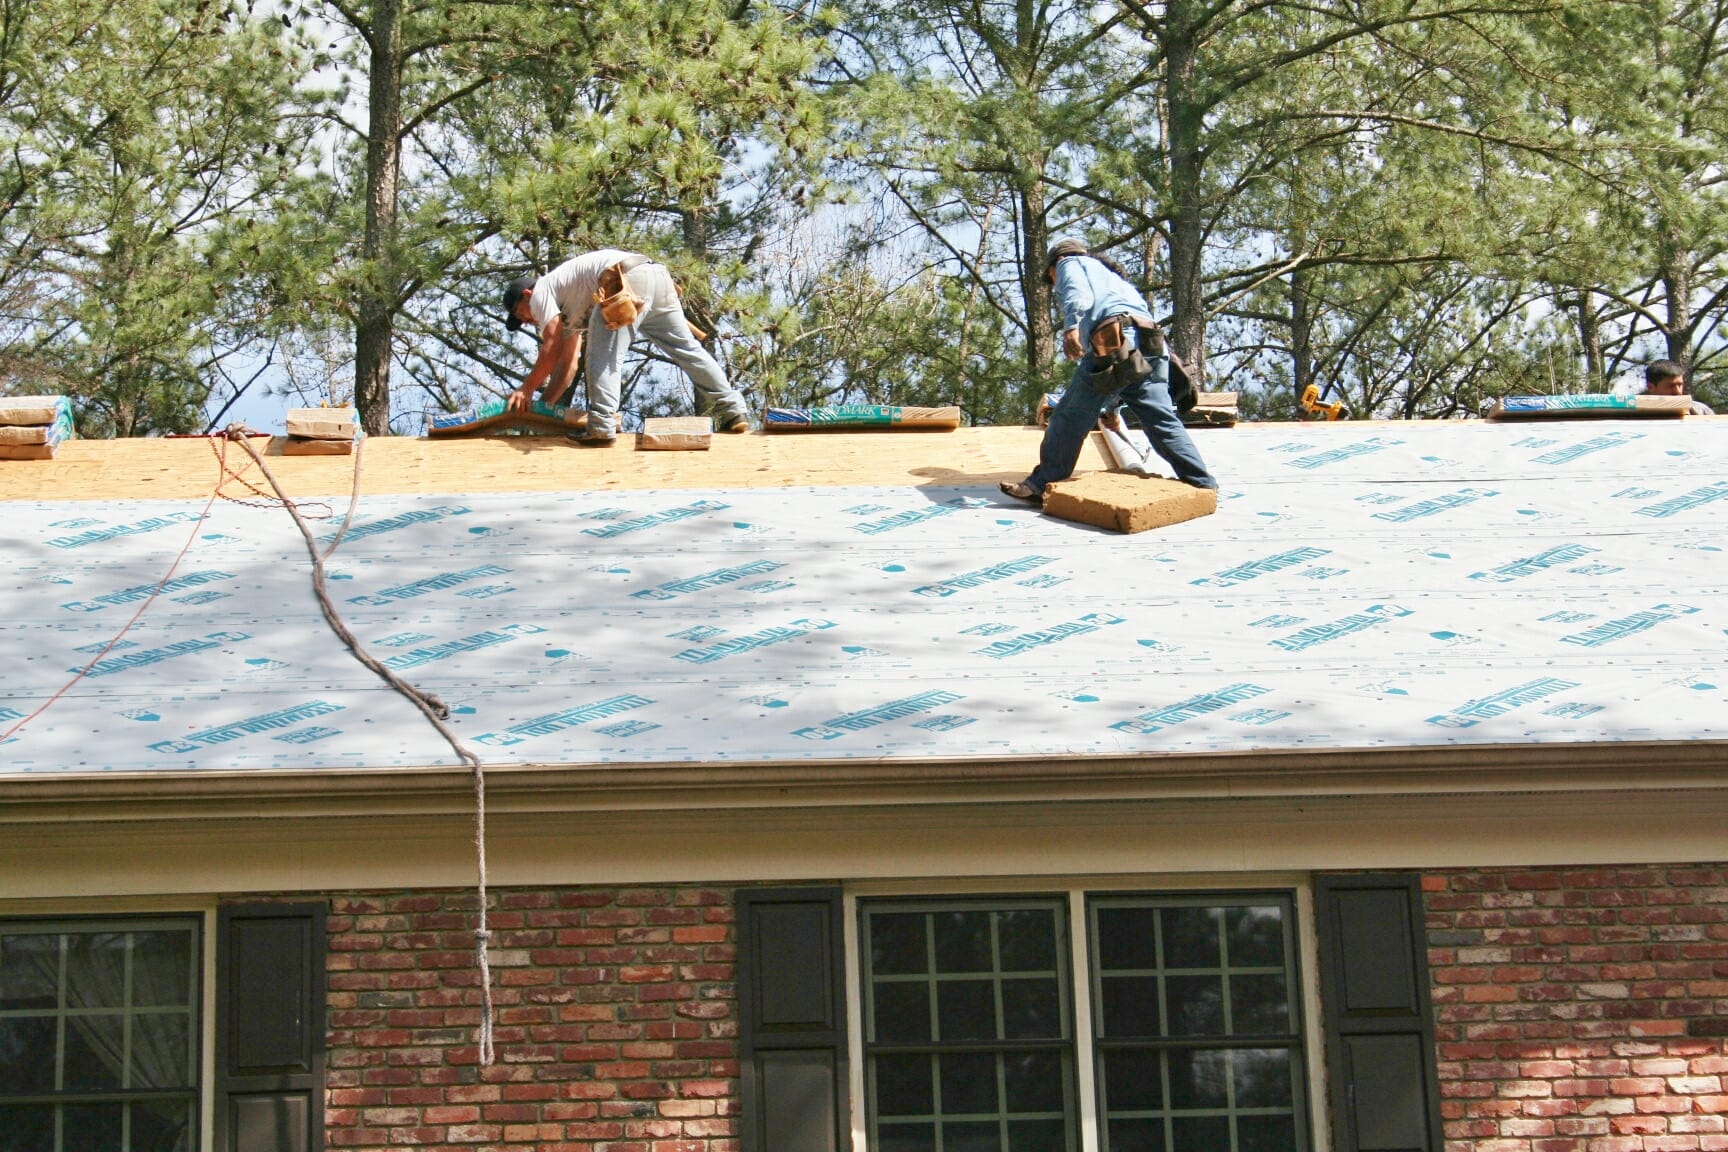
Roof underlayment is a waterproof or water-resistant material installed between the roof deck and outer roof material (shingles, tiles, etc.). It is an essential component of a roofing system and acts as a protective barrier, preventing water and moisture from reaching a home’s structural components. When installed properly, roof underlayment protects a home from rot, mold, and decay and increases a roof’s lifespan.
Roof Underlayment Types
There are several types of roof underlayment, and each has advantages and disadvantages.
Asphalt-Saturated Felt
Asphalt-saturated felt is made from fiberglass mat that is soaked in asphalt for water protection. While it is an effective barrier commonly used under shingle or tile roofs, it is not 100 percent waterproof. It can withstand moisture but may not prevent water intrusion during severe storms and weather events.
Asphalt-saturated felt is sold in 15- and 30-pound thicknesses, with the latter being more durable. It is generally a less expensive underlayment compared to other types and only requires roofing nails or staples to install. Proper installation is essential with this material, as improper workmanship can result in wrinkling, leaks, and water absorption.
Rubberized Asphalt
Rubberized asphalt is made from rubber polymers and asphalt, making it an effective moisture barrier. It prevents mold and mildew growth and holds up well in extreme temperatures. Rubberized asphalt’s self-adhesive installation is simple and, when performed properly, creates a more watertight seal on the roof.
A disadvantage of rubberized asphalt is that it has less breathability compared to asphalt-saturated felt, potentially trapping moisture and making a roof more susceptible to rot and mold. Rubberized asphalt is a premium option and is typically the most expensive to install.
Synthetic Underlayment
Synthetic underlayment is composed of polyethylene or polypropylene, offering a durable yet lightweight alternative to asphalt types. It provides impressive moisture protection and superior resistance to both water and UV damage.
However, synthetic underlayment comes with a higher installation cost compared to some asphalt types. Skilled installation is necessary to ensure a proper seal and maximize its performance.
Does My Roof Need an Underlayment?
Nearly all homes in the United States require a roof underlayment. Some exceptions and rare cases may include certain outbuildings like barns, historic structures, and tile-roofed homes in arid climates. Many municipal building codes require it, as do professional roofing contractors and material manufacturers, to maintain warranty protection. The benefits of roof underlayment typically far outweigh its additional upfront costs:
- Adds a Moisture Barrier: Properly installed underlayment provides a home with an essential layer of protection against water intrusion. It helps keep roof decking dry and prevents water from entering the attic and other parts of the home.
- Extends Roof Lifespan: Roof underlayment helps protect decking from moisture and provides a more even surface for installation of outer roof material, improving the roof’s overall integrity and lifespan.
- Enhances Fire Protection: Some roof underlayments include fire ratings to improve a home’s resistance to ignition, high heat, and flame spread.
- Offers Protection During Construction: In a new home build or an extensive remodel, adding a roof underlayment protects the decking, roof truss, and other structural components from the elements during construction.
- Complies With Local Codes: As mentioned above, many local building codes require a roof underlayment. Complying with these requirements maintains homeowners’ insurance coverage and roofing warranty protection.
Roof Underlayment Costs
The average cost to install roof underlayment is $0.50 to $1.40 per square foot, or $1,000 to $2,800 for a 2,000-square-foot roof. Here are specific installation costs by underlayment type:
| Roof Underlayment Type | Average Cost Per Square Foot | Cost for 2,000 Square Foot Roof |
|---|---|---|
| Asphalt-saturated felt | $0.25 - $0.80 | $500 - $1,600 |
| Rubberized asphalt | $1.00 - $2.25 | $2,000 - $4,500 |
| Synthetic | $0.30 - $1.15 | $600 - $2,300 |
Factors Affecting Costs
- Type of Underlayment: Underlayment costs depend on the material’s performance, durability, and lifespan. Asphalt-saturated felt is the most economical option, while rubberized asphalt’s performance and lifespan command a higher price point.
- Manufacturer or Brand: Reputable brands known for high performance are more expensive on average compared to lesser-known brands.
- Roof Size and Type: Larger roofs, steep roofs, and complex roof designs (dormers, multiple skylights, etc.) require more materials and labor.
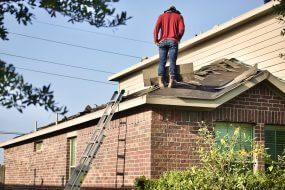
- Roof Condition: If the roof decking beneath the existing roof material and underlayment is damaged and requires repairs, expect overall project costs to increase.
- Labor Costs: Roofing contractor labor varies by geographic location and availability. Roofing and underlayment projects are also seasonal in some regions, and labor rates may increase during spring and summer due to demand.
- Building Permits: Many municipalities require a permit for a roofing replacement. Roofing permit fees vary by city, project complexity, and local regulations, but most fall into the $200 to $500 cost range.
How to Choose the Right Roofing Underlayment
While all roof underlayment types provide a level of moisture and weather protection, some are better than others depending on a home’s needs. Here are tips on choosing the right underlayment for your home:
- Budget: Balancing roof underlayment performance with costs is essential. Synthetic and asphalt-saturated felt offer several performance options at different price points that may accommodate a variety of budget needs.
- Climate and Location: Homes in warmer and more arid climates may not require the same moisture protection as a home experiencing heavy rainfall, snow, and ice.
- Local Building Codes and Design Guidelines: Some municipalities and homeowners’ associations may require a specific type of roof underlayment. A professional roofing contractor or HOA representative can provide local building requirements.
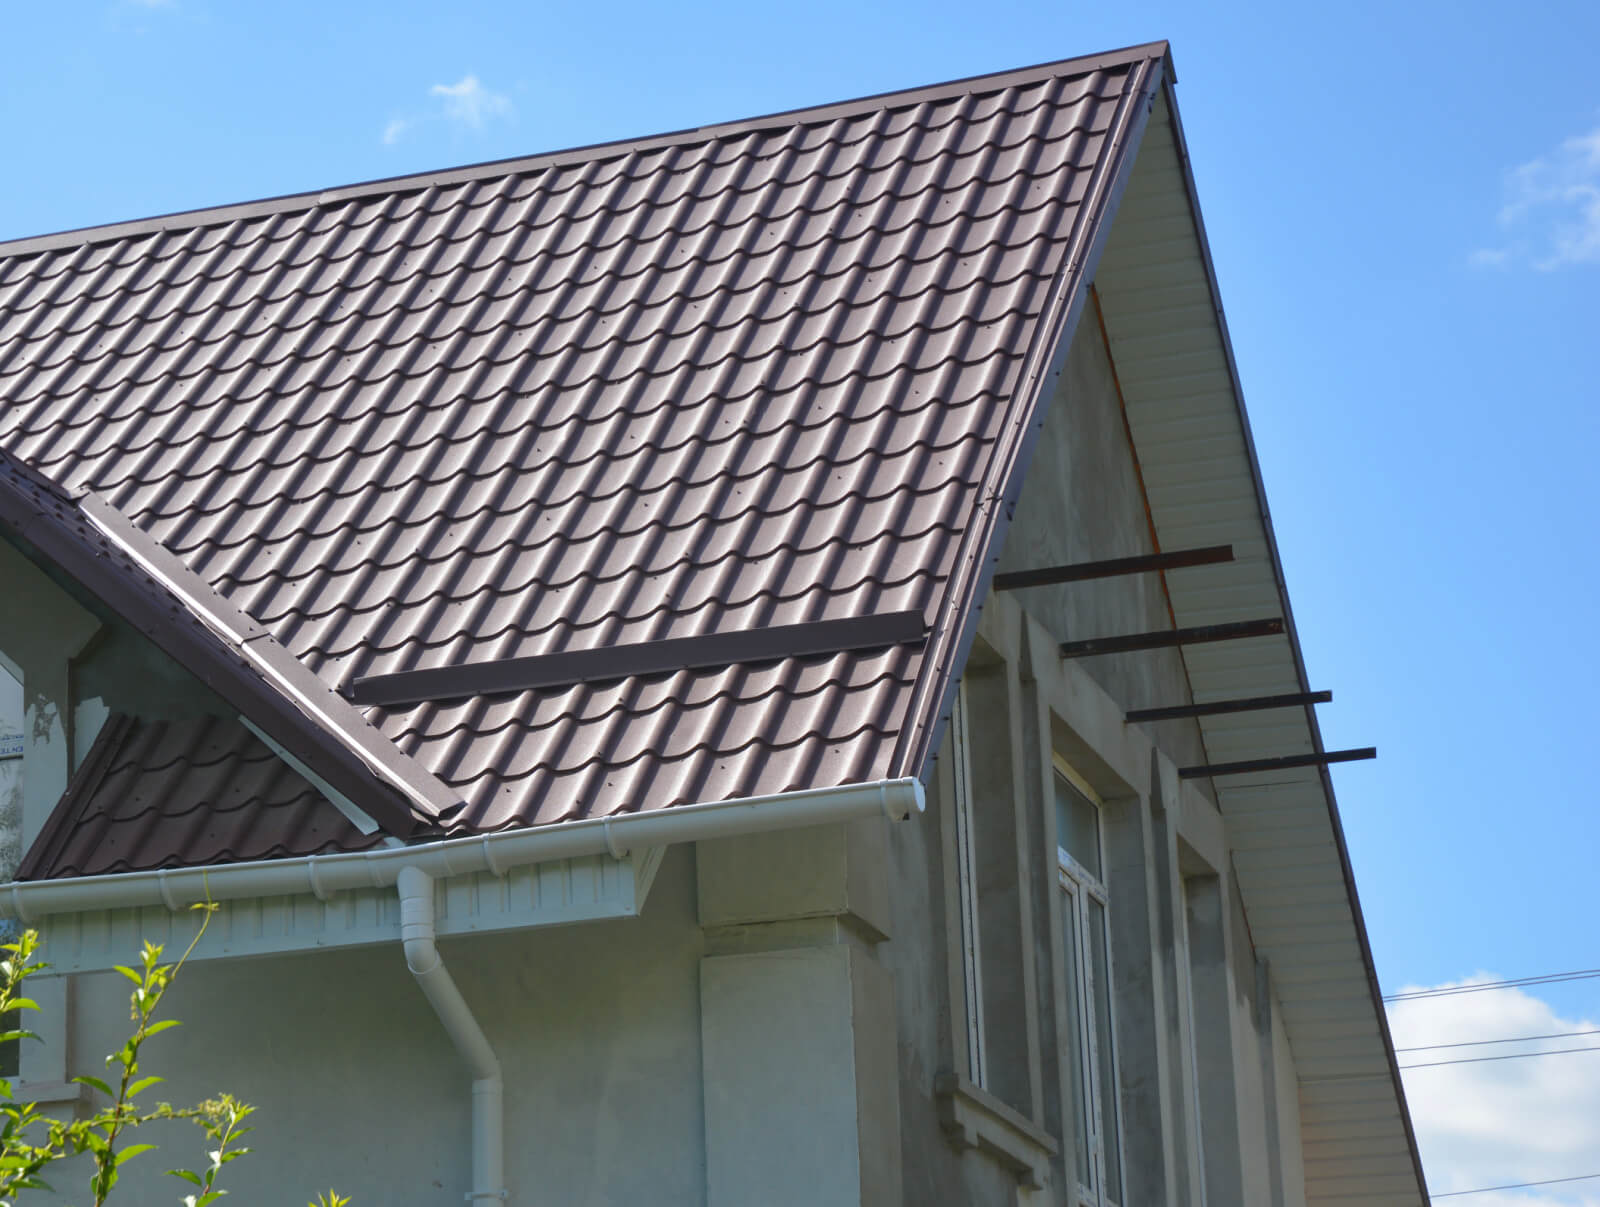
- Roof Style or Type: Some roof types and styles are more compatible with specific underlayments. Synthetic or asphalt-saturated felt underlayments work well for steep-pitched roofs (4:12 or greater). Low-pitched roofs are more vulnerable to moisture accumulation and poor drainage, so self-adhering rubberized asphalt tends to offer the most protection.
- Roof Material: Some roofing materials perform better and are more compatible with certain underlayment types. For example, synthetic underlayment’s lightweight and durable construction is ideal for asphalt shingles, while rubberized asphalt’s longer lifespan is a good match for slate roofs.
- Lifespan: Roof underlayments generally have a long lifespan, with some providing more years of service than others.
- Maintenance: Regular roof inspections are recommended to check for damaged roof material and underlayment. Generally, rubberized asphalt is the most expensive to repair, followed by synthetic and asphalt-saturated felt.
| Roof Underlayment Type | Average Lifespan |
|---|---|
| Asphalt-saturated felt | 12 - 20 years |
| Rubberized asphalt | 20 - 40 years |
| Synthetic | 20 - 50 years |
How to Install Roof Underlayment
The installation of roof underlayment is relatively straightforward with some variations depending on the type of material. Review your local building codes to check for any specific installation requirements.
Asphalt-Saturated Felt Installation Process
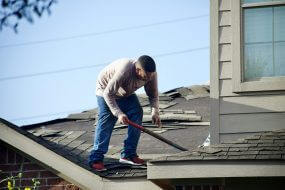
- Inspect and prepare roof decking by cleaning, clearing debris, and making any necessary repairs.
- Install a drip edge along the eaves to improve drainage.
- Unroll the first row of felt along the eaves with a one-inch overhang and secure in place with nails or staples.
- Working horizontally, unroll the subsequent rows, overlapping the previous row by four to six inches to create a watertight barrier, and nail or staple in place one row at a time.
- Overlap felt criss-crosswise over roof valleys and ridges for additional protection.
- Unroll a final felt row along the rooftop ridge and secure it into place.
Rubberized Asphalt Installation Process
- Inspect and prepare roof decking by cleaning, clearing debris, and making any necessary repairs.
- Install a drip edge along the eaves to improve drainage.
- Position the first row of rubberized asphalt along the eaves, ensuring the sheet’s adhesive side is face down against the roof decking. Keep the backing film on the sheet.
- Beginning at one end of the sheet, carefully remove the backing film from the underlayment and press it firmly against the roof decking while unrolling.
- Optional: Reinforce the underlayment using nails or staples, placing them eight to 12 inches apart along edges and approximately 18 inches everywhere else.
- Working horizontally, unroll the subsequent rows, overlapping the previous row by four to six inches to create a watertight barrier, pressing firmly to ensure a good seal.
- Overlap felt criss-crosswise over roof valleys and ridges for additional protection.
- Unroll a final row of rubberized asphalt along the rooftop ridge and secure it into place.
Synthetic Installation Process
- Inspect and prepare roof decking by cleaning, clearing debris, and making any necessary repairs.
- Install a drip edge along the eaves to improve drainage.
- Unroll the first row of synthetic underlayment along the eaves, leaving a one-inch overhang.
- Secure into place using plastic cap nails or staples, especially if the synthetic underlayment is exposed to the elements for longer than a day or two.
- Follow the manufacturer’s recommended nail pattern and spacing.
- Working horizontally, unroll subsequent rows, overlapping the previous row by four to six inches. Many synthetic underlayment products include overlap lines printed on the product for reference.
- Install extra underlayment layers over roof valleys and ridges for additional protection.
- On the rooftop, install a final layer over the ridge, overlapping the row on each side and secure in place with nails or staples.
DIY vs. Professional Installation
While roof underlayment installation is a relatively simple process, ensuring an effective watertight seal is essential to prevent leaks and damage. Wrinkles in the underlayment material, forgoing a drip edge, improper nailing or overlapping, and misunderstanding manufacturers’ instructions are a few of the most common mistakes that can leave a roof vulnerable to water intrusion.
Whether your home needs underlayment repairs or a full replacement, we recommend hiring a professional roofing contractor. They can advise on the right underlayment material for your roof type and design and provide expert installation for optimal protection and warranty coverage.
Find a Professional Roofing Contractor
Ready to tackle your home’s roof underlayment? Tap into Modernize’s network of professional roofing contractors for a customized repair or replacement quote. Use our contractor finder tool for recommendations near you.
-

Energy-Efficient Roofing Guide
What Makes a Roof Energy Efficient? Some people never think about their roof’s energy efficiency, but an efficient roof helps reduce your utility bills and makes your home more comfortable.... -
Roof Ridge Vent Installation
Did you know that your roof does much more than just protect you from the weather? Roof ventilation systems help circulate air throughout your home, protect it from moisture build-up,... -

Impact Resistant Roofing Guide
Impact-Resistant Roofing: Summary Impact-resistant roofing is designed to hold up against hail and flying debris. This is ideal for homeowners in storm-prone regions. While various roof materials can be considered... -
Roof Framing Elements
What Is a Roof Frame? Think of the frame of your roof like a skeleton. It’s made of wooden pieces that form the shape and structure of the roof. Once... -
How to Find & Repair Roof Leaks
Finding and Fixing Roof Leaks A roof leak might seem small, but it can cause serious damage if left unchecked. Luckily, there are simple ways to spot and fix leaks... -
New Roof Installation And Replacement Guide
When you are thinking of replacing your roof, whether to fix an issue or to increase your curb appeal, it is important to know the right steps in the roof...