Are you doing a home improvement project?
Modernize can pair you with three to four pros in your area, so you can compare options and save time and money.
It seemed fine when you took the tour. But now, filled with the TV, the sofa, the dining table, and your sometimes-squabbling family, your new home feels less roomy than it did on the walk through — and privacy feels very hard to come by. That’s where a privacy divider wall can come in handy. Privacy walls give you the benefits of separating and walling off a space without a total remodel. And in a smaller space, they can impose some boundaries, but won’t make the existing space seem smaller than it is.
Although building a wall may sound like a huge ordeal, it’s actually a lot easier than you’d think. Since this wall doesn’t have to bear the weight of your ceiling or roof, it doesn’t require as much reinforcement or carpentry experience as other home remodel projects. And thanks to the use of medium density fiberboard, you won’t need a lot of drywall expertise to get it done. That means it can be completed by anyone who’s ever used a drill and a saw before (or anyone who’s willing to learn!). Here’s how to get one into your home this weekend, and put a stop — or at least a pause — to sibling rivalry.
Decide on your wall’s dimensions
Maybe your home needs more of a suggestion of a wall — a floor-to-knee-height partition that can provide the suggestion of a separate space without totally walling you off. Or maybe you’d like something broader and more stable, a clearer indication of your room’s boundaries. Either way, you’ll need to take measurements for both the length and the height of your desired divider. If the room that the divider will go in is very narrow, be sure that you end the wall so that you leave enough space for a 36-inch opening between the wall’s ending point and the parallel wall. That will leave enough room to enter and exit the area comfortably.
Build a frame to support your wall
Once you’ve figured out your wall dimensions, you’ll need to build a frame to support the wall, a wooden box made with 2×4 studs. To begin, select four 2×4 studs. Cut two of the boards to the full-length measurement. Cut the other two 2x4s so that they measure the height, minus four inches. This will allow the studs to be screwed inside the other two pieces to form your frame. So, for instance, if you’d like your wall to measure 69 by 52 inches, cut 2 boards that measure 69 inches for the length pieces, and two boards that measure 48 inches each to fit inside these pieces at each end. Using 2 ½-inch deck screws, drill the pieces together to form a square frame.
If your wall is very long (longer than 48 inches, for instance), it’s a good idea to add additional support beams into the frame to protect the piece from damage and wear and tear. To do so, you’ll want to place supports evenly every two feet or so. Cut them so that they match the measurements of your height beams: that is, the full height minus four inches. They, too, should be screwed directly into the beams so that they sit inside the frame. Position a last support beam about four to six inches from edge of the frame. This will provide extra support for the portion of the wall that is not directly attached to the wall. Now you have your new wall’s frame!
Attach the frame to the wall
Now that you have the frame built, your next job is to attach it to the standing wall and the floor. Position the frame so that it sits level and flush against the wall. Use a speed square and mark the angle to ensure that your frame is positioned at a right angle, so that it sits perpendicular to the existing wall. Use a stud finder to locate the studs under the drywall to ensure that you’ll be attaching it in a sturdy, safe location. Now attach the frame to the wall and floor using 3 ½ decking screws.
Find the Right Contractor for Your Project
Whether you’re ready to begin your project now or need some expert advice, our network of contractors are here to help. With a few simple questions, we’ll find the best local professionals for you
Measure the top of the frame to ensure that it is level. If your wall will be short (for instance, if it’s a floor-to-knee wall), screw an additional 2×4 to the top of the frame. This should add additional support and level out the top. If the top of the wall is not level when you go to attach this piece, place wood shims under it until the top of the wall is level with the floor. Screw this piece into the existing frame using 2-inch finishing nails.
Add the wall “skin”
A wall is more than just the frame, of course, so now it’s time to give your wall a skin — the outer sides that will turn it into a solid wall. In a real, weight-bearing wall in your home, this is accomplished using drywall, but since this is mostly just a decorative wall, you can get away with a quick shortcut that will keep you from having to cut and hang drywall.
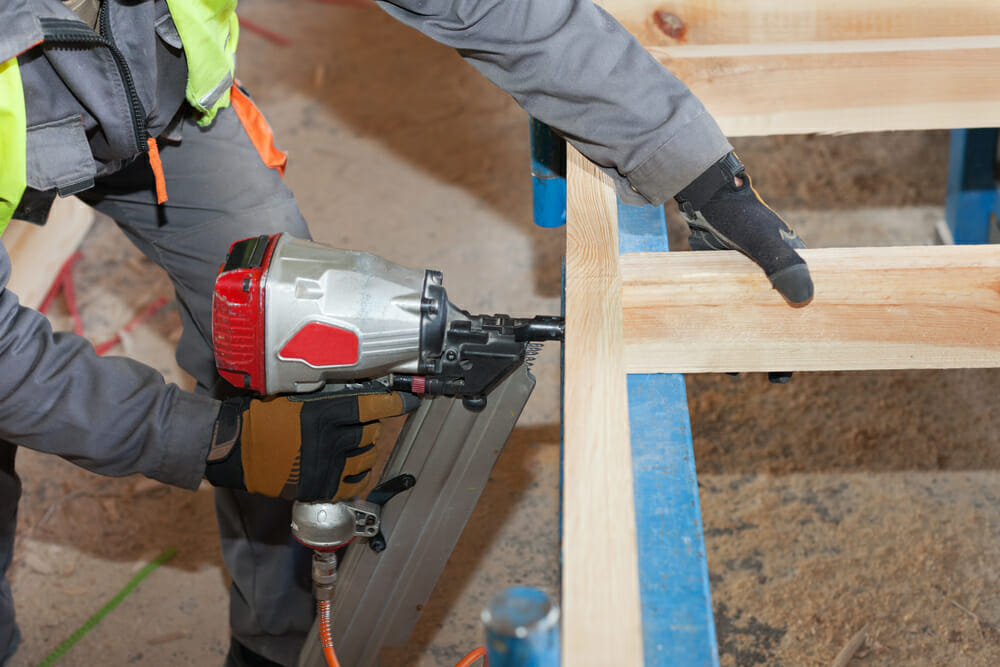
Instead of laying drywall, which is a very labor-intensive task, purchase a few sheets of ¾-inch medium density fiberboard (MDF). This is a composite wood material that is a little sturdier than your traditional plywood. Using it here will add some extra support to your wall, which is important — especially if you have a shorter, pony wall. This way it won’t be accidentally knocked apart or dented. Cut the MDF to size so that it will completely cover the wooden frame. Glue the pieces into place with liquid nails. Then use 3 ½-inch finishing nails to attach it.
Dress it up and add the final touches
Now comes the fun part: it’s time to add all the bells and whistles! For a shorter wall, a pine board ledge that tops the wall is a nice addition. Decorative molding or trim running the length of wall can also do a lot to add an eye-catching and professional touch to your work. If you want a decorative top, cut the piece so that it’s wider and longer than the wall itself, and attach it using 2-inch nails. Always miter the edges of the molding with a miter saw to create a nice, clean 45-degree angle on the pieces.
Fill the joints between the pieces with wood putty and cover any nail holes with additional putty. Once this has had a chance to dry, use a sander to even out any rough spots in the wood and to ready the surface to accept the paint.
Select a paint color that matches the perpendicular wall. That way, the addition will integrate seamlessly into your home’s design without a noticeable shift in paint. Allow the first coat of paint to dry fully, letting it sit for at least eight hours. Then apply an additional coat of paint. Allow another eight hours to pass and apply paint touch-ups as needed, and that’s all there is to it!
Home projects like these often seem daunting when you’re new to home repair. However, most are a lot simpler than they seem on their face. Check out more home ideas to help you learn about your new home and to keep you fresh on inspiration while you make the transition from homeowner newbie to old pro.
Find the Right Contractor for Your Project
Whether you’re ready to begin your project now or need some expert advice, our network of contractors are here to help. With a few simple questions, we’ll find the best local professionals for you
-
 cost and budgeting
Affordable Home Upgrades
We’ve all had that moment walking into a room thinking, “It’s fine, but…” Sometimes it’s dated hardware. Sometimes it’s lighting. Sometimes it’s just that nothing feels fresh anymore. Here’s the... -
 Articles, Contractor Resources
How to Get HVAC Leads: Proven Strategies to Grow Your Heating & Cooling Business
Homeowners invest in new heating and cooling systems to improve comfort, energy efficiency, and air quality. Whether your company specializes in furnace replacements, central air installations, or full HVAC system... -
 Articles, Contractor Resources
How to Choose a Home Improvement Lead Generation Partner in 2026
How to Choose a Home Improvement Lead Generation Partner in 2026 In 2026, home improvement and home services businesses face rising competition and higher digital marketing costs. The right lead... -
 HVAC
HVACHow Much Does It Cost to Replace a Furnace Ignitor?
What Is a Typical Furnace Ignitor Replacement Cost? Furnace ignitor replacement is one of the more affordable HVAC repairs. Costs typically include the price of the ignitor itself plus labor...
Reviews from Real Homeowners
Welcome to Homeowner Resources! We are the Modernize blog. Modernize pairs more than 3 million homeowners a year with pre-vetted contractors in their area. This blog started because we believe homeowners should know everything about their homes, from how their HVAC works to which front door colors they might love. On Homeowner Resources, you can find information on every part of your home, right down to how you can negotiate with contractors to get the best price. Here's more about the blog.
Need a contractor? Learn more about how Modernize finds the right pro for you.