When you are thinking of replacing your roof, whether to fix an issue or to increase your curb appeal, it is important to know the right steps in the roof installation process to spare yourself from potentially costly problems like flooding and structural damage.
The health of your roof can determine the health of the rest of your home. Homeowners need to understand if this is something they can DIY or call a professional for help as the project can be a huge undertaking. Continue reading our guide to learn signs that your roof needs to be replaced, preparing for the project, choosing a contractor, and the steps the contractor will take during the roof installation process.
When Is it Time for a New Roof Installation?
If you are not sure when to replace a roof, there are telltale signs you can look for before calling in a professional. The following are some indications that you may need a new roof installation.
Age
The age of your roof is a huge determining factor in whether or not you need a new roof installation. Generally, if you have a roof made with asphalt shingles, it can last about 20 years. Meanwhile, a metal roof tends to last a bit longer, ranging from 50 to 80 years when well-maintained. If your roof is reaching the end of its lifespan, it is time to start thinking about installing a new roof to prevent damage to your home.
Damaged Shingles
When your roof is in good shape, the shingles lay flat on top of it. However, if you need roof replacement, the shingles will tell the tale because they will crack, curl, and buckle after years of exposure to the elements.
Leaks and Water Damage
Although you can often tell when to replace a roof by looking at it, sometimes the answer to this question is not actually found there. You may need to check the attic. If there are moisture stains on the walls, paint peeling on the walls and ceiling, or damp rafters, it could be time for a new roof installation. Leaks and water damage inside your home is also a reason to investigate the integrity of your roof before it leads to structural damage, rot, and other issues. If you are unsure whether a water-related issue calls for an entire roof replacement, be sure to speak to a local roofing professional for advice.
Moss and Mold
Moss, as well as mold and fungi, can grow on the dark areas of the roof and lock in moisture that causes damage. There may not be any signs of leaks in the attic yet, but the appearance of this unwanted greenery growing on your shingles can be an indication of problems to come.
Sagging
When boards underneath the roof become rotted, the roof begins to sag. This is a sign that it’s time for it to be replaced, because the damage will only get worse and the roof may eventually cave in.
How Much Does Roof Replacement Cost?
A home roof replacement can cost you between $5,400 to $19,800 on average depending on the roofing material your choose, your roof’s slope, and local labor cost. Estimating roof replacement cost before starting the project can help align your budget. Use our calculator below o find out how much your roof project will cost in your area.
Can You Roof a House Yourself or Need a Contractor?
Roofing a house is big project that involves heavy cost, time and proficiency. An improper roof installation can lead to safety hazard for your family. Moreover, the complete process of installing a roof can be tedious with climbing up and down the ladder with materials and tools.
When installing a roof yourself you need to pay attention to smaller things like correctly placing and nailing the shingles to avoid breakage and leaks after. Having a contractor can bring you peace of mind that everything will be done correctly to avoid damages and increase the lifespan of your roof.
Whether you decide to install the roof yourself or hire a contractor, it is good to know the steps involved so you can oversee the project to completion.
Step-by-Step Roof Installation Process
Before embarking on a huge home improvement project like a roof replacement, it is very helpful to understand what your contractor will do during the process. Below are the steps a professional will take during the new roof installation.
1. Safety first
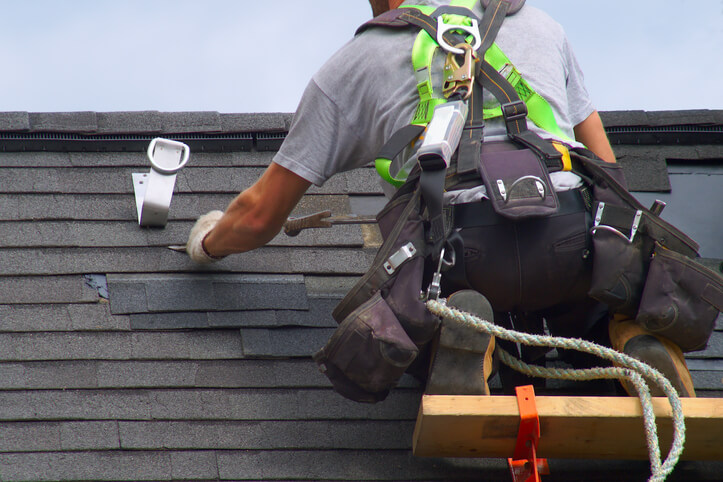
- Leave High-Risk Work to Experts: High or steep roof work should be handled by professionals. The potential risks of falls far outweigh any cost savings, ensuring your safety and preventing lifelong injuries.
- Utilize Fall Protection Gear: Invest in a fall protection kit (harness, rope, and hook, hard hat) from home centers for around $100. This crucial equipment significantly reduces the risk of falls or dropping heavy material off the roof.
- Choose Appropriate Footwear: Opt for shoes with soft rubber soles to enhance traction, especially on wet and slippery roofs. Solid footing is essential to prevent accidents.
- Maintain a Clean Roof Surface: Regularly sweep the roof to eliminate dirt and debris. A clean roof reduces slipping hazards and ensures a safe working environment.
2. Preparing for installation: Setting up
One way you can help make the process easier and avoid damage to your property is to set things up before the job begins.
- Clear Space: Trim the yard and move furniture and vehicles to make room for a clean work environment. Place garbage cans as close to your house as possible to catch debris.
- Document Driveway: Capture driveway photos before materials arrive for reference. It’s also good to document all material and equipment you or the contractor gets.
- Landscaping and Lighting: Inspect and cover landscaping with a tarp landscaping, address lighting concerns, and protect fixtures.
- Access and Ventilation: Ensure garage access, identify power sources, and verify home ventilation for optimal airflow.
3. Choosing materials
Before a contractor gets started on the roof replacement, you will discuss the types of roof materials that will be used. There are several materials to choose from based on the structure of your home, the climate in your location, budget, and your aesthetic.
Apart from roofing material, there is a big list that the contractors will get for the project.
Materials:
- #15 or #30 Felt underlayment
- Your choice of roof material (asphalt, metal or other)
- Drip edge
- Hook blades
- Nails
- Sealant
- Self-adhesive waterproof underlayment
- Staples
- Step and dormer flashing
- Valley flashing
- Vent flashing
Tools:
- Air compressor
- Air hose
- Caulk gun
- Chalk line
- Circular saw
- Extension ladder
- Roof harness
- Roofing nailer
- Scaffolding
- Stapler
- Straightedge
- Tin snips
- Utility knife
- Work gloves
4. Clearing away old roofing material
One of the most important parts of installing a new roof is removing the old one. If you have an asphalt shingle roof, your contractor will use a shingle fork to pry the shingles off the roof, starting at the top and working their way down. The removed shingles will be put in the garbage cans or dumpsters near the house.
Read: Should you tear off or roof over their existing roof?
If you have a metal roof, the contractor will use a full-sized pry bar or drill to pry the easterners holding the panels in place loose. Then they will remove the ridge cap and all the fasteners in each panel by working their way from one side to the other. After the panel is completely unhooked, it will be pulled off and set down on the ground. This process will continue until all the panels are removed from the roof.
4. Evaluating the roof
After removing the old roof, your contractor will evaluate the sheathing, which is made up of flat panels that provide structural support and a base for roofing materials, like shingles. Then the contractor will look for any moist areas or trouble spots on the roof that should be replaced.
5. Removing flashing
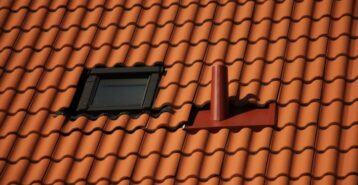
The flashing on the roof will be inspected after all the roofing has been cleared away. Flashing, which is usually aluminum or galvanized steel, will be installed over joints on the roof to prevent water seepage. This includes the drip edge and any of the flashing at the roof’s valleys, vents, and chimney. If it needs to be replaced, high-quality flashing will be added and then sealed to keep water out.
6. Putting on the drip edge
The drip edge for the roofing goes down in two different parts of the roof installation. For the lower part of the roof, it goes on before the underlayment. For the sides of the roof, it goes on after. First, contractors will install the metal drip edge along the bottom edge of the home over top of the ice and water barrier. It will then be nailed in place flat against the roof.
7. Putting down underlayment
Underlayment plays a vital role in the health of a roof. It catches water and sheds it, so the sheathing and framing below do not get damp and rot.
- First, your contractor will lay an ice and water barrier, if there isn’t one already there. The contractor will install it underneath the drip edge for added protection, which might mean pulling up the drip edge to install it, then fastening the existing drip edge back down once again. The ice and water shield is nailed down along the edge of the roof for added strength, and the underlayment is installed.
- The roofer will begin running the underlayment at the edge of the roof, over the ice and water barrier and the drip edge. It is fastened down with cap nails just above the drip edge.
- The cap nails are placed every four to six inches along the edge and then spread out around eight to ten inches around the rest of the underlayment.
- Then, the contractor will overlap the first row with the next by at least six inches and follow the nail pattern of the first with close nails at the edge, and nails spread out more towards the middle.
- The same pattern of overlapping and nailing will be continued until just below the roof’s ridge. The underlayment will be finished by running the material over top of the ridge, so it drops down and covers the top edge of both rows of underlayment on either side. Both bottom edges of the underlayment are fastened down firmly.
- After the roof underlayment is installed, roofers go over it with a drip edge on the sides, which prevents water from running over the edge of the siding and then back underneath it.
8. Installing the new roof
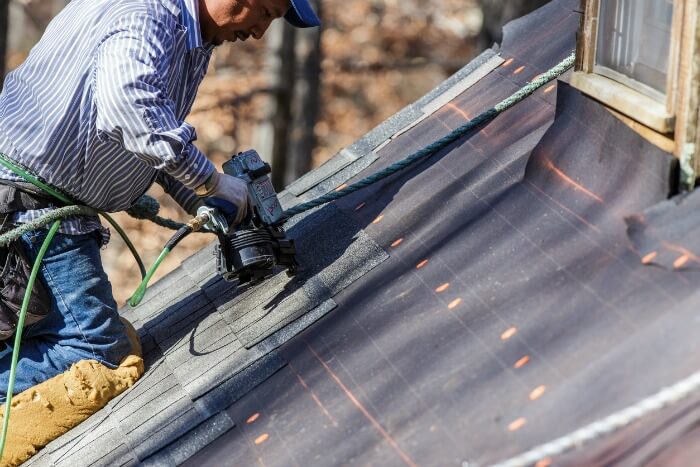
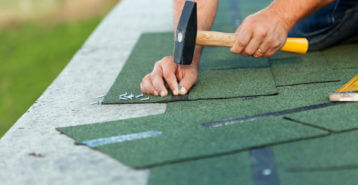
If you are having a new shingle roof installed, the contractor will use starter shingles at the bottom and sides, and stagger each row to keep shingles from leaking water. All the nails holding the shingles in place will be added just under the tar strip on the shingles and installed so no heads are showing.
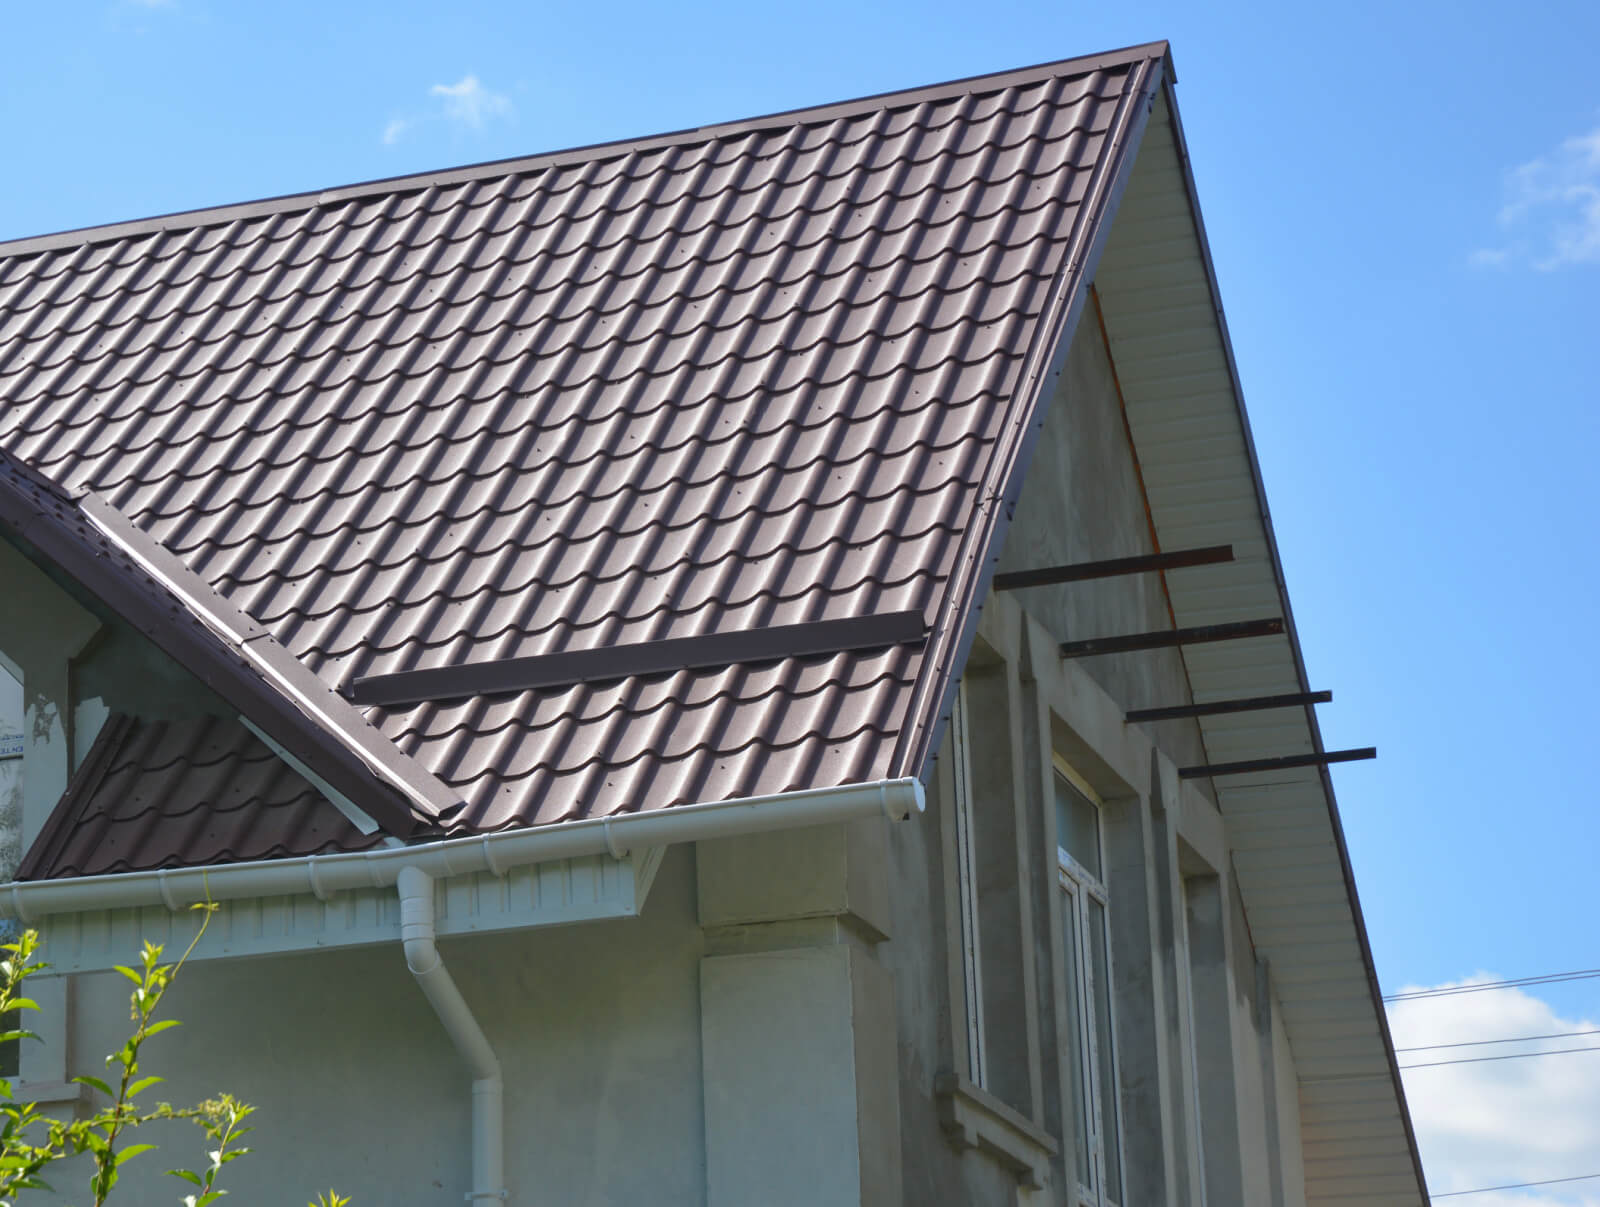
If you are getting a new metal roof, the roofer starts by screwing up the vertical edge, screwing into each of the ridges rather than the flats. Screwing each vertical row before moving to the next will help the roof flatten. Screwing into the ridges, rather than the flats, will help protect the screws from pooling water, while naturally keeping water away from the fasteners overall.
9. Cleaning up
To wrap up this project, the contractor will clean up any debris that was not already caught in the garbage cans or dumpster. Then, an inspection will be conducted to ensure that the roof was installed properly and the materials are not defective in any way.
How to Hire a New Roof Installation Contractor
A roof installation is a big project, so it is important to choose the right professional to entrust with the job. In order to thoroughly vet professionals before you hire them for a new roof installation, you should do your due diligence by taking these steps.
- Thoroughly review their qualifications, experience, and licensing
- Pay attention to online reviews and ask for references
- Compare at least 3 different quotes from professional contractors
- Make sure the quotes are comparable in price and fair
- Scheduling an in-person appointment to meet with your final choice
Finding an experienced roof contractor can take time, but it’s important to give yourself that time to make the right decision. But you don’t have to do it alone; Modernize can help. We have vetted contractors in your local area to help you find the best one for your roof replacement. Start exploring local contractors in your area below.
Compare top-rated roofing pros in your area.
Read real homeowner reviews, explore qualifications, and view promotions. Modernize makes it easy to browse professionals and find one that will be perfect for your project.


